Using The Final Draft 12 Beat Board And Outline Editor
Working With The Beat Board And Outline Editor In Final Draft 12
Final Draft 12 has some major updates on the beat board and it works slightly different than in version 11.
So, let’s see what the version 12 Beat Board can do, no matter if you’ve worked with version 11 before or not.
If you open up Final Draft 12 there should be a Beat Board button right on the toolbar.
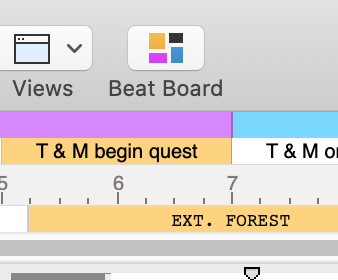 Just click that and the beat board opens up.
For purposes of this demonstration I’m using the Final Draft sample script that is included. Just go to Help – Sample Scripts to open it.
Outline Editor
The first major difference that you see is that the story map from version 11 has been replaced with the so-called Outline Editor.
![]() You get two rows to place outline elements here, Outline 1 and Outline 2.
You get two rows to place outline elements here, Outline 1 and Outline 2.
We’ll look at how that exactly works in a second.
You can make the Outline Editor bigger or smaller if you click drag at the bottom edge.
Creating Beats
You already see sample beats here on the Beat Board.
 These cards that you see are all beats. There are no more structure points like in version 11 because they are not necessary anymore.
You also see that you can use beat cards for sections so to speak, like here with the Acts and for outline elements that contain some information, like all the rest of the cards.
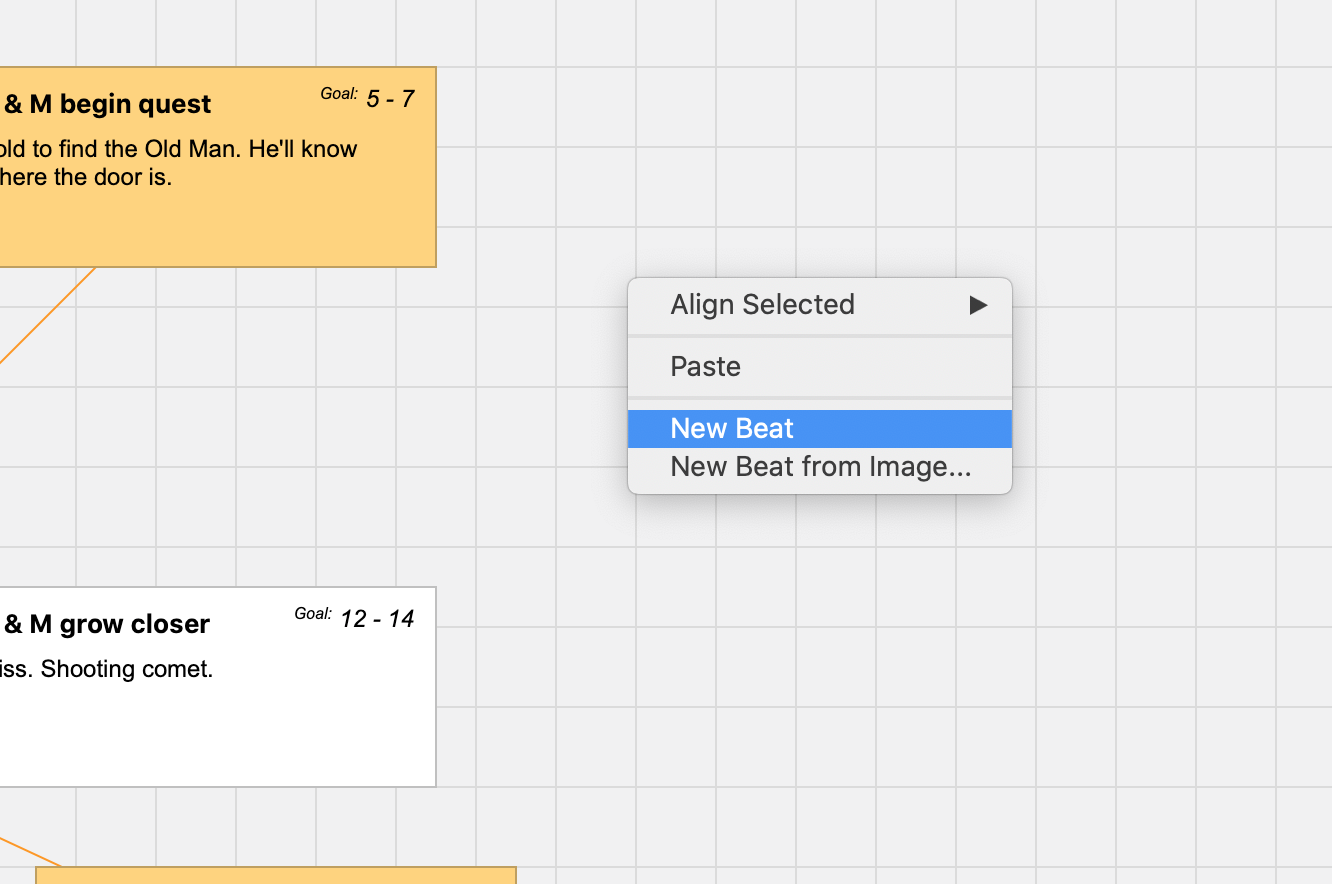
In order to create new beat cards, right click and select “New Beat” or just double click on an empty space on the Beat Board.
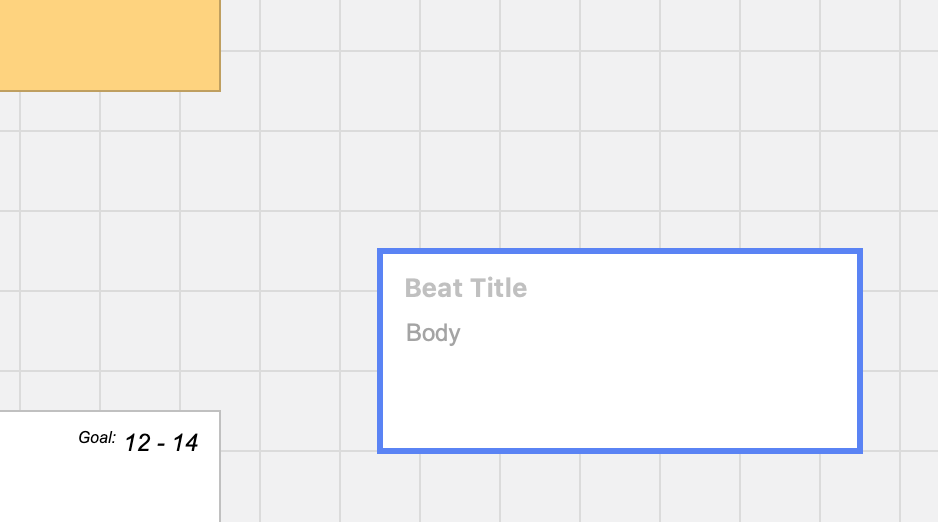 Every beat can hold a title and some text or image content.
 If you want to place images on the beat board, right click and select “New Beat from Image…”.
If you want to create section beat cards, like here in the example with the Acts, you only use the title area of the card and leave the rest blank.
Cards can be resized as you wish, so you could also make them quite long and thin, for example, which can be useful for sections that have a lot of cards.
But anyway, this is just a matter of preference and style.
Connecting Beat Cards
You also see that some cards have connections because they belong together in some way.
If you want to create those, just take one card and drag it on top of the other. And the connection is automatically established.
Alternatively you can select two or more cards and choose “Connect” via the right-click menu.
You can choose, how you want to connect the cards. With a line, an arrow, or a double arrow.
Also, you can give the connection a color.
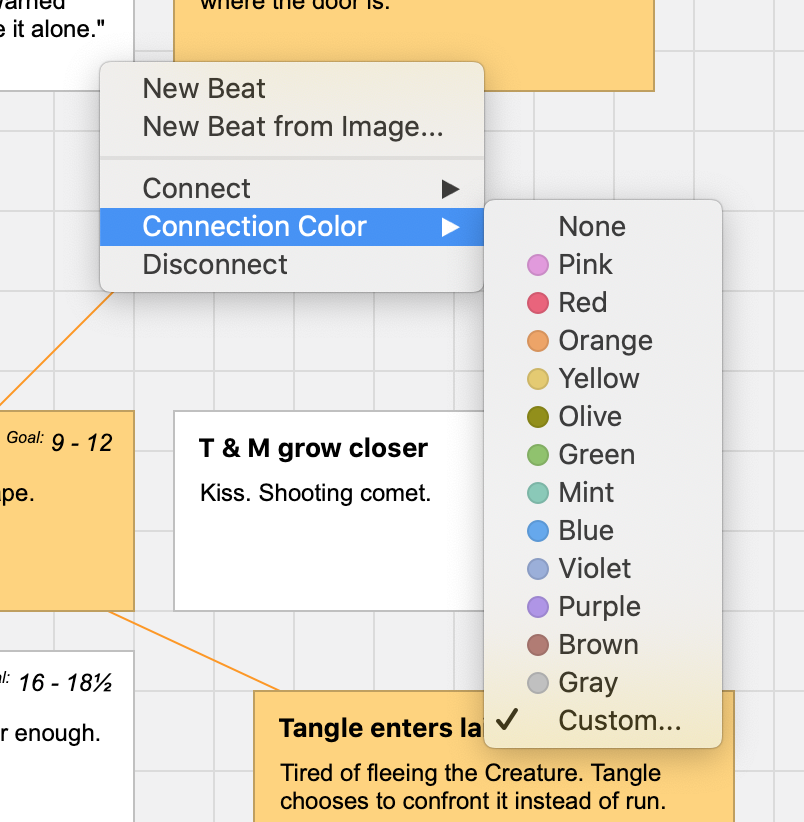 Right-click on the connection itself and choose a color from the menu.
To break a connection you can, again, drag one card on top of the other, or just select the cards and choose “Disconnect” from the right-click menu. Or, you right-click on the connection itself and choose “Disconnect”. Works the same way.
Outlining With Beat Cards
Okay, now we’ve looked at how to create beats on the Beat Board, now let’s see how they work together with the Outline Editor.
In order to demonstrate that I’m going to delete all the cards from the Outline Editor first, and then I’m giong to delete the content of the screenplay.
Because this is most likely the situation that you’ll find yourself in when you start outlining.
In order to delete the cards from the Outline Editor, select all the cards on the Beat Board, right click on one of them and select “Remove Outline Goal”.
This breaks the connection without deleting the card itself on the Beat Board.
If you select a beat in the Outline Editor and delete it, the beat card itself on the Beat Board will also be deleted.
And we don’t want that.
Okay, next, I’m going to the script view, select all, and delete the content. So that we have a clean slate to start with.
You see that now all the content of the “Script” row in the Outline Editor vanished. We’ll understand why that is in just a bit.
Let’s get back to the “Outline 1” and “Outline 2” rows here in the Outline Editor.
You see that the “Outline 2” row is a bit indented. That is in order to indicate the hierarchy between the two.
 Outline 1 is the highest hierarchy, and Outline 2 is beneath that.
So, Outline 1 is meant for the bigger structure of your script, most likely your acts. But it doesn’t have to be that way.
Just keep in mind that Outline 2 elements are children of Outline 1 elements.
Okay, let’s try that.
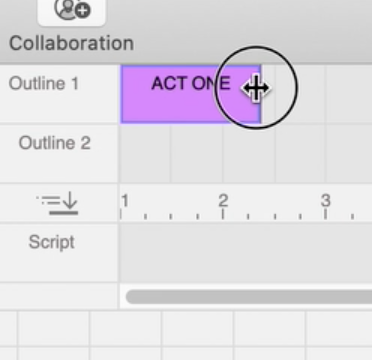
I’m going to pull these Act elements into the Outline 1 row.
The numbers that you see here on the stript beneath the Outline rows are the page numbers.
If you drag an outline element into the Outline Editor, you can resize it, and that defines, how many pages this element covers.
 First, I place the Outline 1 elements, and once I’ve done that, I “fill” so-to-speak the Outline 2 row with my beats.
In order to make it easier for you you can zoom in and out in the outline editor with the slider at the bottom right.
And now, once we’ve filled the Outline 2 elements as well, and we change an Outline 1 element, in this case the acts, we see that the Outline 2 elements react accordingly because they are children of the element above.
So, all the beats within the act that I move around in the Outline 1 row will stay within that act.
Send Beats to Script
Okay, let’s suppose we’ve now finished moving our outline beats around in the Outline Editor and we’re satisfied so far with the result.
Now, if we click this button here at the left side, between the Outline 2 row and the Script row, we’ll send all these elements in the Outline 1 and Outline 2 row to the script.
 But they don’t become script content, they become Outline elements in the script.
Final Draft 12 is capable of creating up to 4 levels of outline elements, 5 levels if you also count the outline body element.
So, what happens here is that all the beats and the content of those beats will be sent to the script as Text that is on the script page but doesn’t count toward your page count.
It’s not script content itself, these are just notes, if you want, so you can see the outline structure that we just created in the Outline Editor on your script page.
Now, all you have to do is fill in the blanks so to speak with your scenes in betwen those outline elements.
This will help you stay more organized when you’re writing because you always have that outline reference directly on the page and you don’t have to work with the Beat Board side by side all the time.
One caution:
Every time you click the “Send to Script” button, Final Draft will send the contents of the Outline Editor to the script as outline elements at the place where you have your cursor.
So, when you change something in the Outline Editor and you click “Send to Script” again, the outline elements that you already have on your script page won’t change, but rather, all the elements from the Outline Editor (with the changes) will be added to the outline elements you already have.
Just something to keep in mind so you don’t mess up your outline structure in your script.
Alright, hope this video was useful for you, let me know if this way of outlining works for you, I’m interested in learning more about the way you work, everybody’s different, so comment below what you think about that.
Happy outlining, everybody!