Introduction To Scrivener 3
Scrivener Introduction
In this article we’re going to have an overview look at Scrivener in order to see what it’s basic working principles are.
Scrivener is a very powerful writing software that can do a lot of things for very different types of writers. But this can also make it a little bit daunting in terms of finding out how the functions you need for your specific kind of writing work.
But if you take a closer look it’s really not that complicated once you understand the way it works and how it is different from other writing software.
So in this article we will cover the basics that you need so that you can get started using the program and you know what to look for if you want to learn more.
We will take a look at:
- Scrivener Templates
- User Interface
- how to get stuff in
- how to get stuff out
Choosing a Template
When you open Scrivener up you are presented with a window that lets you choose a template if you want. For more advanced users or if you just want to see what it looks like you can always choose the “blank” template, which is a completely empty Scrivener project without any specific settings. All the other templates are based on this one.
 But depending on what you want to use Scrivener for, look through the different templates and then just pick one that comes closest to what you’re trying to do.
Create a new project with the template of your choice and Scrivener will open up and present you with the main interface.
Main interface
There are many different ways in which you can adjust how the main interface of Scrivener looks but let’s just go through them main elements here so you know what they do.
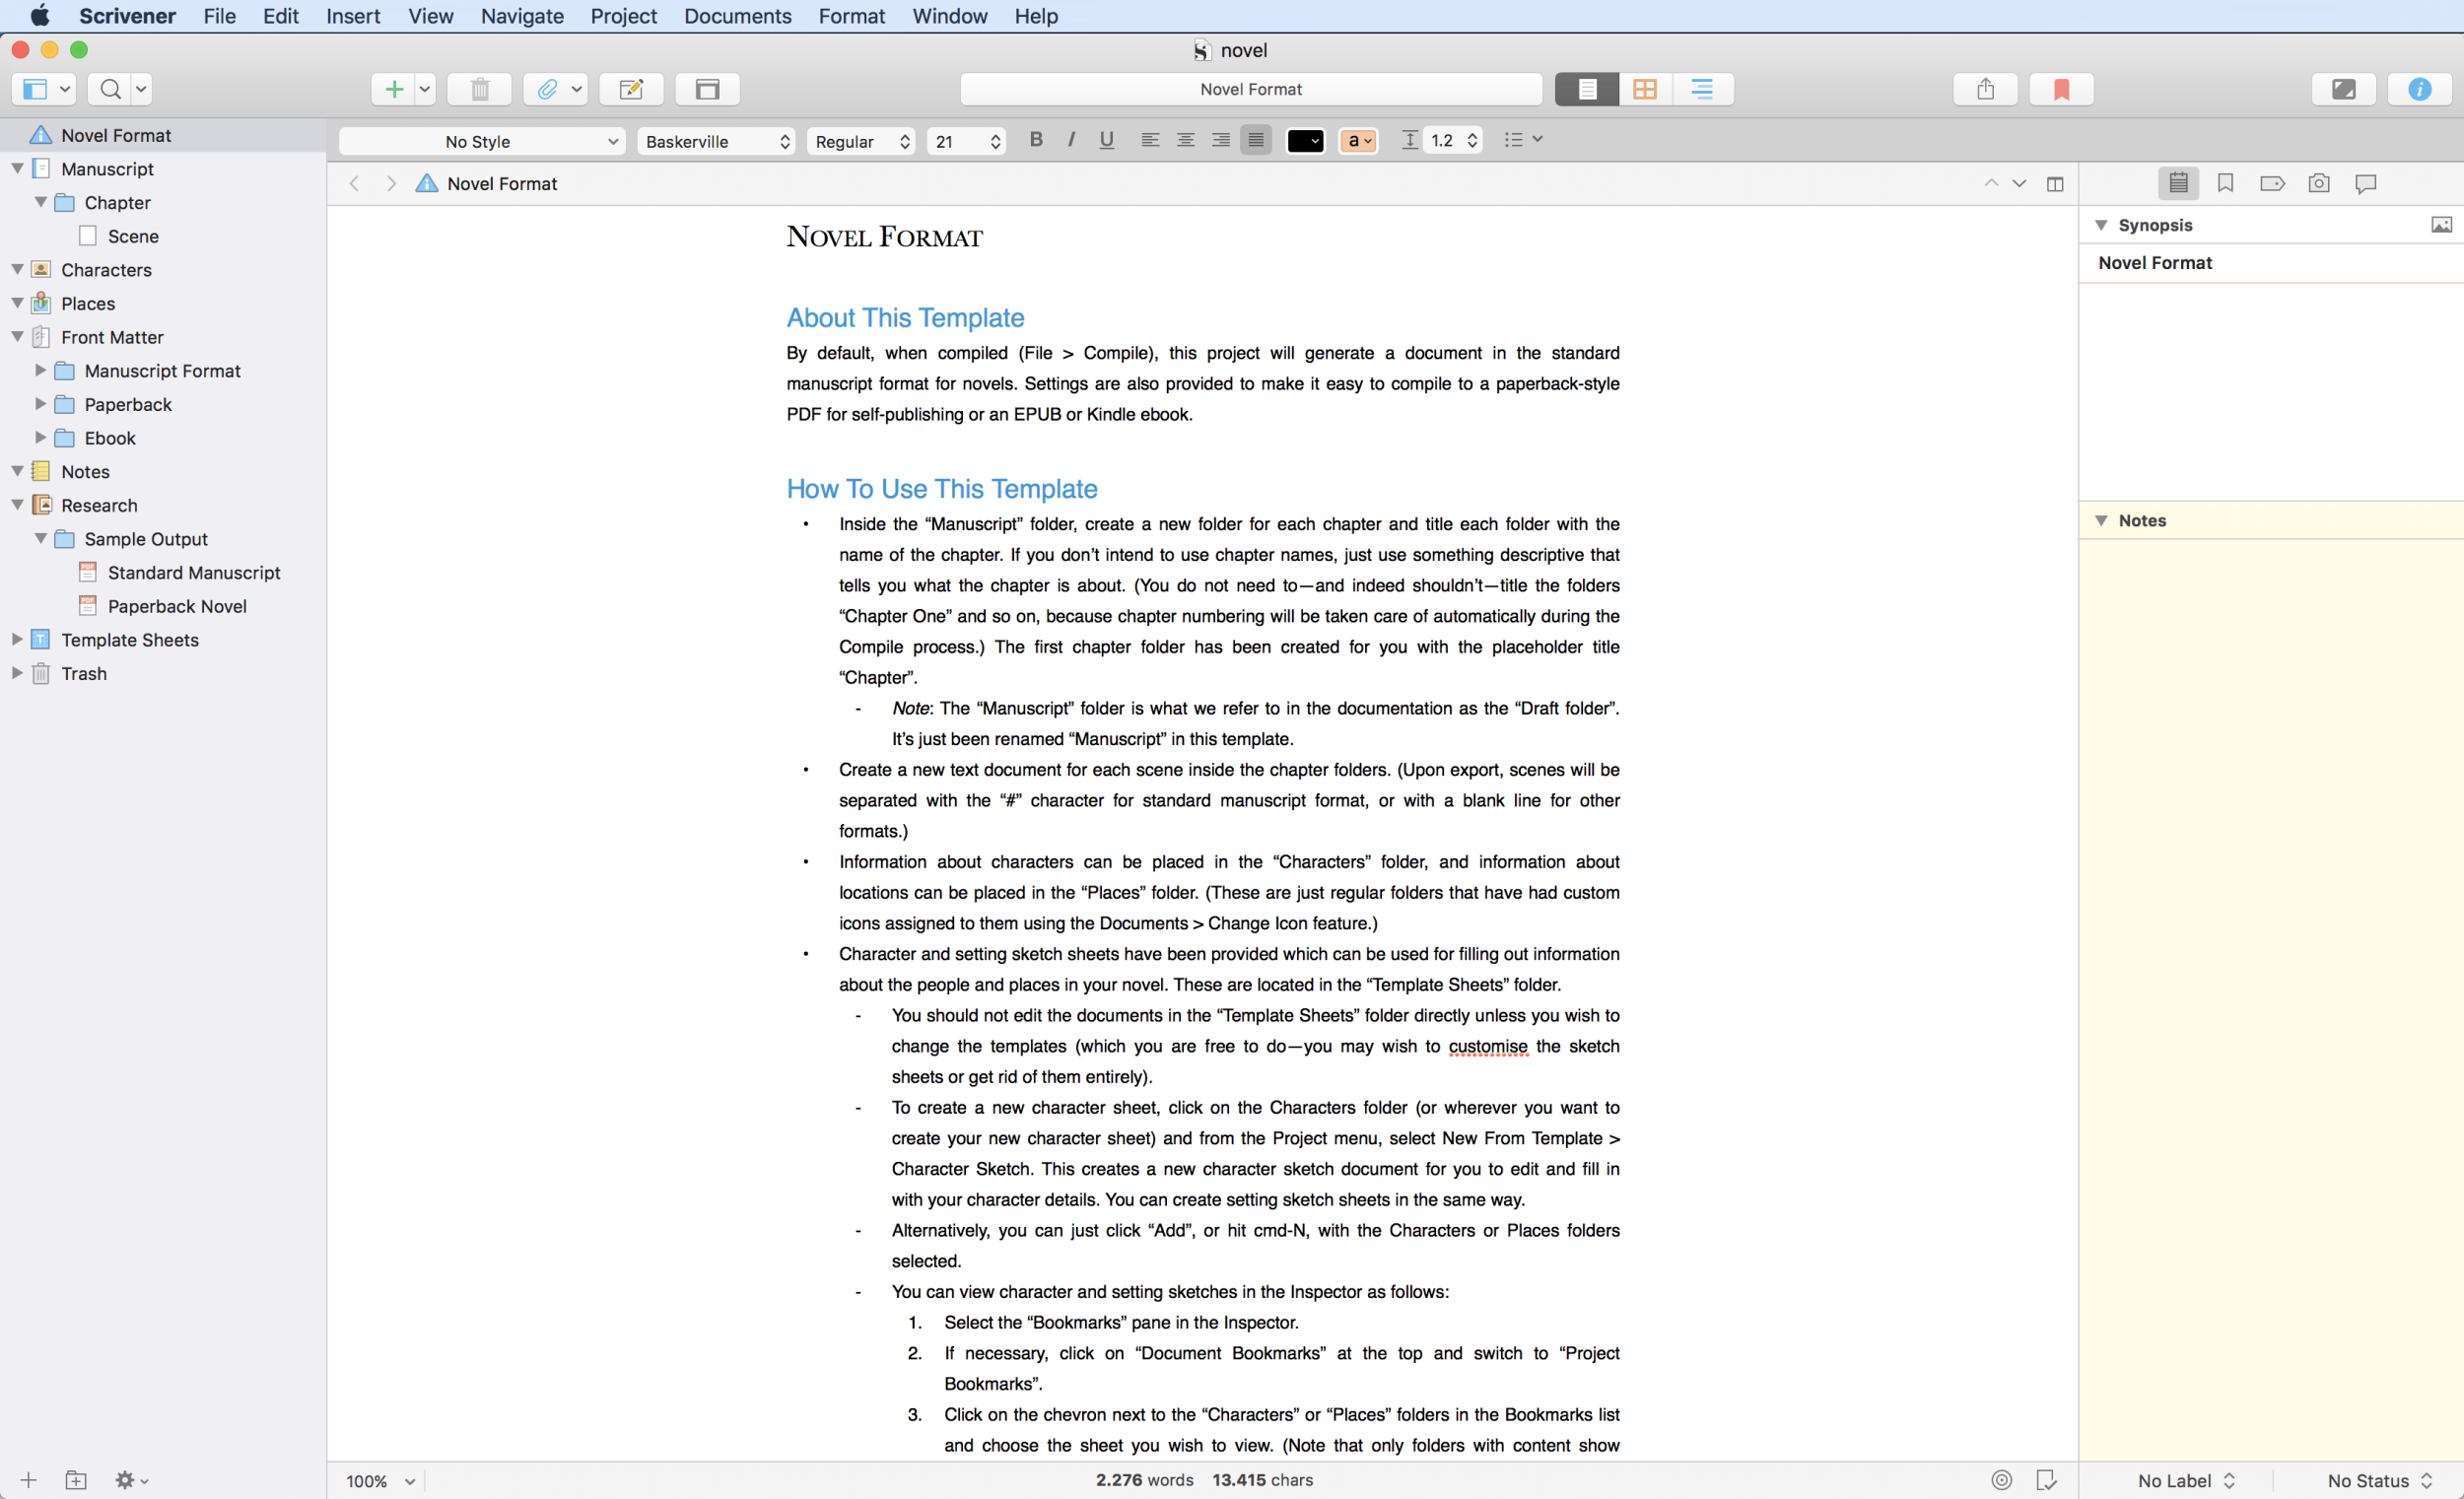 On the left side you have the so-called binder. The binder can hold as many documents and folders as you want.
And this is also the main way in which Scrivener is different from many other writing applications. One Scrivener project can hold many documents and sub documents and the way these documents look inside of Scrivener does not necessarily mean that this is also the way they are exported. We will have a look at that later.
For now, just know that you can create a document structure, or hierarchy if you want, inside the program.
One important thing to know is that the main folder (which is usually called the “Draft” folder but can have other names) can only hold text documents.
But outside of this Draft folder you can also import and store other documents like media files for example. Theoretically you can store all kinds of files in a Scrivener project outside of the draft folder, it’s just that Scrivener can only show certain types of files inside the program. If a file type is not supported for use in the program, you will have to open it in an external editor to view it or change it.
Also, files and folders in the binder are interchangeable. That means a folder can hold text information just as a file can, and you can very easily convert a file into a folder and backwards without losing any content.
The necessity of using folders or files in your structure will become apparent later when we talk about how you can export your stuff.
The Editor
The main window of the interface is called the editor. This is where you write the content which is stored in your documents. Depending on how your interface is set up you might see one or two editors. The editor can be split into two so you can have two documents side-by-side. With the icon in the upper right corner of the editor you can split or unsplit the panels.
If you want to split them the other way, horizontally or vertically, hold down the alt or option key when you click the change the split orientation.
So, the way it works is you click in the editor, or in one of the editors, and then you choose a file from the binder, and this file is going to open up in the editor that is active. Then you put in your content, you write whatever you want to write in this document, and when you choose another file in the binder, that other file will open up in the editor.
The way Scrivener is set up by default it should all is safe the project every few seconds, so you don’t need to worry about losing your work.
The Inspector
At the right side of the window you should see a narrow window with additional information about your documents or folders. If you don’t see it click on the “I” icon in the toolbar at the top on the right and it should open.
The inspector has several tabs with additional information or functionality. Going through all of them is way beyond the scope of this article but what they mainly do is, the first one gives you the possibility to store a synopsis and notes with the active document, which means every document in your binder can hold its own synopsis and notes.
The next tab is for bookmarks, the third one is for additional metadata that you can give your documents, the fourth one is for snapshots in order to save a certain status of this document at a certain time, and the last one is for comments.
Importing Files
Of course you can import files from other sources into Scrivener. Again, I’m not going to go away into detail here because there are some pretty advanced ways to get files into a Scrivener project. But basically you can just try to drag and drop the file into the binder, or you can go to “File – Import” and choose one of the functions there that sounds like what you need to get started.
What you should know is that when you import a text document into Scrivener it will be changed into a plain text or a rich text document, depending on the way Scrivener is set up. So, the formatting once you have imported your file might look very different from your original file.
Exporting Files
The term “exporting” is used a little differently in Scrivener than in other writing applications. The reason for this is that if you want to get your content out of Scrivener what you usually do is a “compile”.
Compiling means that you tell Scrivener how it should put together all the content that you have in your project and that you want to turn into some other kind of document. So, usually when you want to get your stuff out of Scrivener what you do is compiling, not exporting.
But Scrivener also has an exporting function, which is used when you just want to export the current documents that you have open in your editor without going through the whole compile process.
So what you do is you select the document you want to export in your binder, so it opens up in the editor, and then you go to “File – Export”, just like you would in any other writing application.
If you want to compile your content, however, go to “File – Compile”.
Scrivener opens up the compiler window and if you see that for the first time and start going through all the settings that you can adjust year, this might be a very daunting and overwhelming experience.
Once you dive a little deeper into Scrivener you see that the compiler is very powerful and gives you a lot of possibilities to create amazing documents.
But if you’re just starting out or if you don’t even need to compile sophisticated documents, you can just use the presets that Scrivener offers with your template, which are pretty good by the way and very easy to use.
So for the sake of sticking to the basics here, what you do is you pick a compile preset on the left side of the compiler window, and on the right side you see all the documents listed that you have in your binder. There you can select and deselect which of those you want to have included in the compile.
Then, at the top of the compiler window you can choose the file format.
That’s basically it. Just try that and see what Scrivener gives you. It might very well be enough for what you need.
One more word about the compile presets on the left side. They are different in every Scrivener template. So, if you work with the normal template, what happens is that when you open it up you will have a description of how that template is set up and how the compiler will handle your folders and files. For example, when will it start a new chapter.
The same goes for the screenwriting templates or others. The compiler will already have settings that you can use to easily export your work.
So, these preset configurations are always the first thing that I would try and in case you want to compile your documents differently, you can still take the time to learn more about how the compiler works.
If you want to change the pre-existing compile set up, you can duplicate these by just double-clicking on them and then choose “duplicate and edit”. That way you can play around with them and you can destroy the original setup.
I hope this introduction to Scrivener has given you a basic overview of how the program works and in what way it is different from other writing programs.
If you don’t grasp the concept of how it works immediately, don’t worry, just play around with it a little more and you will see very quickly if this is a way of working with a writing software that suits your needs.
Also, take a look at other articles to learn more about Scriveners functionality in order to see how it can help you achieve your writing goals.