Getting Around In Fade In – The User Interface
Fade In User Interface
In this article I’ll give you a tour around the Fade In user interface and I’ll, including how to use the navigator and how to order or structure your scenes.
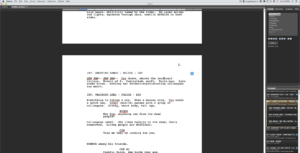
What you see here is the general page-layout view Fade In presents your script in. This is exactly what your script will look like once it’s printed:
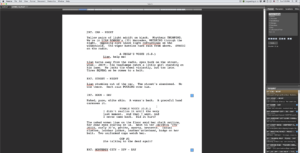 Let’s have a look at how you can move around in your script.
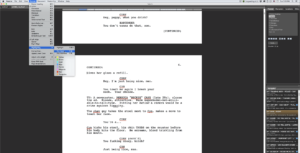
To jump to a specific page, use “Edit – Go To” and enter the page or scene number you want to go to.
You also get the standard search functions, with “Edit – Find”, and of course you also have a “Find and Replace” tool here.
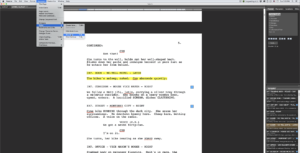
You can also search for highlighted text and notes. Go to “Format – Highlighting” to jump to the next highlighted text, or “Document – Notes” to jump to the next note.
 The Navigator
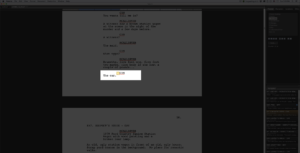
One of the areas you will be using quite often is the navigator on the lower right side of the screen.
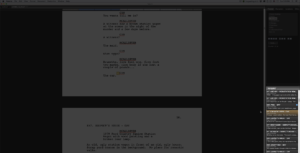 The Navigator is a quick and convenient tool to get around in your script and to rename or rearrange scenes.
ENTER or double click lets you jump to the corresponding scene in your script.
Synopsis
Use right click on a scene in the Navigator for cutting and pasting scenes, or adding and changing its synopsis.
A synopsis is a short description or summary of your scene, where you can sum up what happens in just a few short sentences.
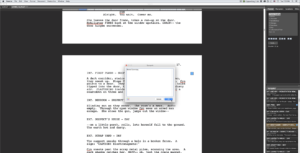 You could also add a synopsis by going to “Document – Synopsis – Add Synopsis”. Synopsis’ can also be shown in the Navigator next to your scene headings via the Navigator’s “Show” button menu.
Show Menu
The show option also lets you choose whether you want to display your scene length in eighths of pages or approximate running time. Counting pages in eighths usually is used for determining the length of a scene when breaking down a script in pre-production.
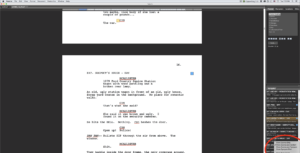 Approximate running time assumes that one page of your script will run for about a minute and calculate an estimated running time for each scene.
You can also cut and paste scene headings, for example if you want to change the name of certain locations.
Rearrange Scenes
To rearrange your scenes in a different order, just click-drag them in the Navigator and release them at their new position. This also works with multiple scenes at once, by the way.
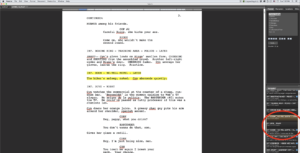 The highlighted scene always is the one that is currently active in the editor window.
Outlining and Folders
Now let’s say, to get a better overview of the scenes in your script you want to bundle a few of them together because they belong to a sequence that consists of several scenes in a row.
To do that just drag one or more scenes on top of another. The top scene will then become a folder and hold the scenes beneath.
 Moving the folder scene in the Navigator will move this bunch of scenes as a whole.
If you want to pull a scene out of the folder, just drag it down and to the left and release it.
Format Elements
At the top right of your screen you have a window to adjust your formatting, character lists, and more. I’ll cover all these elements in different videos.
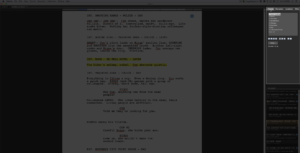 As you can see, the whole interface is very clean, there’s almost nothing that distracts you from the writing itself.
