How To Export An Animation Dialogue Script With Movie Magic Screenwriteer
Animation Dialogue In Movie Magic Screenwriter
Let’s talk about animation production for a second, or rather, how to prepare your script for animation production.
A lot of the production steps in animation production are very different for obvious reasons. You don’t have any real shoots so therefore your dialogue recording is going to be done entirely in the studio.
And the voice actors don’t need all the information in the script for this recording session. When they’re in the studio, they will already know their characters and what’s happening with them inside out, so what they need in the studio is nothing more than just a dialogue script with their lines.
So let’s look at how you can format and export this in Movie Magic Screenwriter.
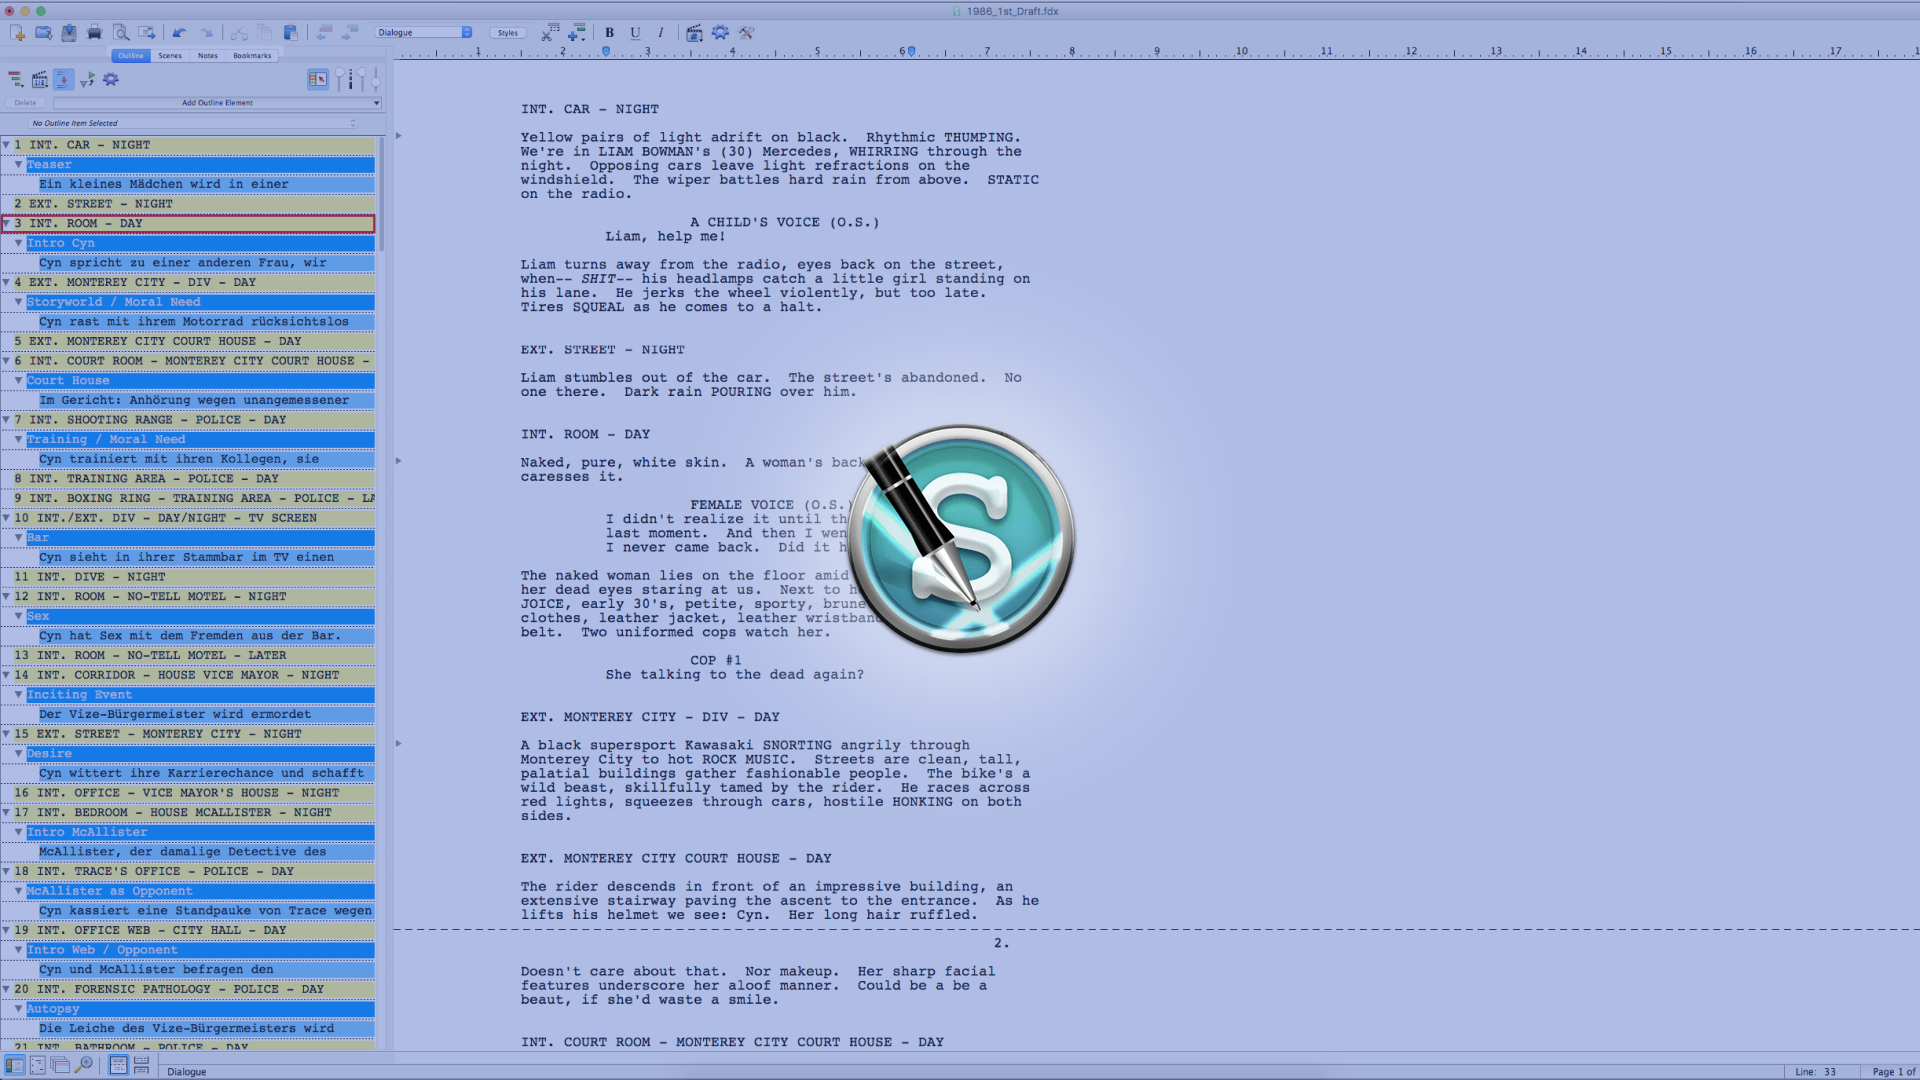
To get to the Animation Dialogue Settings, if you’re on the Mac, click on the gear icon in the task bar, or you can go to “Screenwriter – Preferences”. There you see all the program’s setting and we will look at the “Animation Dialogue” tab now.
If you’re on the PC, the Animation Dialogue Preferences are not where all the other preferences are. You need to go to “Production – Animation Locking – Setup Numbering Layout…”.
The two dialogs do basically the same on the Mac and the PC, they just look different.
 Animation Dialogue Preferences
And, if you take a look at them they’re all pretty self-explanatory, but let’s go through them quickly and them see what the output looks like on the page.
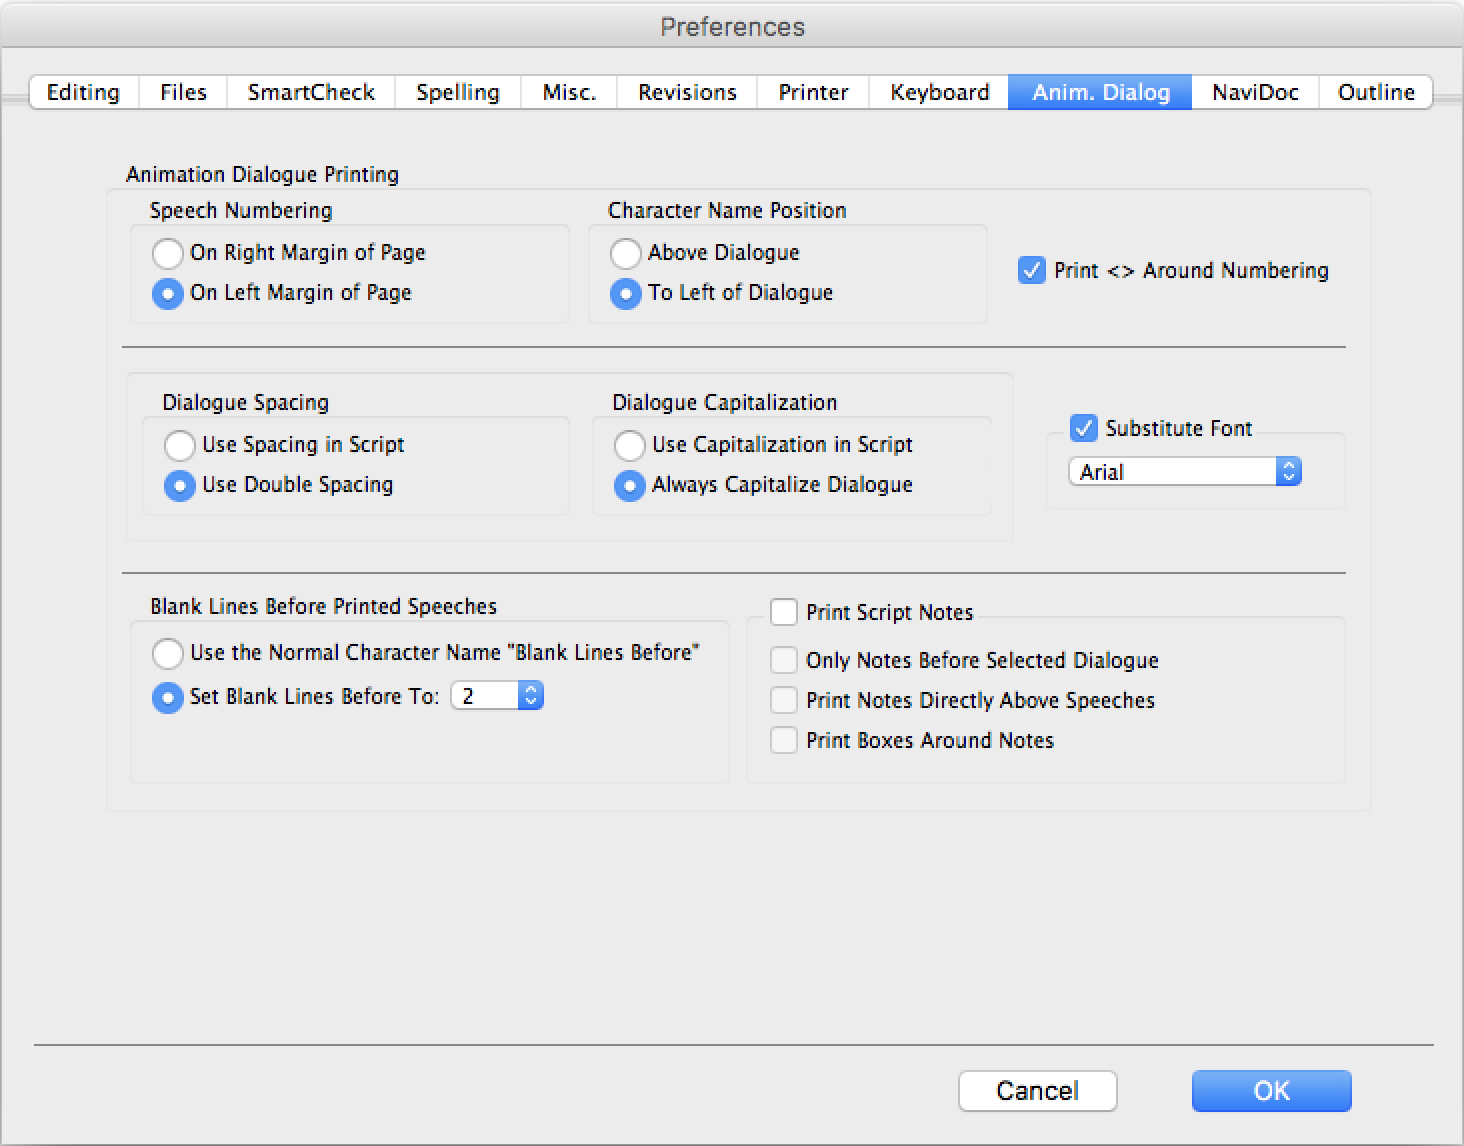
So, you have options for where you want speech numbering to be, the same for the character position and you can choose to have brackets around the numbering.
You can choose whether you want to use the spacing from the script or use double spacing thoughout, and the same for capitalization. You can have the dialogue printed as is or all in caps.
You can substitute the font if you like, and then, at the bottom you can select how many blank lines you want to print before each speech or if you rather want to use the settings from your script.
And then, finally, you have a bunch of checkboxes in case you want to print notes as well.
Printing Your Animation Dialogue Script
Okay, now let’s leave all these settings pretty much as they are by default so we can see how that looks.
To print your script for animation dialogue recording, go to the print dialogue, and then select “Dialogue”.
When you do that a new box pops up and here you can select Dialogue for Animation Recording. We want to print everything, not just the lines with asterisks for now, so I’m choosing that option.
Now below we can choose which character or characters we want to print. For a real recording session you’re most likely just going to need the characters whose actors are participating in that session, so most likely it’s just going to be one or two.
But for the sake of demonstration let’s just select all of them, and click OK.
I’m not printing this out for real now, I’m just showing you a pdf preview of what the print out would look like.
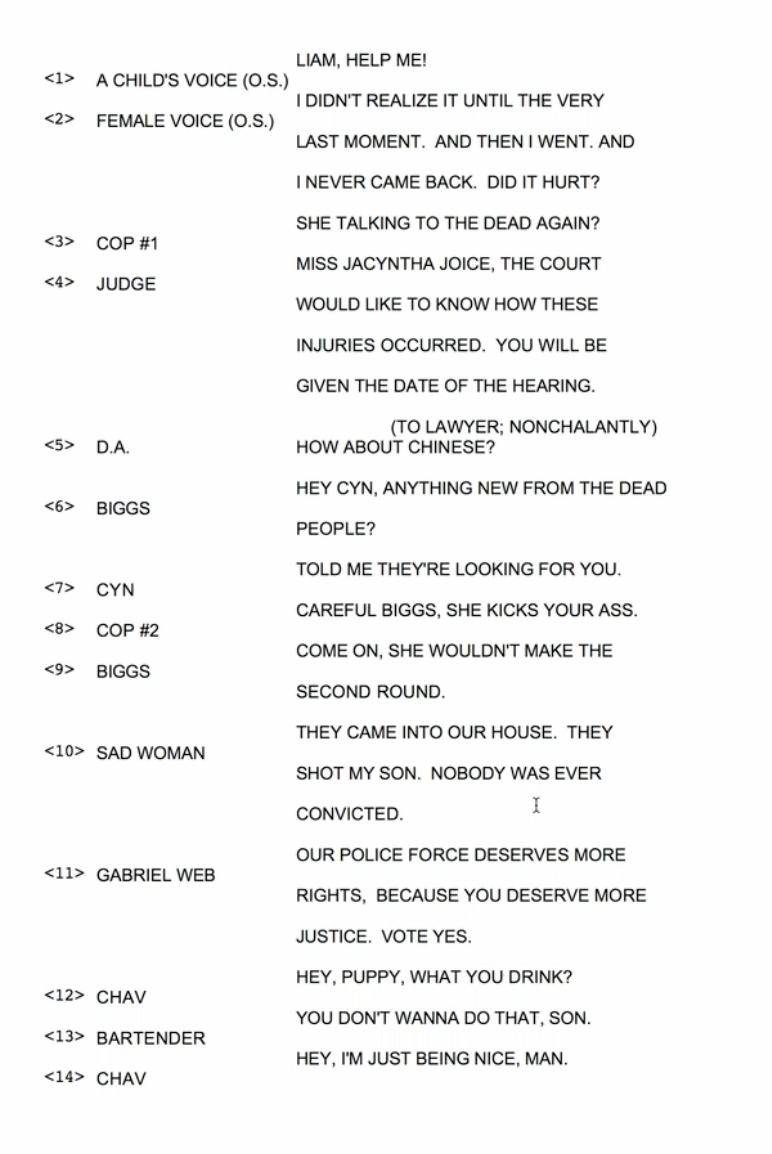
 So, this is what the dialogue script looks like with default settings.
Now let’s go back and change a couple of them so we see the differences.
I’m just going to change these settings to something in order to demonstrate what is going to change, so don’t worry about if this makes total sense for now.
I just want to have a different print out that’s all.
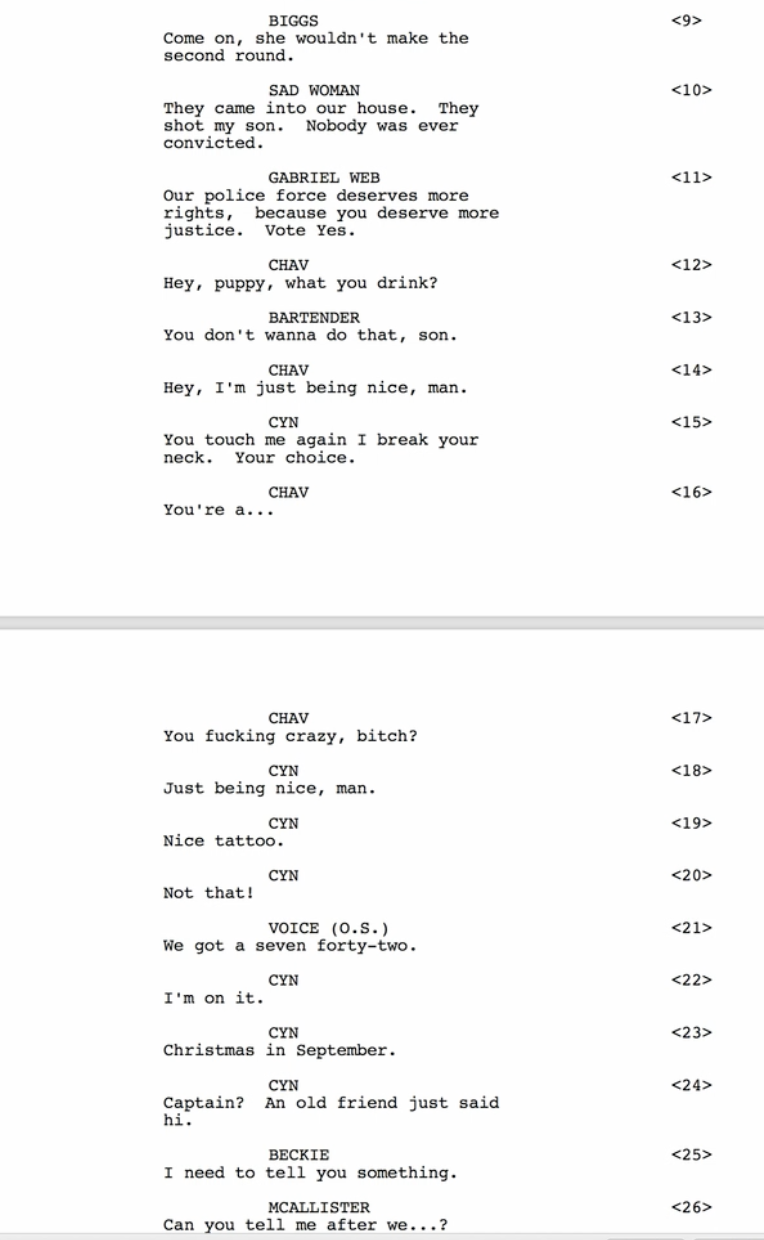
And if we print this now you see, that indeed the dialogue script looks quite different, so these Animation Dialogue Preferences give you the possibility to adjust your print out to your needs or the needs of your voice actor.