How To Use Scrivener’s Corkboard
How to Use the Scrivener Corkboard
In this article:
- General Corkboard Usage
- Adding New Index Cards
- Synchronizing Corkboard and Editor
- More Corkboard Controls
- Free-form Mode
- What Kinds of Information Does an Index Card Show?
- Auto-Fill Synopsis
- Index Card Color
- Using the Enter Key with Index Cards
- Changing the Look of Your Corkboard
- Images on the Corkboard
- Index Card Numbers
- Drag-And-Drop Operations on the Corkboard
- Printing Index Cards
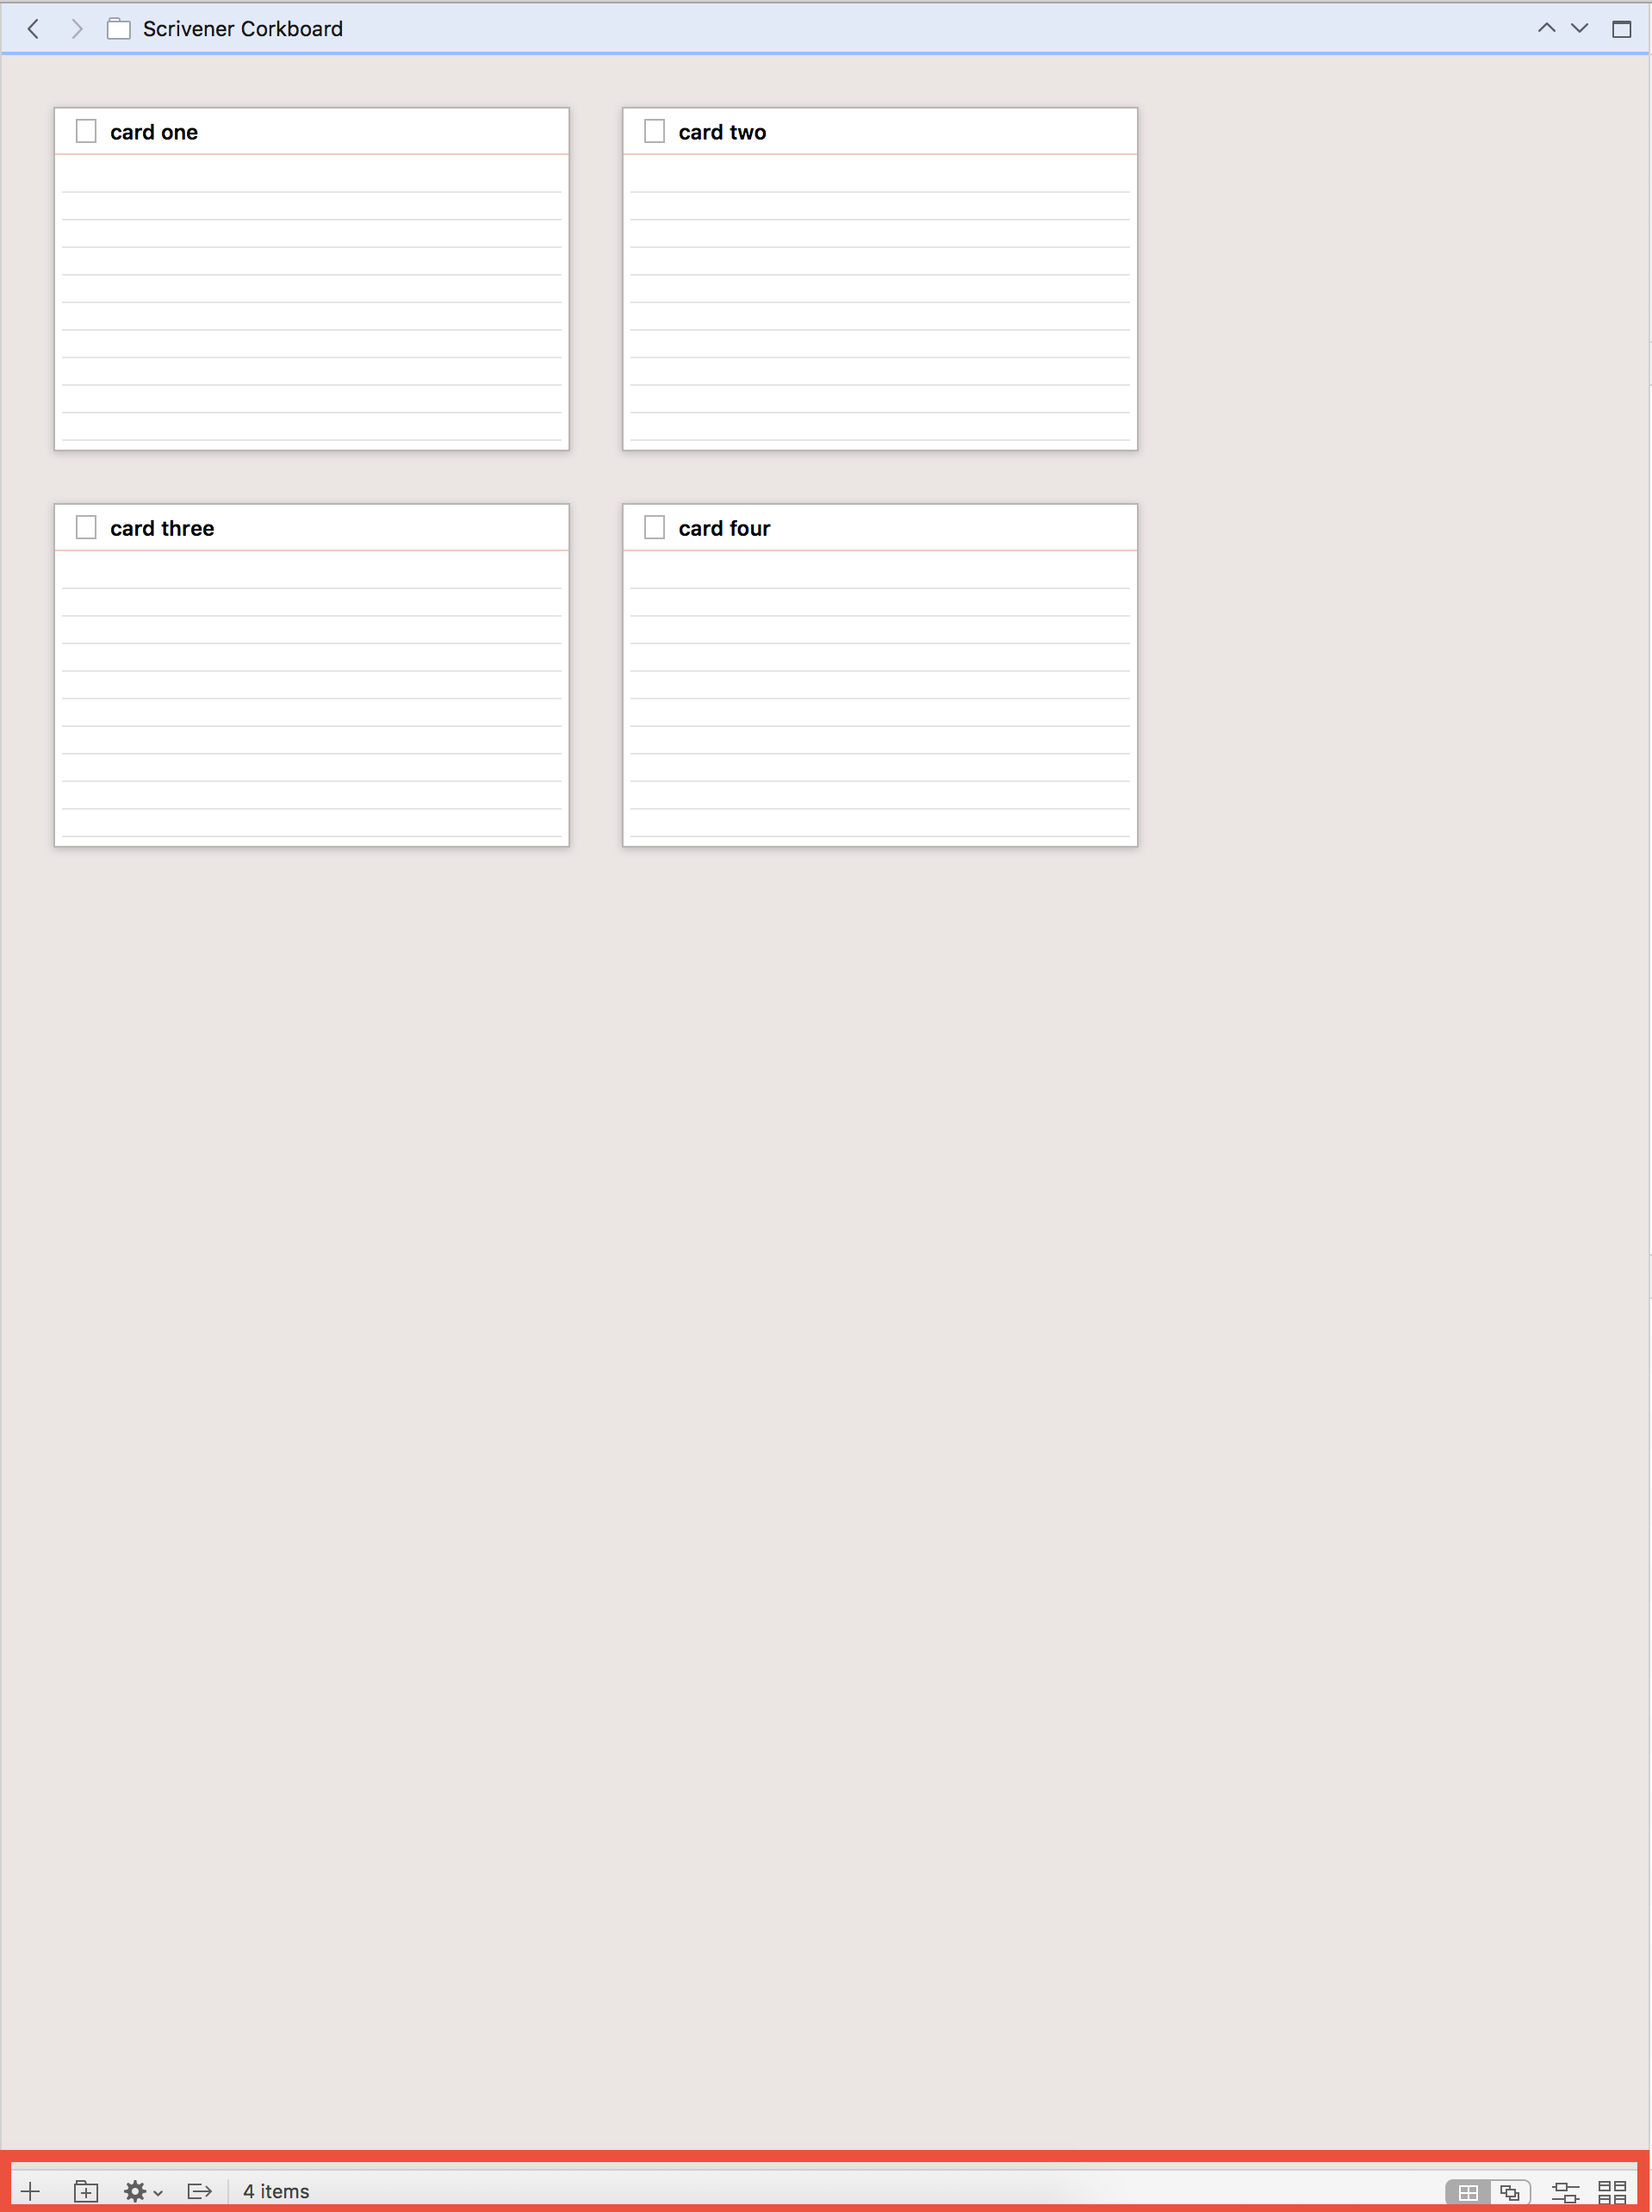
General Corkboard Usage
The corkboard generally shows you all the documents that are in the hierarchy below the document you select in the binder. So, for example, if you select a document that holds sub–documents in the binder, what is shown in the corkboard are the sub–documents and not the document you selected.
Scrivener shows all those sub–documents on index cards, one for each sub-document.
There are couple of settings that you can change in order to make the corkboard look different, but we will look at them a little bit later.
For now, let’s see how you can take control the corkboard.
Adding New Index Cards
To add a new index card, click the “Add Document” button in the toolbar, or right click on the corkboard background and choose “Add Document”. As you can see this not only adds a new index card on your corkboard, but also in the binder.
Adding Several Cards at Once
There is no batch option to add several cards at once, the simplest method that I have found is to create one card and duplicate it several times. If you select a bunch of cards you can duplicate them all at once by right-clicking and selecting “Duplicate”, or by hitting Cmd–D.
You can also create new cards and folders by using the commands in the footer bar.
 If you click on the gear icon you get the same menu that you get if you right-click on the corkboard background.
Synchronizing Corkboard and Editor
Next to the gear icon you have a button to synchronize your corkboard with your other editor if you are in split view. If this is activated, and you select an index card on your corkboard, Scrivener will open the selected documents in the other editor or copyholder, depending on if you click the “Synchronize” button once or twice.
This can be very useful if you want to see your index cards while writing.
More Corkboard Controls
At the right side of the filter bar you have more corkboard controls. If you click on the button on the rights a pop-up menu opens that lets you control the following things:
- Card size
- Card ratio
- The spacing between the cards
- How many cards you want to see across
- And how many keyword chips you want to have displayed
The next button on the left lets you switch to label view. In label view Scrivener creates one line for each label that you have defined. You see the color of the label reflected in the color of the line. This gives you kind of a timeline view of your index cards, with each label representing one layer, or one column, depending on whether you choose horizontal or vertical view with the buttons to the left of the timeline view button.
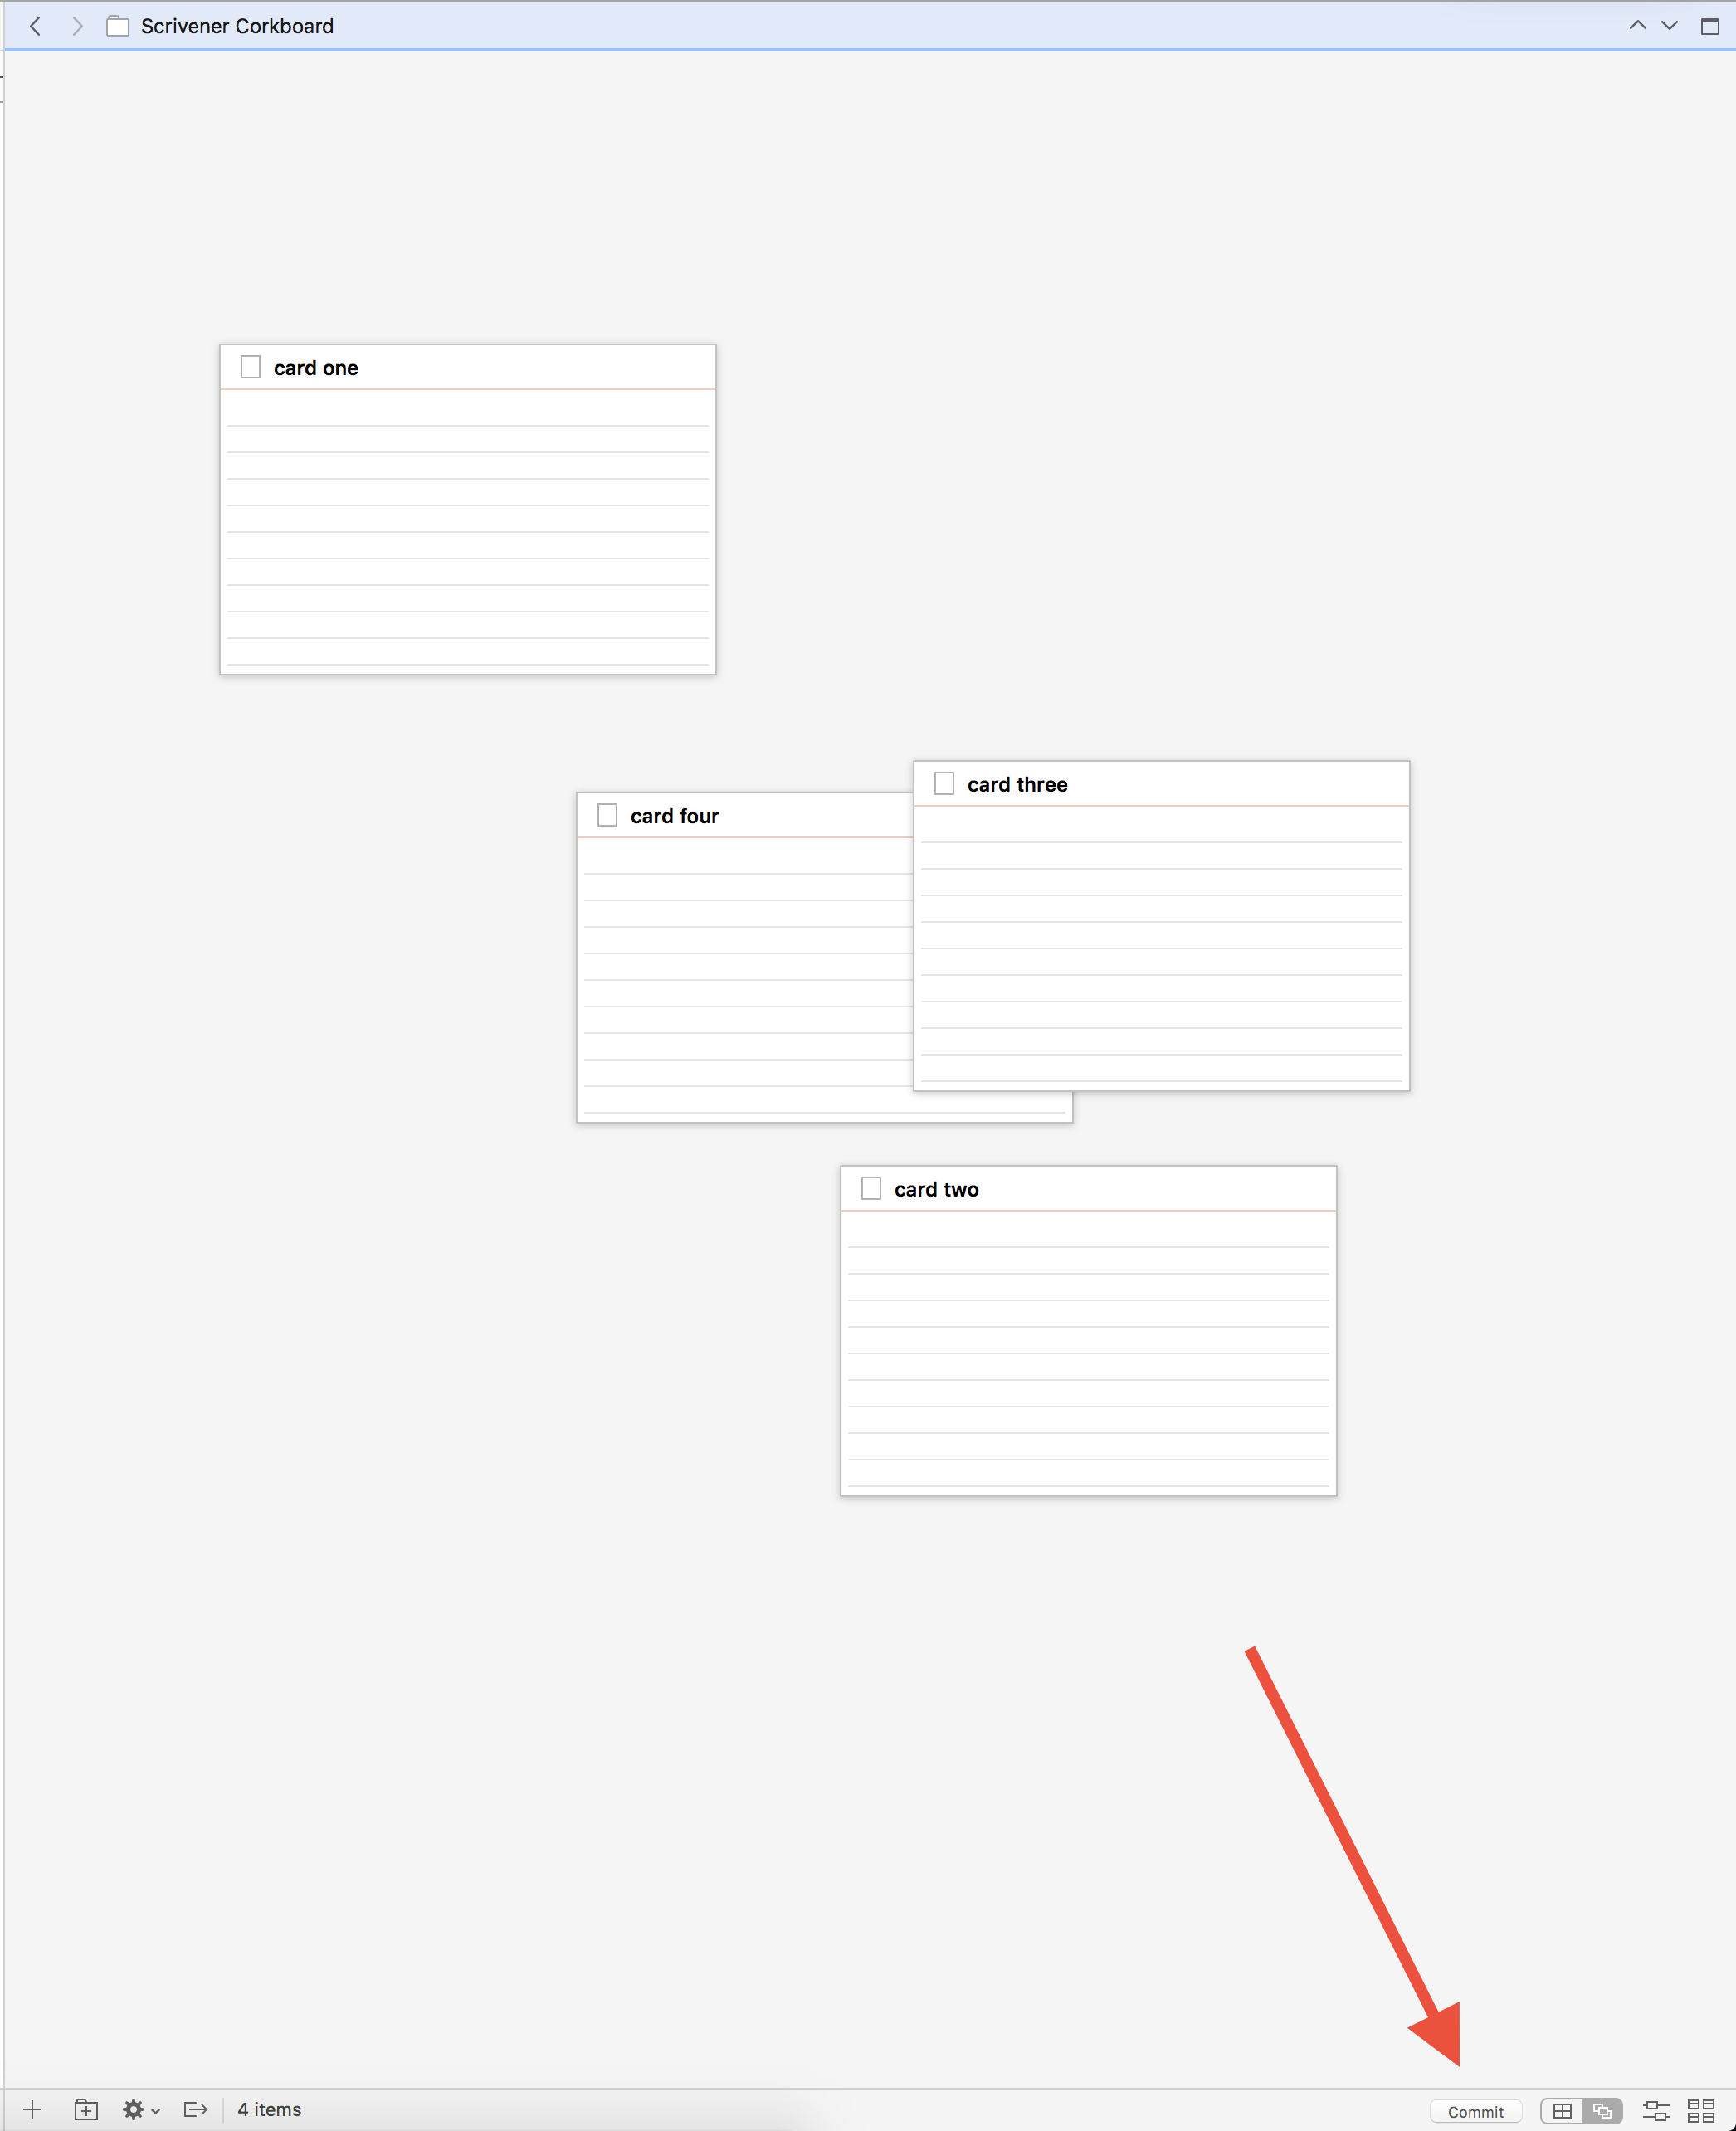
If you deactivate timeline view again the buttons on the left change back to their formal state. If the left of those two buttons is activated you have the “normal” corkboard view grid. If you activate the right button, you switch to free-form mode.
Free-form Mode
In free-form mode you are not bound to a grid, but instead you can move the index cards around as you please. This can be very useful if you want to group several cards together, or do not want to be constrained to the index card order in the binder. That means, you can move around the cards on the corkboard without changing the order of your documents in the binder. You can, however, decide to change the order of your documents in the binder based on your changes on the free-form corkboard.
To do this hit the “Commit” button in the footer bar and Scrivener will ask you in which order you wants to have your index cards sorted in the binder.
 What Kinds of Information Does an Index Card Show?
First, what doesn’t an index card show you: the document itself. If you want to see the content of the document itself you need to open it in the binder.
An index card can show you the following information:
- The document icon
- The document title
- A synopsis
- Label
- Status
- Keywords
Auto-Fill Synopsis
If you want Scrivener to automatically fill your synopsis with the beginning of your document contents, go to “ Document – Auto Fill – Set Synopsis from Main Text”.
Lists in Synopsis
As far as I know, there is no possibility to have bulleted lists and a synopsis, so my solution always has been to just use dashes instead.
Index Card Color
You can have the index cards reflect the color of their respective labels. To view label colors on the corkboard, go to “View – Use Label Colors In” and select “Index Cards”.
Using the Enter Key with Index Cards
You can define the behavior of the enter key on the corkboard in the Scrivener settings.
Go to the preferences and in the “Behavior” tab choose “Return Key”. Here you can choose whether you want the enter key to finish editing your synopsis, or you want a “normal” behavior to create a new line.
You can also choose whether you want the enter key to create a new document when you’re not in editing mode.
Changing the Look of Your Corkboard
If you want to change the way your corkboard looks, go to the “Preferences” and choose the “Appearance” tab. Here you can set up a whole bunch of appearance options to your liking.
Images on the Corkboard
If you select a folder that holds images, Scrivener will display those images on the corkboard. This can be very useful if you want to refer to researched images while you are writing.
You can also assign an image to a specific document in the binder and have that image shown on the index card instead of its synopsis. To do this go to the inspector and click the image icon on the right next to where it says “Synopsis”. Now, just drag an image from the binder into the image area.
Index Card Numbers
You can have your index cards numbered. Go to “View – Corkboard Options” and choose “Show Card Numbers”. The corkboard will then show you a number in the title of each index card relative to the amount of cards displayed. This means that the first card on the current level of hierarchy will always be number one.
Drag-And-Drop Operations on the Corkboard
You can drag-and-drop index cards on top of each other if you want to do so. For this, this function has to be activated in the preferences in the “Behavior” tab under “Dragging and Dropping”. Keep in mind that dragging and dropping index cards around on the corkboard will also change the order and or the hierarchy of your documents in the binder.
Printing Index Cards
You can print your index cards on 3 x 5“ in the index card paper if you like. For this, with the corkboard active, go to ”File – Print“. Scrivener will automatically offer to print your corkboard on 3 x 5” paper.