How To Use Synopsis And Notes In Scrivener
Scrivener – Synopsis And Notes
Let’s talk about synopses and notes in Scrivener.
As you know, Scrivener stores many different documents inside one project file, out of which you can create your final document. Or you can use those documents to hold research and all other kinds of information.
Now, every once in a while you will have a document that already has content, but you you want to add a short description to the document that sums up what it is about, so it’s easier to find.
Or, you want to make some notes in regard to the content of the document, but you can’t or don’t want to put those in the content itself.
This is exactly the kind of situation for which you have synopses and notes for in Scrivener.
Let’s see how this works.
Inspector
Open up the inspector, if it’s not already open. The inspector is the part on the right side of the window that holds additional information about your documents and gives you access to often-used functions.
You open the inspector by clicking on the “i” button in the toolbar.
At the top of the inspector you see that it is divided into several tabs. We will work with the first tab now, the one most to the left that has this notepad icon.
Synopsis
And you already see, there is a designated space where is says, “Synopsis”. So, that’s where the synopsis goes.
Just write somehing into this space that sums up what the document that you have active in the editor, is about.
One word of caution here.
It happens from time to time, especially when you’re starting out with Scrivener, that you accidentally put information into the wrong document.
For example, if you have two editor windows open it might be misleading which of the two is the one that the inspector shows.
If you are unsure, just check the title of the document at the top of the “Synopsis” section in the inspector.
Scrivener stores the synopsis with every single document, so if you click away and select another document, you will see the synopsis of that newly selected document.
Okay, so, back to the synopsis field.
The text you place in here can be viewed in any other place that can show document synopses, for example, the corkboard.
You can also place an image in the synopsis if you want, and that image can then also be shown on the corkboard, depending on if you select the text view or the image view here in the inspector of the document.
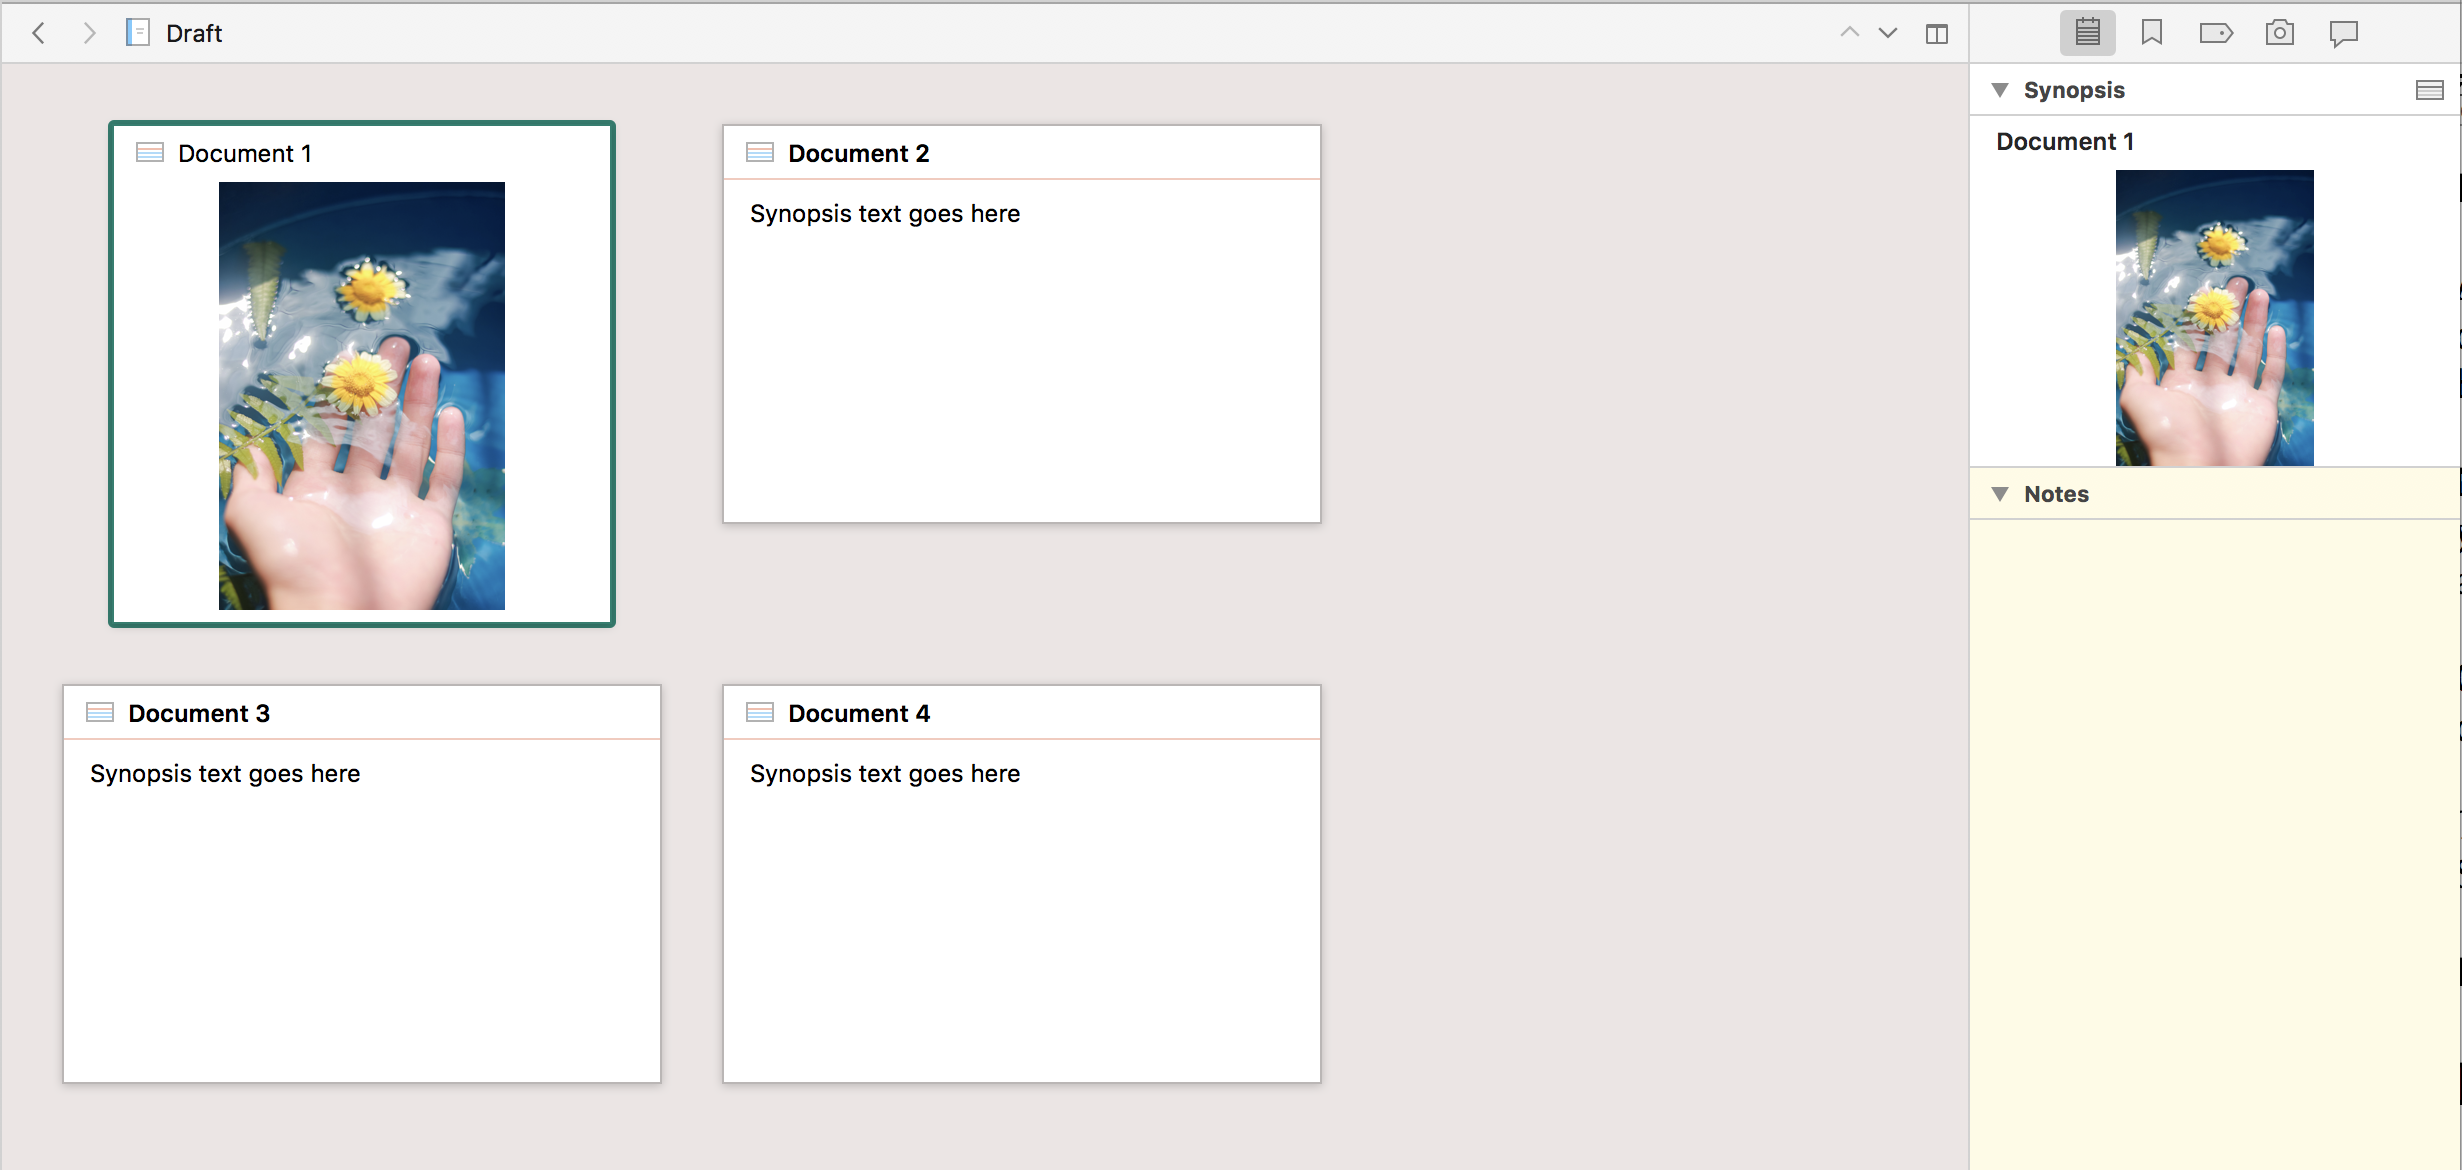 If you right-click on the image you have some scale and align options, and you can “clear” the image, which means removing it.
If you don’t put a synopsis in the synopsis field, Scrivener will show a preview of the text content instead of the synopsis. Not here in the inspector, but if you take a look, again, at the corkboard for example, you see the preview text there.
In case you don’t like the font settings for the synopsis text, go to the Scrivener preferences, and then to “Appearance – Index Cards” and there you can set the font style.
Notes
Right below the synopsis field you have the notes field. This is, to little surprise, for notes about the current document. The same way as the synopsis text, the notes text will also be save together with the document, so what you put in here is different for each document.
There is not much to say about it really, you just type in your notes and that’s it.
If you don’t like the formatting of the notes text, go to the Scrivener Preferences and then in the “Editing” tab you have a “Formatting” sub tab, and there you can set it up.
If you are looking for a way to have a global notepad apart from the notes that you store for every document, this will be covered in another video, because it works a little differently and it’s worth having a closer look, but just so you know what to look for, this would be done via “bookmarks”.
Another possibility, but this also works differently, is the scratchpad.
But don’t worry, we’ll cover all of this just take it step by step.