How To Use Label And Status In Scrivener
Scrivener – Label And Status
Scrivener gives you many possibilities to store metadata with your documents, and we will have a closer look at metadata in another video, but an example for probably the most used metadata that you can use are label and status, so I want to address them on their own.
“Label” and “Status” are two of many ways to organize or “mark” your files in a way so that it’s easier to keep an overview of what is going on in your project.
Let’s look at them each.
Labels
You will find many places in Scrivener where you can access labels.
Probably the easiest one that is always at your fingertips is via the right-click menu.
Just right-click on any document in the binder and go to “Label”.
Scrivener usually includes some sample labels in their template project, but like everything else you can set those up the way you want.
The exact labels that you have in your project might be different from the ones I have here, but that’s not important. The way it works is always the same.
If you go to the labels menu, like we just did, you see the labels that have already been defined in this project. You can also choose “No Label” of course and at the bottom you can access the label list if you click on “Edit…”.
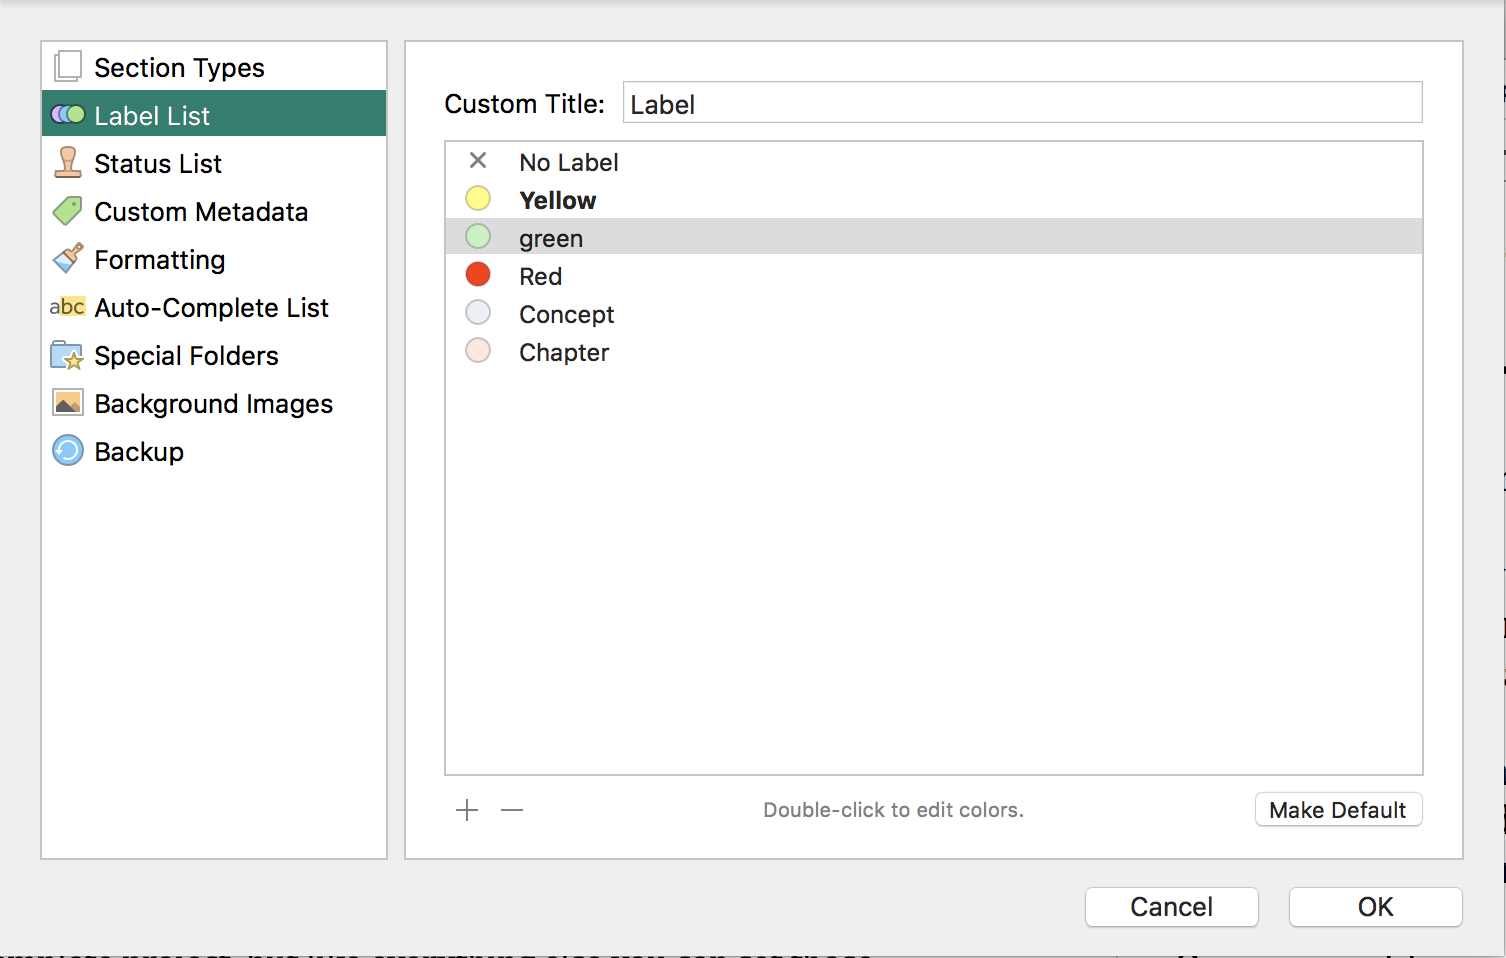 Defining or changing the labels is really easy.
In the label list, double click on the label name or the color circle to edit it.
With the “+” and “-” buttons at the bottom you can also add an delete labels.
If you select a lable from the list and then click “Make Default”, the next time you create a new document, it will automatically have that deault label assigned.
What is nice about labels, is, if you go to the “View” menu, you see this entry “Use Label Color In” and the sub menu gives you a list of possible places in the program where you can have label colors displayed.
This makes it really easy to find certain documents by label color because they automatically stand out and you don’t have to look for them as much.
So, just try out which setup of showing these label colors works best for you.
Status
As the name suggest, with “Status” you can assign a certain status to a document, the same way you can assign a label to a document.
The difference is that the label name is not shown, just the color of the label is shown. If you want to see the name of the label you have to go to the menu or the label list.
With status, the name of the status is show, so you can easily check the status of your documents.
Just assign a status to a document the same way you did with the label, just right-click, go to “Status” and then pick a pre-defined one from the list.
Now, if you go to the cork board to see the index card of that document, you should see the status as a watermark on the index card.
If you don’t see it, go to “View – Corkboard Options” and see if “Show Status Stamps” is checked.
Of course, as with labels, you can also define your own status stamps, go to the status right-click menu again, and at the bottom you see “Edit…”.
This works exactly the same way as defining the labels does, just that status stamps don’t have a color, they have just a name.
I’d recommend you don’t use too long status stamps because the longer the text printed across your index cards, the smaller the letters are going to be and the harder it will be to read.