How To Use Index Cards And Mind Map In WriterDuet
WriterDuet – Page View, Cards View, Mind Map
Let’s look at the different view modes in WriterDuet.
When you have a document inside your project open, you see this small bar at the top that has some options and settings for this document.
In case you don’t see that bar, go to the far right of the screen and click the little down-pointing arrow to swivel it open.
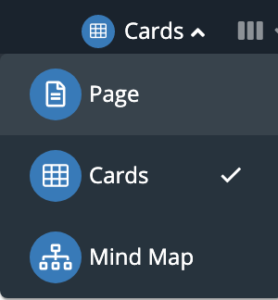
In that settings bar at the far left side you have a menu with view options.
If you click it, you can select between “Page View”, “Cards View” and “Mind Map” view.
 Page View

The “Page View” most likely is the view you’ll have open right now, unless you’ve already changed this view mode. The “Page View” is the “normal” view mode so to speak that you will probably use for most of your writing.
It shows you the text of your document as a page with the formatting that corresponds to the template you chose when you created the document.
Cards View
Now let’s go to the “Cards View” and see what that looks like.
In the “Cards View”, WriterDuet will structure your document according to certain information, also depending on what template you are using.
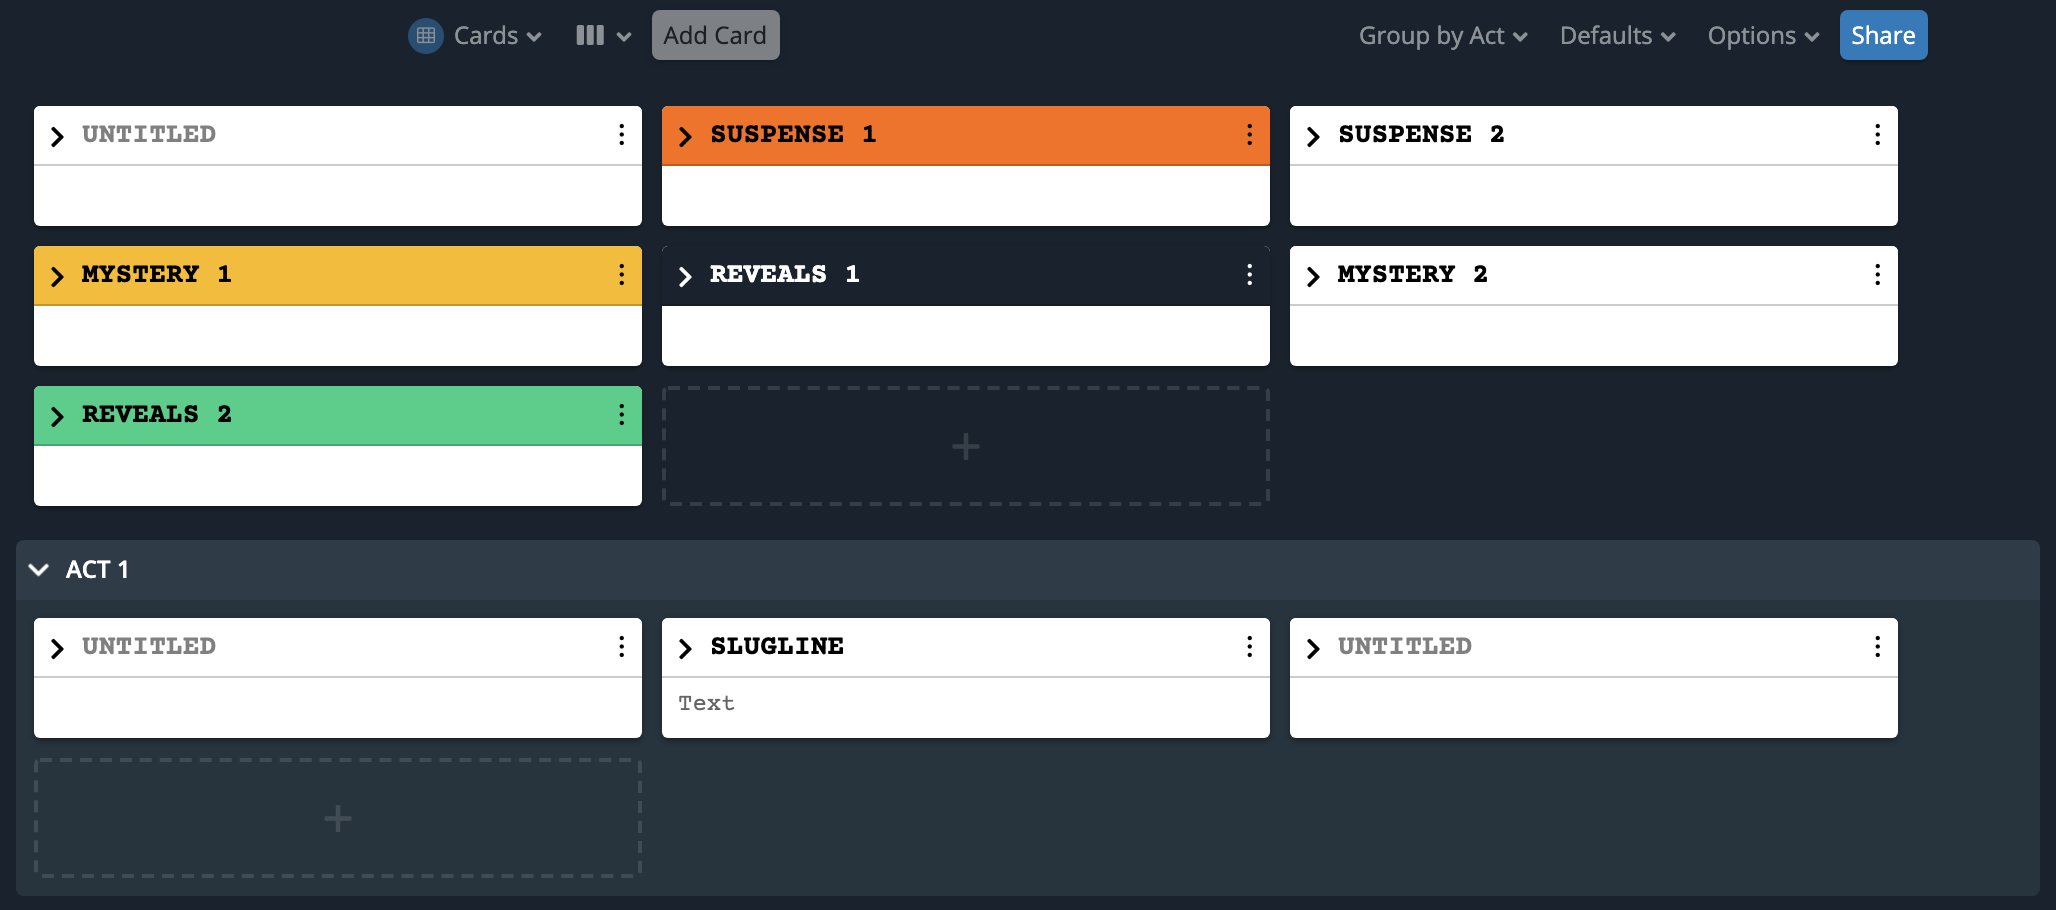 I’m using the screenplay template here, so the program will create an index card for each scene that my document has.
This information that you see here in the index cards view is not different from what you see in the page view. It’s the same document, only the way the information is presented is different.
If you’ve already written something in your document in the page view, you’ll see that content here in the index cards as well.
But not only that, you can also change the content in the “Cards View”. If you double click on the header you can change the title of the index card, which in this case is the scene heading. Or, if you click inside the body of the card, you can change the content of that scene, or whatever the equivalent is in the template you’re using.
If you want to change the size of the cards, you have a setting to do that in the top bar where it says “Defaults”. If you click that, you get two sliders, for height and width of your index cards, and you can also reset them to their default size there.
Next to the “Defaults” dropdown you have an “Options” dropdown. This is where you can check a couple of settings how you want your cards to be shown.
You can activate outline mode, which shows the outline lines in your index cards if you want. If you don’t know what some of these settings are don’t worry for now, we’ll cover them in other videos, for now just know that you can set them here.
Also, you can activate “Dark Mode” if you prefer the darker look, you can show tags, and you can check to show card previews. That means that when you have you collapse your index cards with the little arrow in the upper left corner to save some screen space, and you have the preview option checked, you will still see the first line of your scene content. If you uncheck it you only see the scene heading.
And, you have a button there to collapse or expand all index cards at once.
Then, one more thing, you can group your index cards by sequences and acts here.
If you click in the options bar where it says “Group By” you can choose between “Sequences” and “Acts”.
If you have one of the two selected, you see a button appear below your index cards that says “+ New Act” or “+ New Sequence”.
If you click that, WriterDuet creates a new act or sequence, which is like a sub section of your index cards board.
You can fill these sections with your cards and then move the whole sections around. This might make it easier for you to structure your work, because you don’t have to move every single card around but rather you just grab the sequence and structure those sequences.
To move cards around, just grab them at their title, drag them to their new place and then let go. With sequences and acts it works the same way.
If you want additional options for each of the cards, there is a little menu if you click on the three dots in the upper right corner.
There you can add a colored tag to the card, copy it, duplicate it, apply filters, and so on and so forth, and you can also delete it.
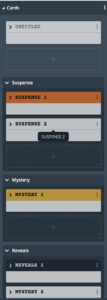
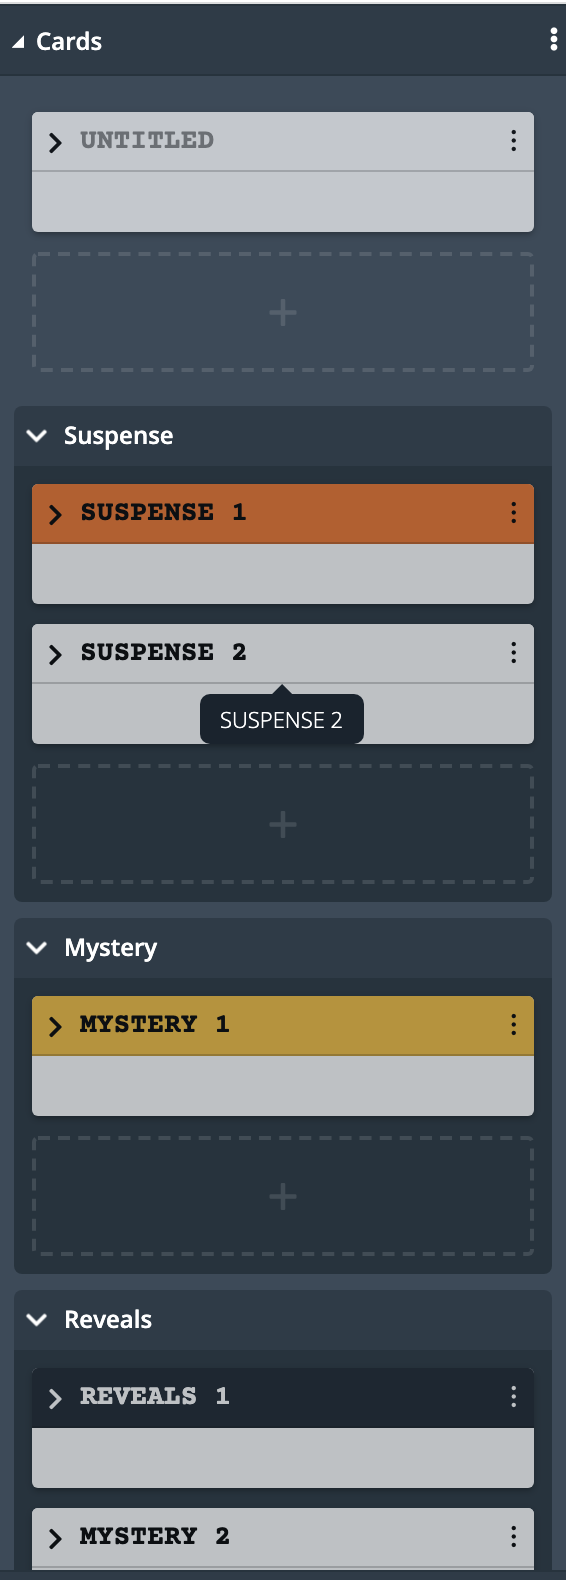
One more thing about index cards in WriterDuet, there is also the “Card Widget”. If you go to the sidebar and click on the “Cards” button, the card widget opens and you see a smaller cards view at the left side. This can be useful when you want to have the page view open because you are writing in your document but you still want to reference the structure of your document.
 Mind Map
Now let’s look at the third view mode, the “Mind Map” mode.
 A mind map also looks a little bit like an index cards board, but there are some differences. The mind map view allows you to move your cards around freely. You’re not restricted to a certain order.
That also means that no matter how you move the cards around in the mind map, the order of the scenes will stay the same in your document.
Also, you can link cards together.
To do so, just grab one card with your mouse, hold it for a moment until it becomes semi transparent, then drag it onto the card you want to link it to.
To unlink cards, do the same thing. Just grab the card again, push it over the other card that it is linked to, and then let go. And the link will be removed.
You also have the display options that you have in the “Cards View” up top, but, in the “Options” dropdown menu you also get a zoom slider.