Celtx Interface Overview
Celtx Interface
Let’s look at the celtx interface a little bit before we jump into more specific functions, just to get a rough overview over where all the tools and functions are.
When you open up your screenplay editor, this is what it looks like. Yours might maybe not look exactly like this one, but it will be more or less similar.
The screenplay editor ususally opens in a new tab, so if you want to go back to your project overview, you can just switch to the other browser tab. Or, if you wanted, you could also click on the little arrow in the upper left part of the screenplay editor that points to the left. That would take you back to the project view in this same tab.
 Top Bar
In the bar at the top you have your menu, and that’s the menu that you would normally have right at the top of your screen if this were a “real” application so-to-speak, that you downloaded and installed. But since this is a browser-based app, you see the menu items integrated inside the browser window.
Then, at the right side of the top bar you have a “Share” button where you can share your project with collaborators. This sharing thing is usually a little easier in browser-based apps because you can just share links, which you can’t do with apps that are installed locally on your computer, at least for the most part.
So, this is pretty handy.
Then, next to the share button you have a “Comments” button, this little speech bubble here, where you can comment on certain areas of the script.
And then, next to that comments button you would have a “Save” button but right now there is nothing to save, so it’s greyed out at the moment.
Then, the “Subscribe” button, hard to miss, if you want to change from the free plan to a subscription plan you can use that one.
An the colored dot at the right side of the top bar gives you access to your plan and your account settings.
You can also use this to log out if you like.
Screenplay Formatting Elements
Then, in the bar below the top bar, going from left to right, we have our screenplay formatting elements.
You just use this dropdown menu to change the line that your cursor is in right now to one of these elements from the list.
You also see the shortcut at the right side of each element, so if you prefer to use those, you’ll get used to them pretty quickly.
Also, you see, at the top of the element dropdown it says, “Tab to switch”.
That is a common way to jump between the most used formatting elements. For example, if you’re in a scene heading, the ENTER key will bring you to the action element, because that’s the one that is usually used right after a scene heading, and then when you hit TAB, you can jump directly to the character element.
So, just try these out, the ENTER key and the TAB key and see from which element to which element they jump, and you’ll get the hang of it pretty quickly.
Then, next to the elements you have the formatting buttons, the usualy bold, italic, and underline, and next to that you have the dual dialogue function.
In many screenwriting apps this function is quite hidden and you really need to know how to get to it from time to time, and you really don’t need it that often. But here they put it right at the top in plain sight.
Then at the right, you have the zoom setting to make the page view bigger or smaller, and you also have a fullscreen button. This hides the browser application and you only see the screenplay editor, which is nice if you don’t want to get distracted by other tabs that you might have open at the same time.
And at the far right you have button for undo and redo.
Footer Bar
Then, at the bottom, you get some funny statistics about how much of the time you’ve been writing and how much of the time you’ve been thinking. Or, at least it supposes you’re thinking when you’re just not writing, which in my case, of course isn’t the whole truth because, well, I’m talking to you.
But anyway.
At the right side, you get a page count, a word count, and you see when the document has been saved the last time.
This would be important, for example, if you lose your internet connection all of a sudden. If you’ve been writing, and you see that this “Last Saved” has been a while ago, it might not hurt to do an export of your script, just to be sure to have a backup.
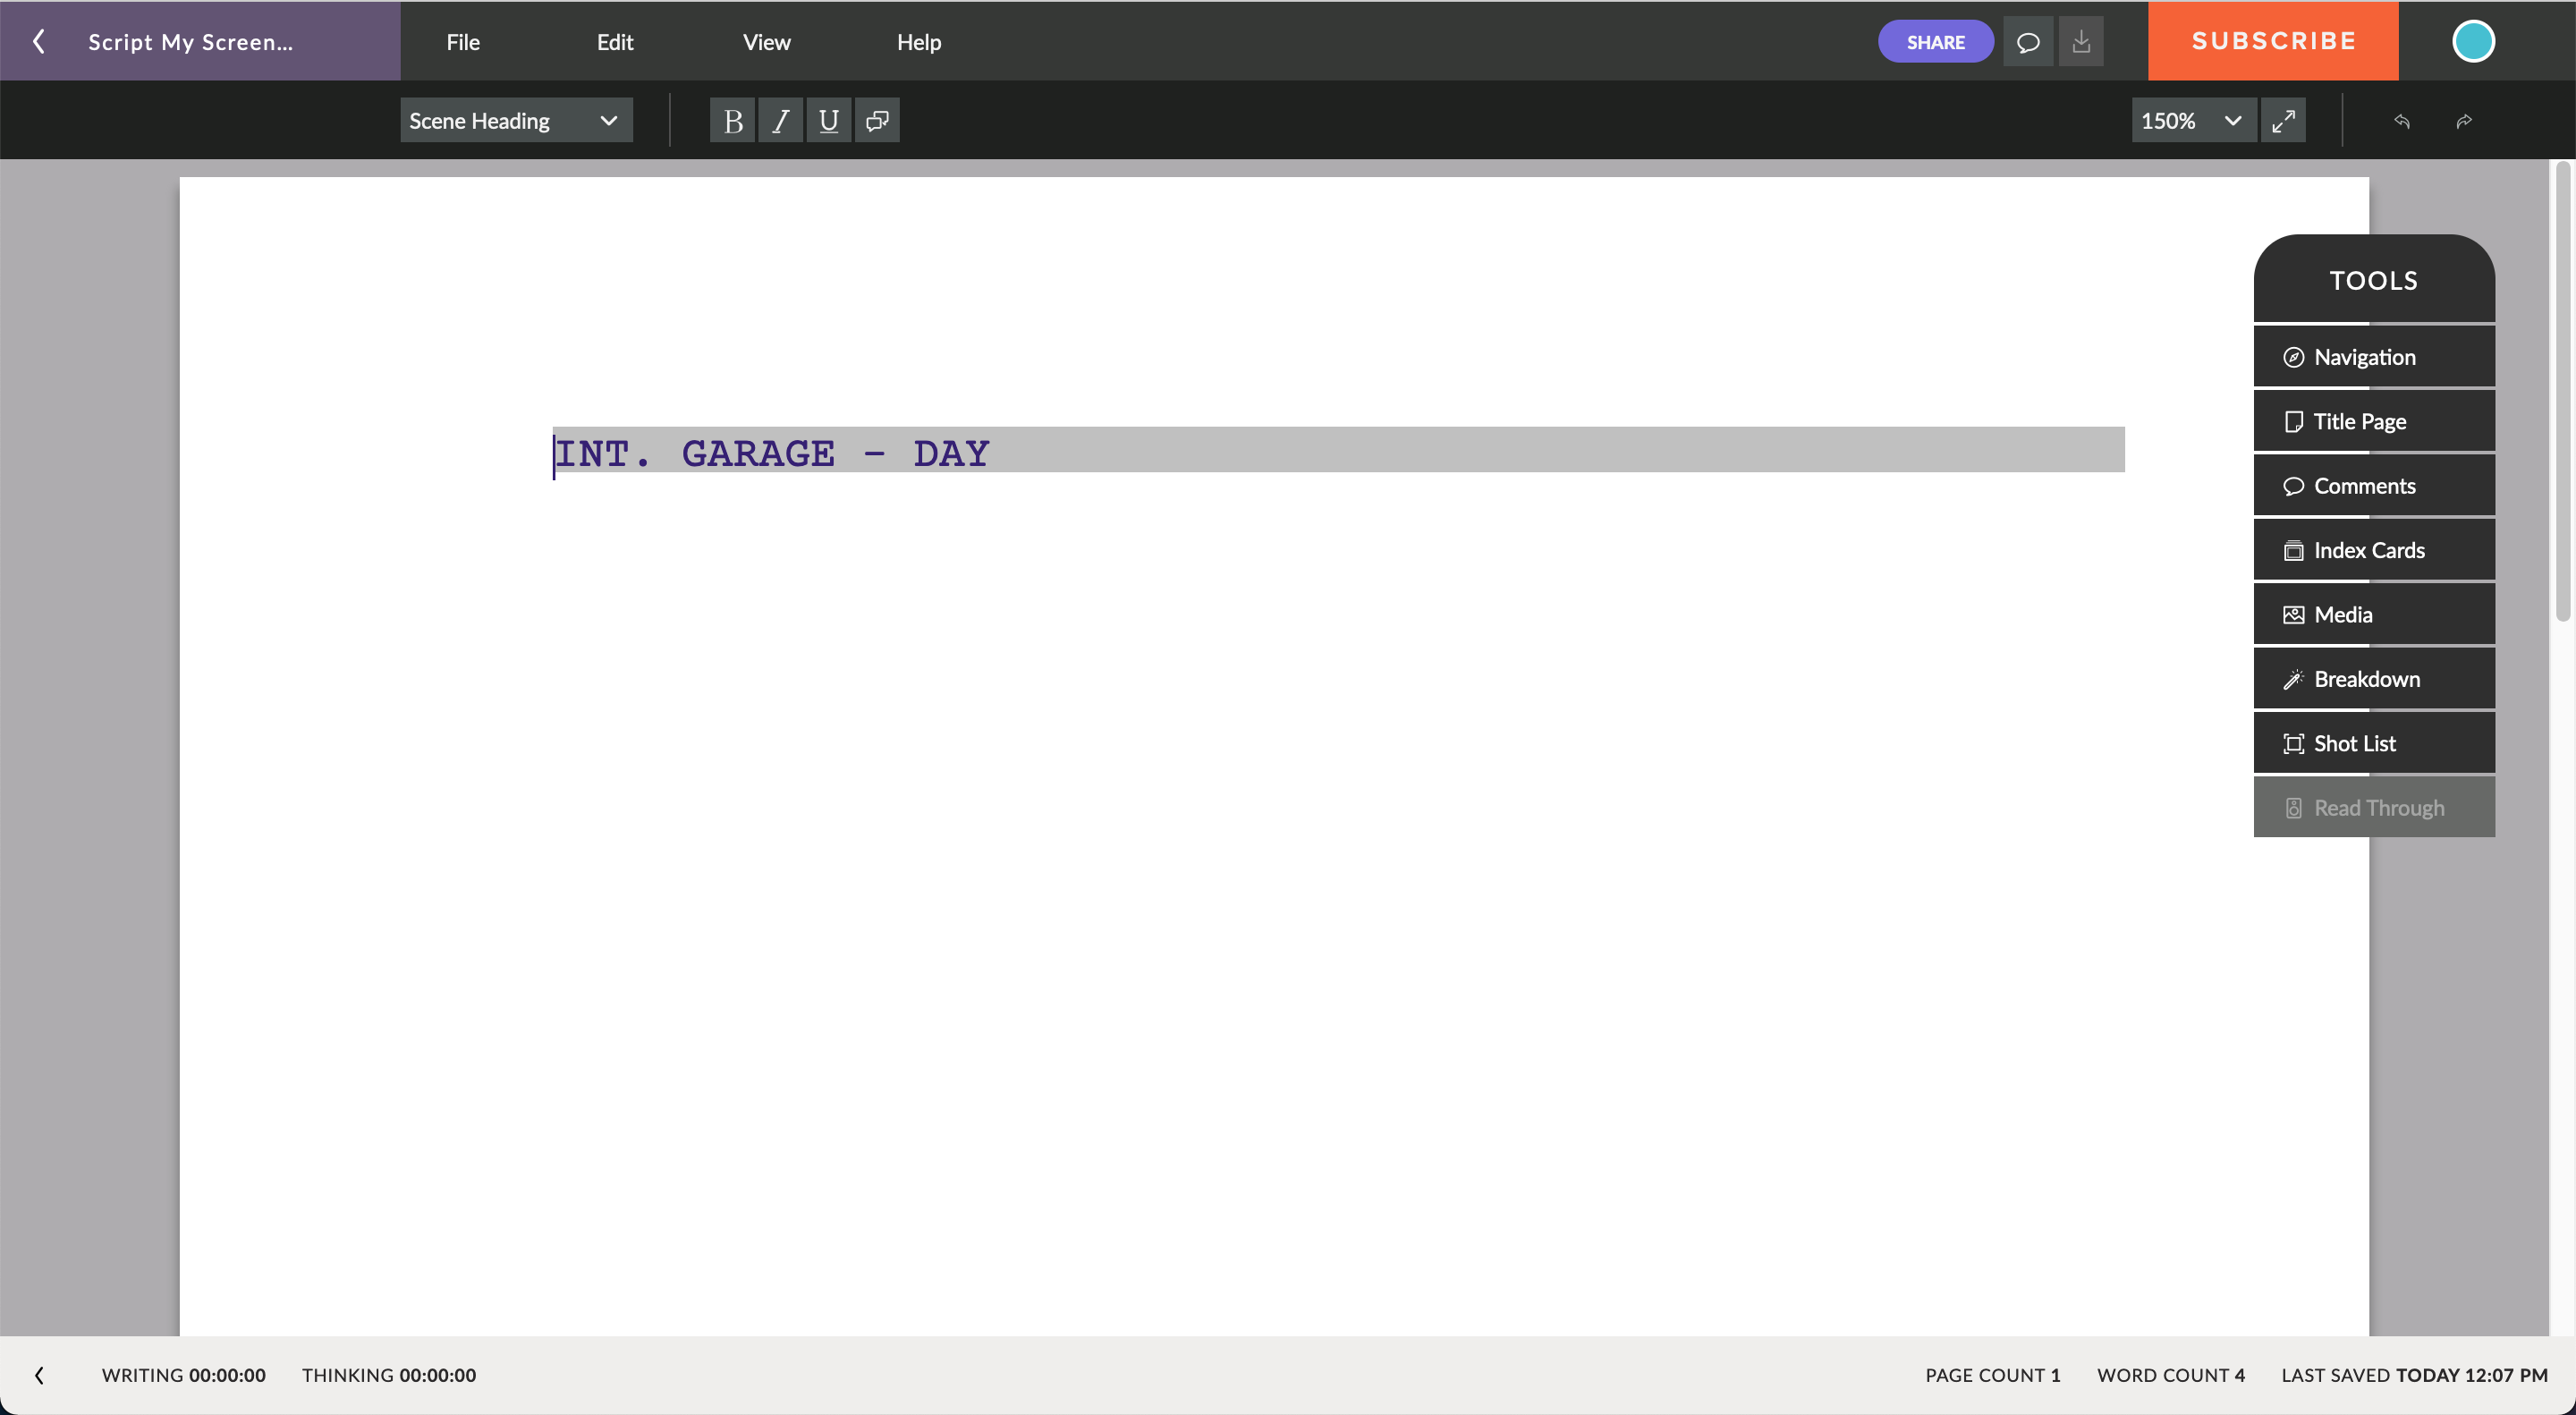
Tools
Alright, the tools.
As you can see there is a nice little tool quick access feature here at the right side of the screen. And we will look into different tools and functions in other videos later, but let’s just see how this quick access toolbar works.
You have all these tools here, like “Navigation”, “Title Page”, etc., you can read them all by yourself and we’ll look into each one of those.
What happens is when you click on one of them, this toolbox changes to the tool that you selected, and you might or might not, depending on which one you choose, be taken to a completely different page. If you click “Title Page” for example.
But you always get this little arrow at the right side of the toolbox header, so to get back to your screenplay editor, just click this one and the tool you chose will close, and you’ll be back with your script.
Alright, this was a rough overview over the celtx user interface, and now let’s go into the different specific functions to see what the application really can do.