How To Create a Title Page In Celtx
Celtx Title Page
Let’s look at how to create a Title Page in celtx.
The second tool in the toolbox that you see on the right side of the screen is the title page tool.
In case it doesn’t show, you can go to “View – Tools” and make sure that “Title Page” is checked there in the menu.
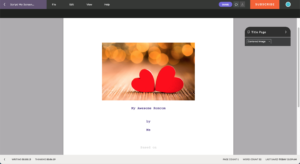
When you click on the Title Page button in the toolbar, celtx takes you directly to the title page, and the toolbox changes to show you the title page controls.
Which is really just this one dropdown where you can decide between if you want a default title page, which is just text, a title page with text and an image, or a title page that consists of one image only.
For this example, let’s look at the “Centered Image” title page, because it has all the elements that the other ones also have.
At the top you have this image section and to add an image, you simply click on the “plus” circle in the image area.
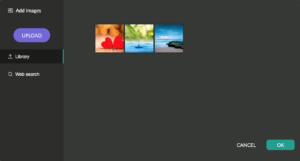
 With the “Upload” button at the left side you can upload images from your computer hard drive. “Library” shows you previously uploaded images that are now in your image library, and the third option you have is to do a web search right within this tool, which is kind of handy.
Just add the search term like you would with any search engine and you’ll get a bunch of image suggestions. When you select one, this will be added to your library.
Then, in the library you can choose, which one you want to add to your script.
The rest of the fields on the title page are text fields.
You see these greyed out lines where it says, “Title”, “By Line”, and so on?
Just click on these and you’ll be able to fill that text field with whatever you want to put in there.
To jump to the next text field you can just press the TAB key if you want.
So, that’s it.
You just fill out the information on that title page, and you’re done.
 In general I would say that the title page tool in celtx is a bit basic compared to other programs, but if you don’t need more than that this is perfectly fine.