Using And Customizing The Final Draft 12 User Interface
The Final Draft 12 User Interface
When you open up the program, it has a very clean impression, only the basic necessary tools and buttons are there. You’re mainly presented with a blank page, which is what you want.
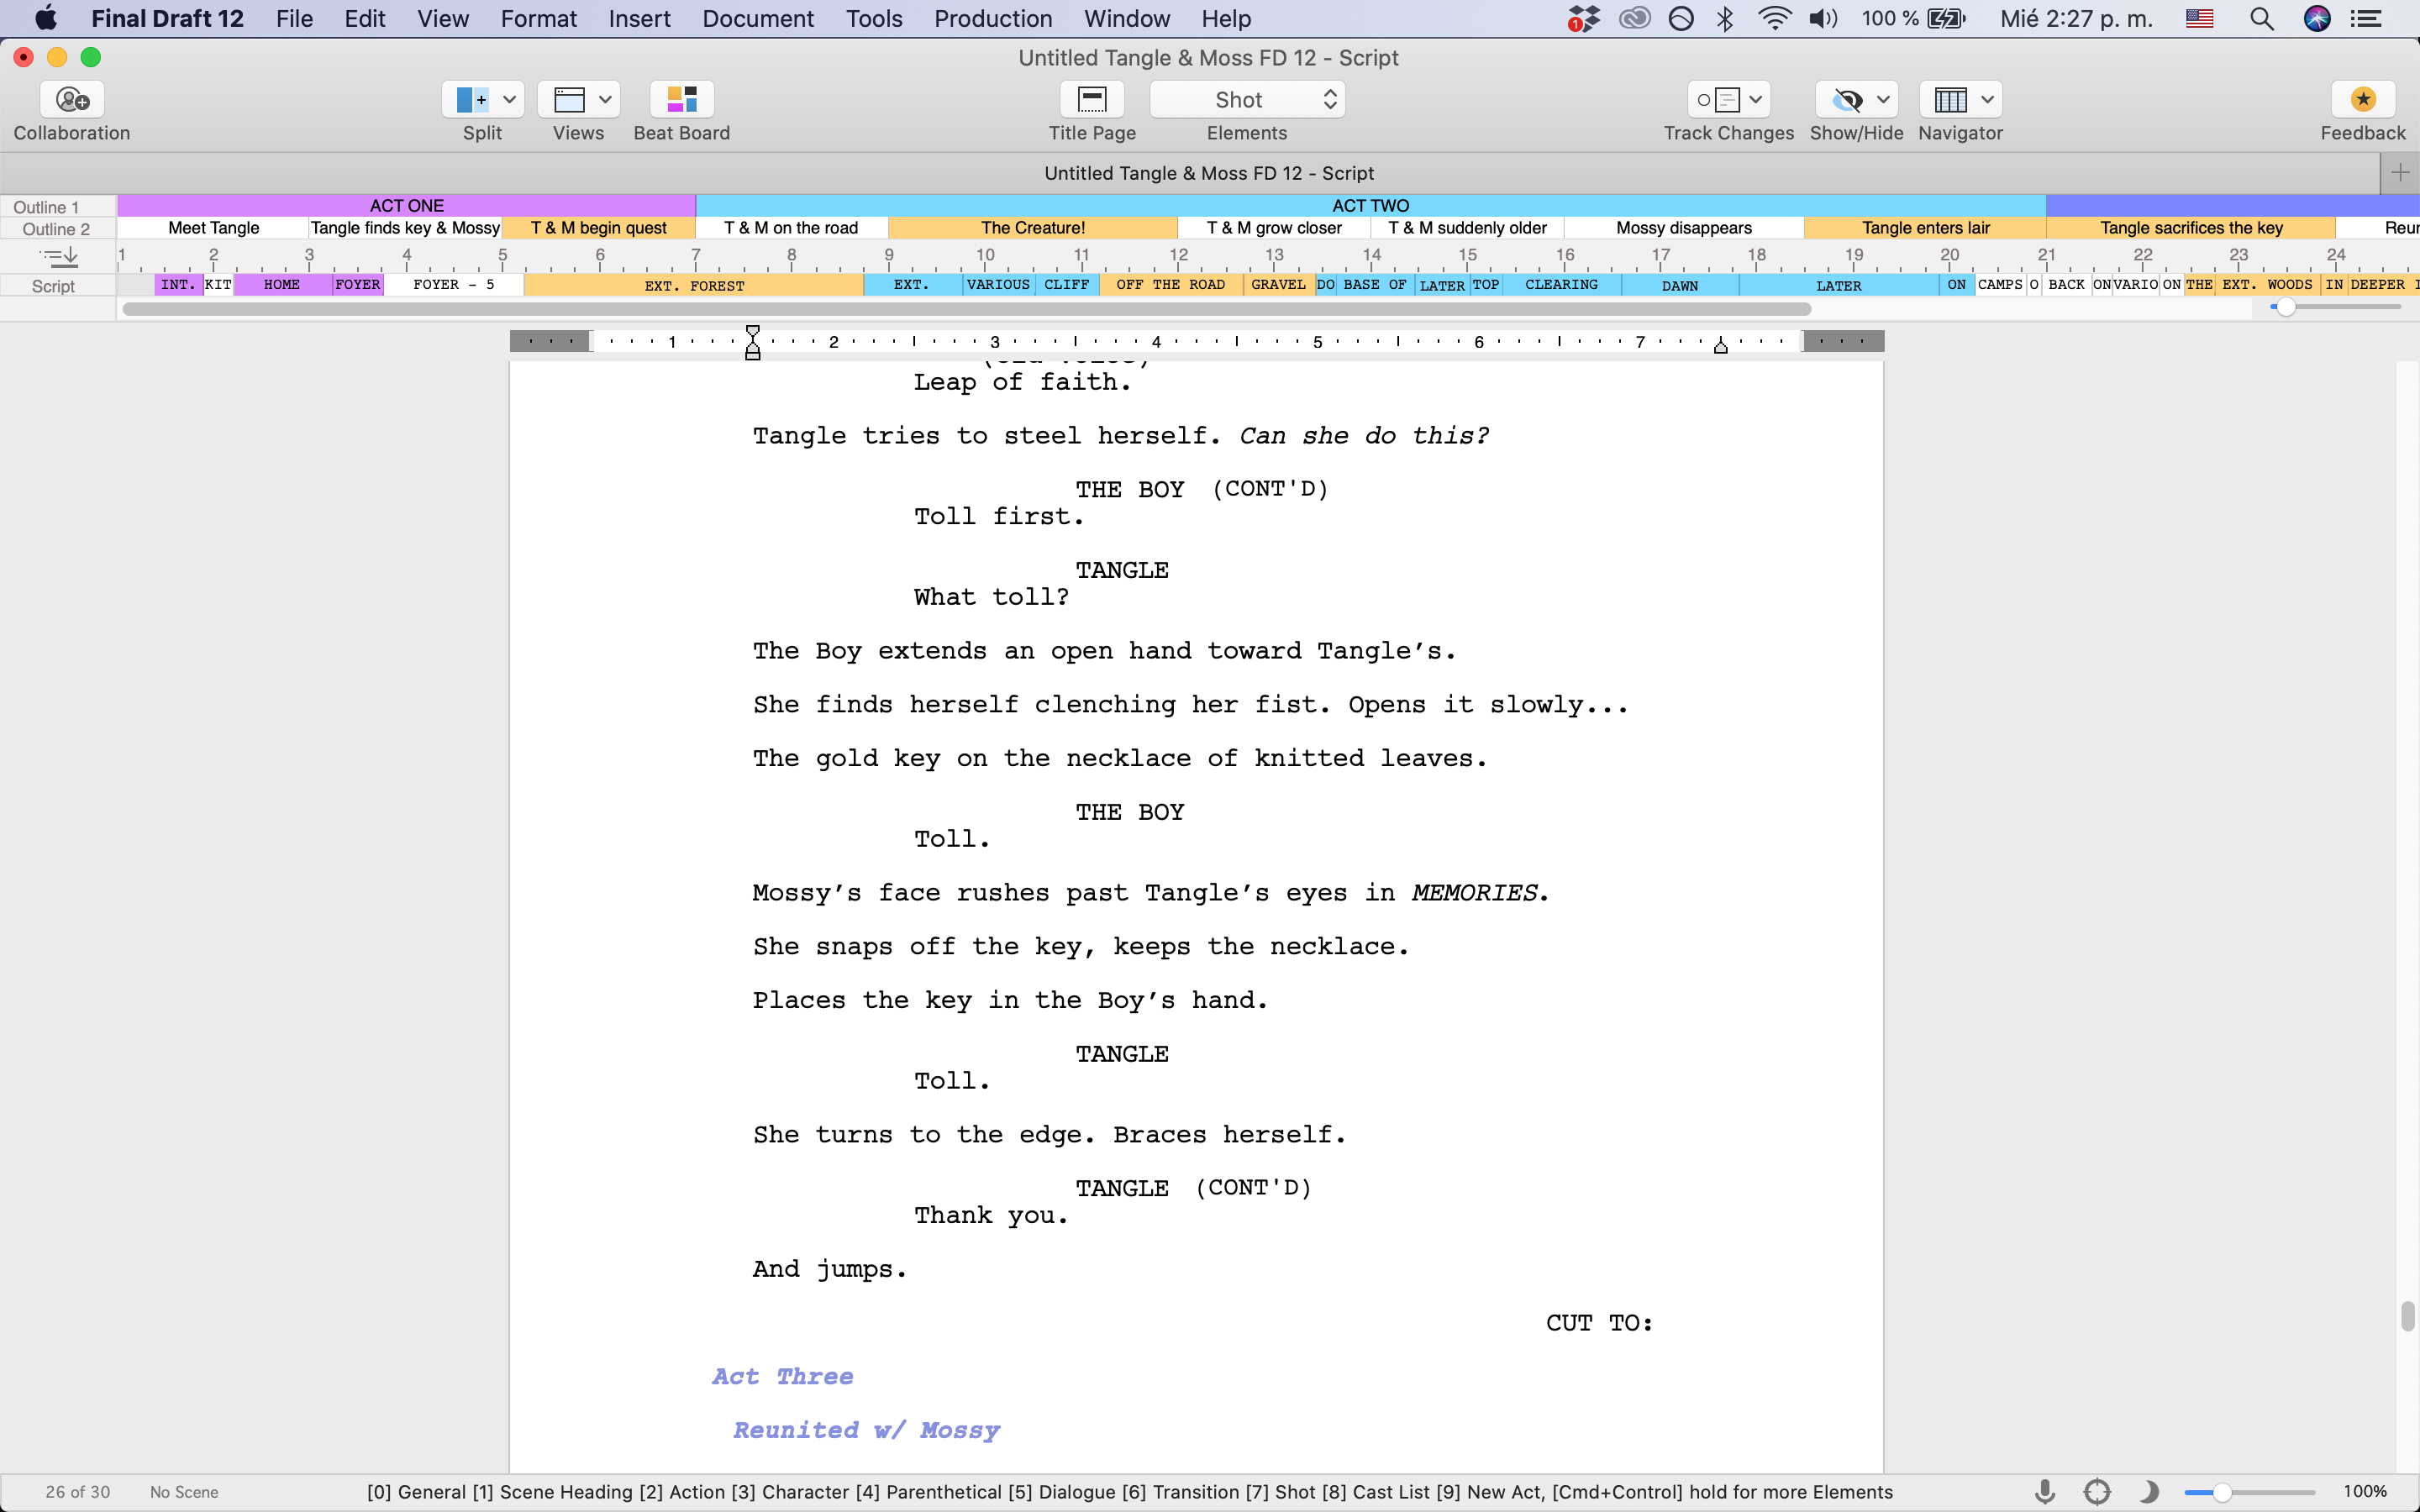 Let’s go through the different areas of the user interface and the main functions that are presented here.
The part up top is called the toolbar and it features access to the most used tools.
Customizing the Toolbar
Before we go through the buttons presented here, let me show you how you can change the way it looks.
![]() If you right-click on the toolbar you can choose whether you want to see the full-size buttons or smaller buttons, and if you want to see the icon and the text, or maybe only the icon or only the text.
If you right-click on the toolbar you can choose whether you want to see the full-size buttons or smaller buttons, and if you want to see the icon and the text, or maybe only the icon or only the text.
If you click on “Customize Toolbar”, a big window opens up that presents you with a whole lot more buttons that you can place on the toolbar if you want.
 We’re not going into what each of those buttons does, all this functionality is explained in other videos.
The important thing to know here is how to change the buttons you see on the toolbar.
If you take a look at the toolbar you see that the buttons that are there are now going from left to right a little bit and in empty areas there is a square all of a sudden.
![]() You can fill those squares with new buttons from the customization window by just click-dragging them over to any place where you want to have them. Or, you could just rearrange the buttons that are already there.
You can fill those squares with new buttons from the customization window by just click-dragging them over to any place where you want to have them. Or, you could just rearrange the buttons that are already there.
If you take a look at the bottom of the customization window you also see two spaces there: “Space” and “Flexible Space”.
If you drag the “Space” to the toolbar it will leave space the size of one button more or less. The flexible space, however, adapts to the numbers of icons left and right, so it adapts its size to the space that is available.
Just play around with this a little bit and I’m sure you’ll get the hang of it really quickly.
Then, when you placed everything where you want it to be, just click “Done” to close the customization window and the toolbar will stay the way you just changed it.
Elements of the standard Toolbar
OK, so now lets go through each of these elements. Some of them are functions that are explained in other videos, so if you don’t understand what they’re doing instantly, don’t worry, there will be an extra section about each of the tools.
Right now, I just want you to get an overview of what is there without having to go look for it in a menu.
In the upper left you have the collaboration feature. This enables you to write together with a writing partner in one document in realtime.
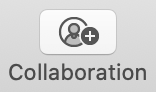 Next to that, you have a group of buttons for changing what you see in the main area below on the screen, which is where you see the screenplay page right now.
Split View
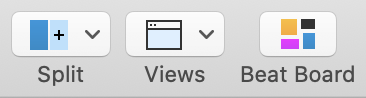 The “Split” button lets you choose between splitting the window horizontally or vertically, so you can have two views at the same time. We’ll have a look at what those views can be in other videos. Just understand that if you want to change the view in one of the split windows, be sure you have the right one activated. Because if not, the other split window will change, which is maybe not what you want.
But, in case that happens, you can also go to the split menu again and choose “Swap Panels”. This is just going to change the views around so you have them the other way top and bottom, or left and right.
If you want to go back to a single window, just click on “Unsplit Panels”. And you’re back to “normal”.
Different Views
When you click on views, you get a good overview of different views to choose from. And also a good impression of some of the programs functionality right away.
We’ll look into those different views with more detail later.
Beat Board
This “Beat Board” button gives you access – obviously – to the Beat Board. The Beat Board is like a canvas on which you can place notes, beats, and images. There will also be an extra section about this.
Title Page
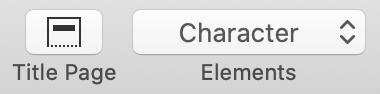 You have instant access to the title page.
Formatting Elements
The formatting elements are center up top. So you have them at your fingertips. This menu dropdown lets you choose and change the different standard formatting elements that we will use throughout writing or outlining the script itself.
We will come across all of these a number of times.
Track Changes
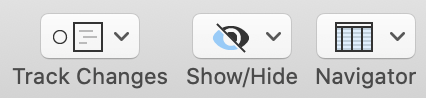 Then, on the right side you have the “Track Changes” feature, which enables you to get or give feedback on scripts.
Show/Hide
Next to that there is a Show/Hide button that lets you see or hide certain interface or script elements. And over time, having gone through all of or most of the functionality of Final Draft you’ll know what all of these are. Just know that the elements you might want to hide or show most often are here in this menu.
Navigator
Then, the navigator menu. You have four types of navigators that will open in an extra window and they’re there to give you additional information on or manage your scenes, notes, characters and tags.
Each one of them will get an extra section.
 With this feedback button, I wasn’t sure if this was meant as feedback for another writer since we also have a collaboration feature here, or if this is feedback for Final Draft, if you click it, it takes you to the Final Draft website. So this is feedback for Final Draft.
Outline Editor
![]() Below the main toolbar you have the outline editor with which you can order your story beats and place them in a timeline so to speak. We’ll look at this in more detail also.
Below the main toolbar you have the outline editor with which you can order your story beats and place them in a timeline so to speak. We’ll look at this in more detail also.
Status Bar
At the bottom you get some standard indicators and that we’re somewhat familiar with from other writing applications, the page number, and if you can click on it you can jump directly to a certain page, and next to it the same with scenes. Now it says “No Scene”. Once you have activated scene numbers it will show the scene number here.
![]()
![]()
In the middle. It tells you what the tab and enter keys do to jump from one formatting element to the next.
![]() Then on the right side, you have direct access to the dictation feature, the focus mode – which is basically a full-screen function that lets you write pretty much distraction-free, a night mode, and you can adjust the zoom level.
Then on the right side, you have direct access to the dictation feature, the focus mode – which is basically a full-screen function that lets you write pretty much distraction-free, a night mode, and you can adjust the zoom level.
![]() Okay, now you have a pretty good overview of the whole Final Draft Interface and you’re ready to jump into more specific functions in order to see how they work.
Okay, now you have a pretty good overview of the whole Final Draft Interface and you’re ready to jump into more specific functions in order to see how they work.