How To Use and Set Up The Outiner View In Scrivener
Scrivener Outliner View
Let’s talk about Scrivener’s Outliner View.
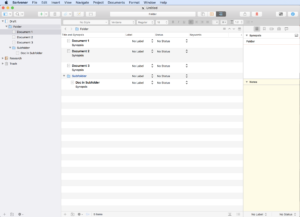
This is the third view mode, apart from the document view and the corkboard view. To activate it, you have these three view mode buttons in the toolbar, and the outliner view is the one on the right.
Viewing Documents In The Outliner
Depending on what you have selected in the binder when you click the outliner view mode button, you might not see anything at all.
And this is because the outliner view only shows you subdocuments or multiple selections. So, if you just select one document and then go to the outliner view, you see nothing.
If you select multiple documents by holding down SHIFT or CMD on the Mac, CTRL on the PC, you see the documents that you selected in the outliner view.
Of, if you click on a folder or document that has subdocuments, you see those subdocuments in the outliner.
 Configuring The Outliner
Now, let’s look at what you can do with the outliner and in what way it is different from other view modes.
Generally speaking, the outliner is a bit like a spreadsheet, in which you can see and edit all kinds of information in a document apart from the main text itself.
You could say that, if you want to see the text of the document, go to the document view, which is the left view mode button. If you want to see everthing else, go to the outliner.
And we will look at what kind of information I’m referring to in a second.
But before that, let me show you one more thing.
The outliner can also display hierarchies. That means, if you have several levels of folders or subdocuments, you can access them in the outliner the same way you can in the binder. As long as these documents are below the one you selected to view in the outliner.
Now, let’s look at what kind of information you can display in the outliner.
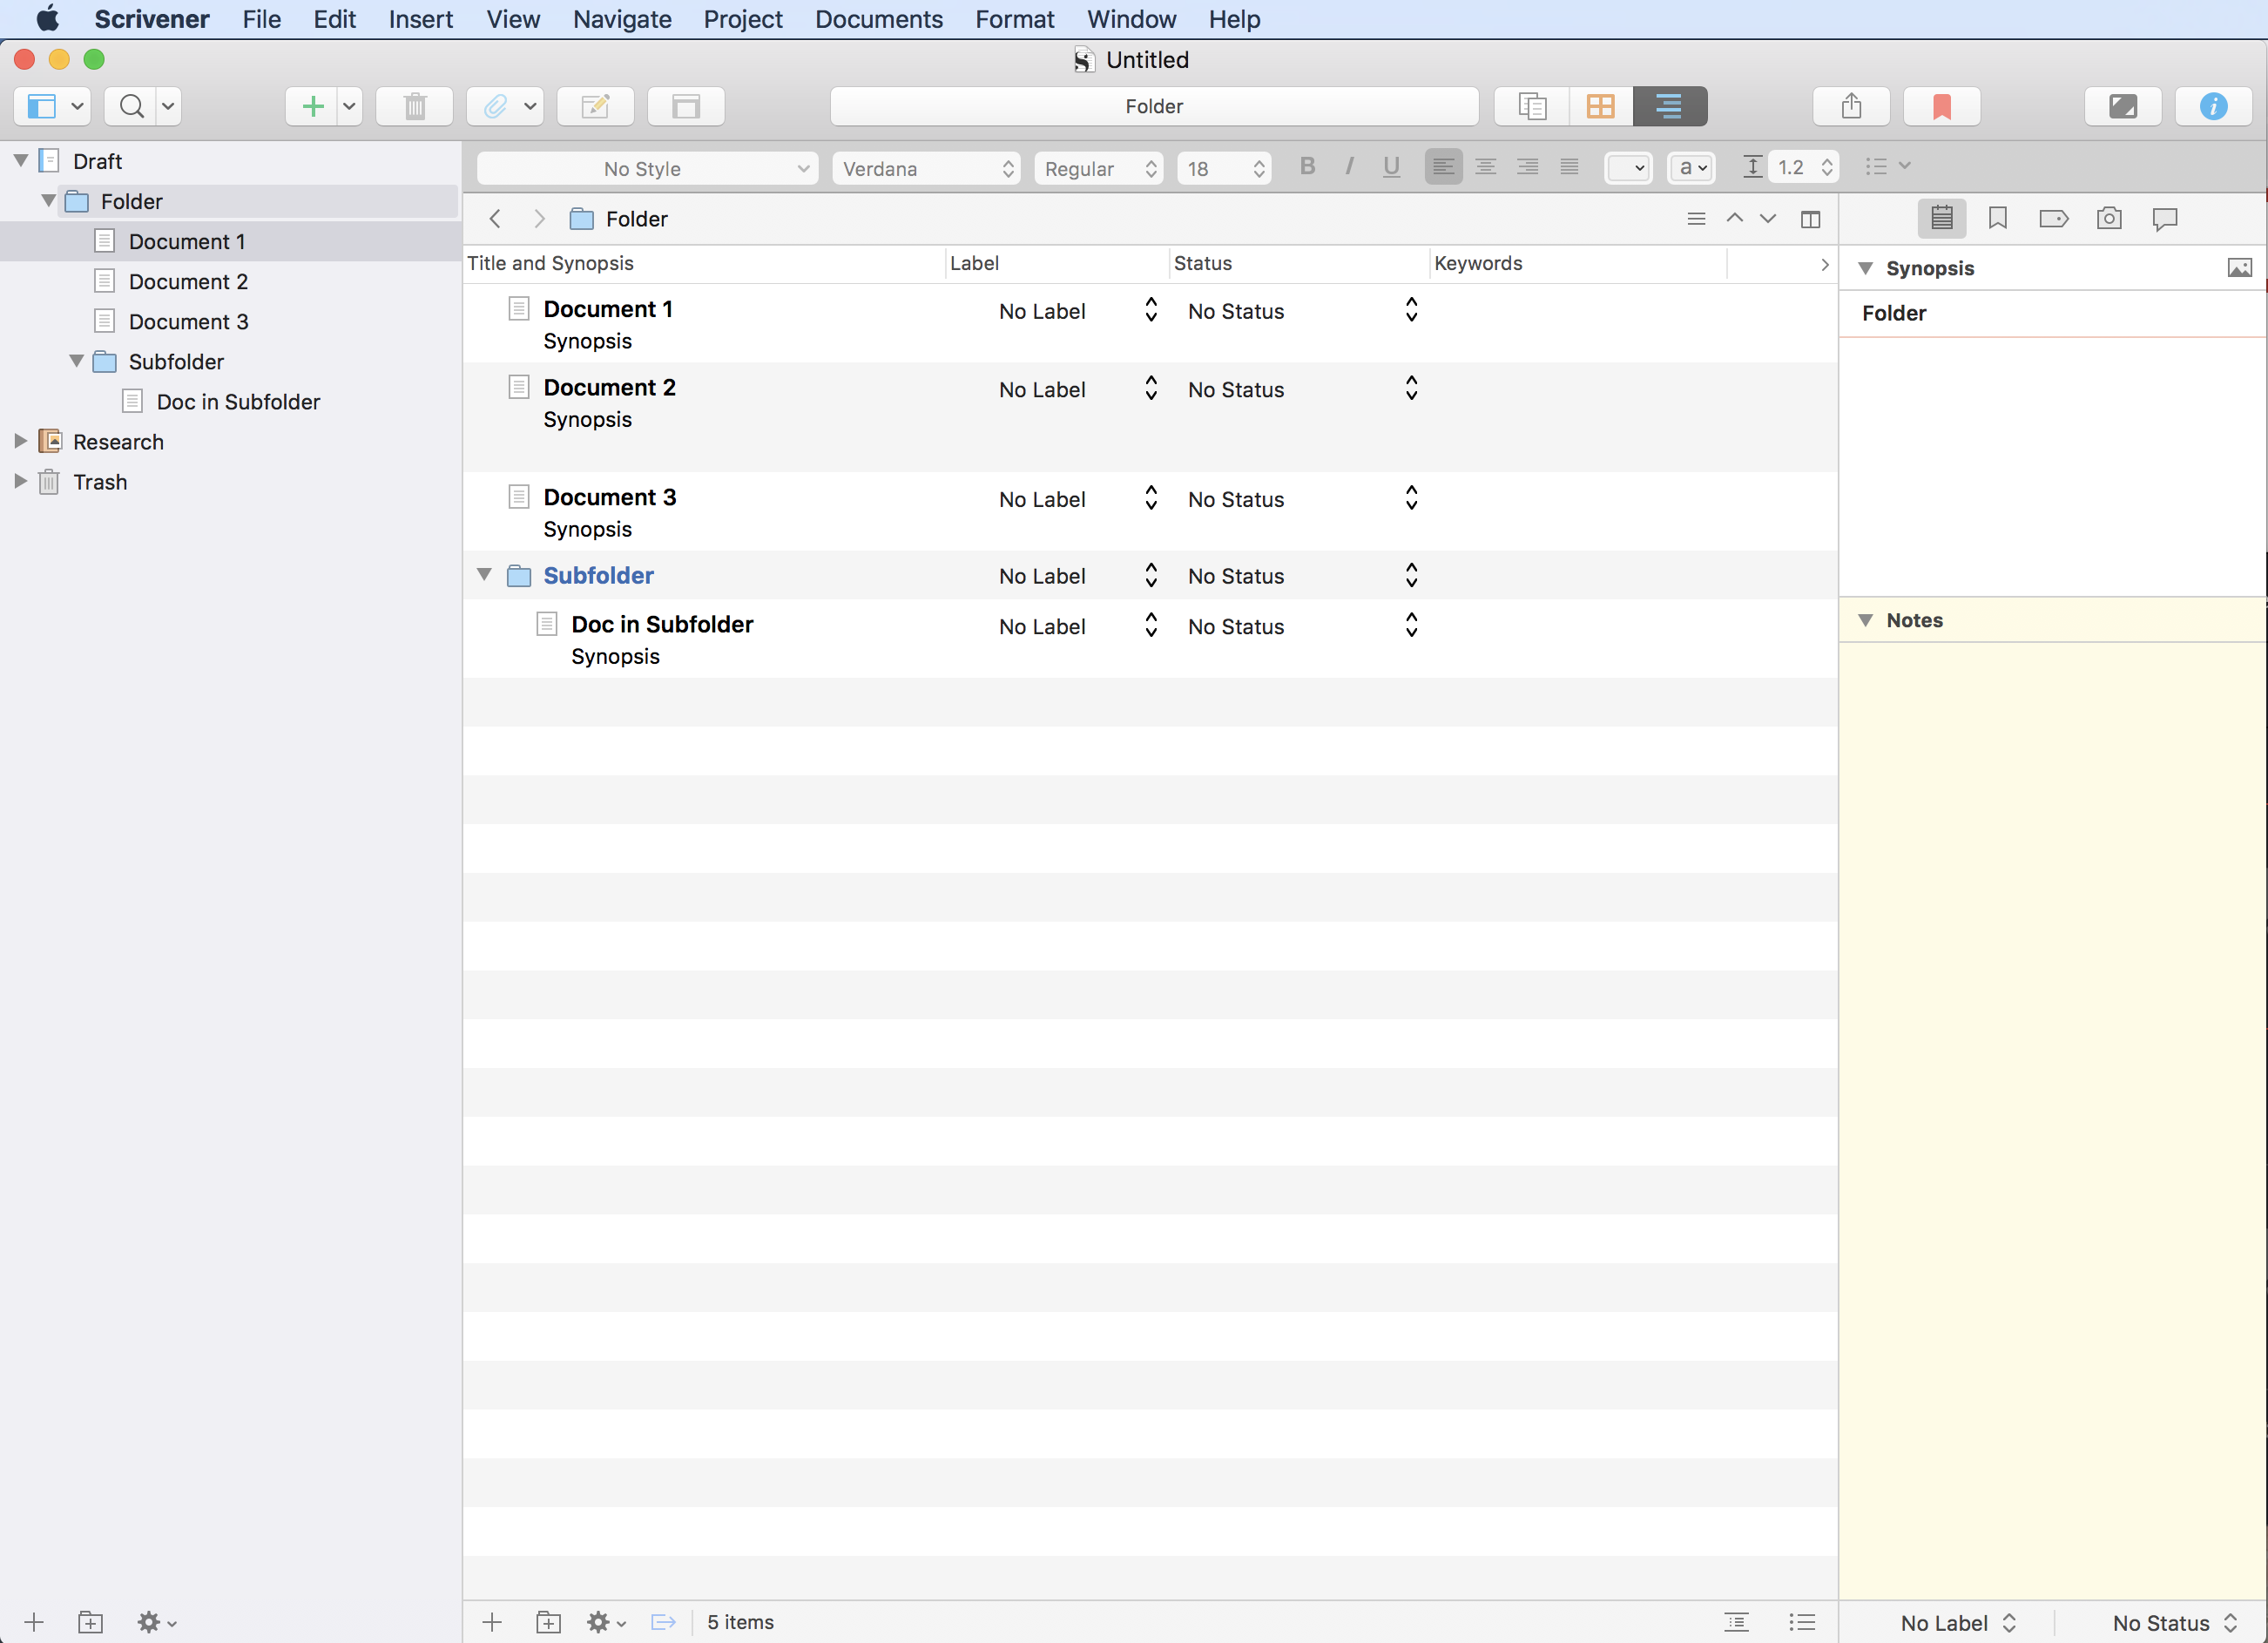
If you take a look at the top of the outliner, you see that there are column descriptions. By default they should be something like, “Title and Synopsis”, “Label”, “Status”, and maybe others.
All these columns hold information that scrivener stores about your documents. Scrivener doesn’t just store the text information for each document, but additionally the symopsis, notes, this information you see here in the outliner, and much more.
Some of this information is useful to you for actually writing, e.g. notes and synopsis, and some of it is more for technical or organizationl purposes inside the program, e.g. when you want to compile your work.
So, at this point you shouldn’t worry too much about what all this is, the longer you use the program, the more you will get used to all these different things.
If you want to change the columns that Scrivener shows you in the outliner, you click on the little arrow at the top right of the window, it’s almost a bit hidden.
If you click that, a list opens up with all the collumns that you can display or hide here. And you see that some of them are already checked.
The checked ones are the ones that are currently displayed, and the unchecked ones are additional ones that you can display if you wish to do so.
This way you can set the ouliner up the way it helps you most with only the necessary information that you need for this project or even this document.
Also, if you want to change the order in which the outliner lists your documents here, just click on the name of one of the columns and Scrivener will order your documents by the content of that column. Click once for ascending order a second time for descending order, and if you click a third time, they will go back to their original order.
Changing the order of the documents here in the outliner by clicking on the column heads does not change the order of the documents in the binder.
If, on the other hand, you move the documents around with your mouse in the outliner view, just like you would in the binder, this does in fact also change the order in the binder.
Let’s also have a look at the bottom.
At the left you see the usualy buttons that you might already familiar with from the binder. These are two “plus” buttons to add new documents and folders, and the gear icon, which gives you access to the same menu that you also have on your right mouse button if you click on a document in this view.
Then, next to that right-click button you have a button that displays kind of a box with an arrow pointing away from it.
If you have two editor windows open, and this button is activated, and you then select one of the documents in the outliner view, the document that you selected will be displayed in the other editor.
So, in other words, the outliner view acts a little bit like the binder with this button activated. You just select a document and that is then displayed in the other editor window.
This can be very nice if you need to refer to the text content of a document quickly, since – as we already discovered – the text of the document itself is basically the only thing the outliner does not display.
Then, at the right side at the bottom you have two more buttons to set up the outliner the way you like.
The right one let’s you show or hide the synopses of your documents within the outliner, in case your documents have one.
The other one to the left places the information in the outliner more to the center. Depending on how much information you have displayed here this might be more pleasing to work with.
Alright, this is basically what the outliner can do. The nice thing about this view is, once you know how to deal with custom metadata, which we will cover in another video, you can add your own columns to this view and have all the information you want to store with each of your documents, at your fingertips. This can really add a new level of overview to your projects if you like working that way.