How To Use The Draft Folder In Scrivener
Scrivener Draft Folder
Let’s talk a little bit about Scrivener’s “Draft” folder, because that is the folder that will hold all the documents that will create your final output, at least most of the time, and it has some special rules that you should be aware of.
In order to show you the differences between the draft folder and other folders in Scrivener, let’s create a new blank project first.
You do that by going to “File – New Project” and then in the “Blank” section you have this “Blank” project.
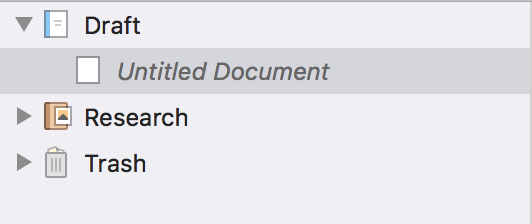
Create this blank project and when Scrivener opens it up you see that your binder only holds three folders:
- Draft
- Research
- Trash
The trash folder is obviously just a trash, and we’ll talk more about the research folder another time. I just wanted you to create a blank project instead of one of the other templates so you can see how a Scrivener project looks if you strip away all the other documents, folders, and settings that you can include in a template.
This is what a Scrivener project consists of at the most basic level, just these three folders.
 You can easily rename the draft folder, so it might be called differently in other templates, but the way it works is always the same.
There are a couple of things that you should know about the draft folder that make it different from the other folders.
The draft folder is where the documents to that you want to include in your compile. That doesn’t necessarily mean that there is no way to compile documents that are outside your draft folder as well, but especially when you’re faily new to Scrivener, the rule is pretty simple: whatever you want to be included in your final output, put it in the draft folder.
Now, having said that, of course that’s not 100% true, because depending on what type of document you are creating, you will have other places to store certain material, for example, pages that come before your main document, such as title pages and prefaces, or pages after your main document, like appendixes and such.
But, generally speaking, it’s good practice to put everything that will become part of your main document in the draft folder.
And, this being Scrivener and being very flexible, you can always adapt your binder structure a little bit later if you find out that you want to do it differently.
No problem.
Next thing about the draft folder, it can only hold text files. If you try to import anything else, Scrivener will not let you.
But what about pictures, you might ask, what if I want to include pictures in my document?
Yes, that’s possible, and there are several ways to do that, but you have to put them into the text document itself. They can’t be in the binder as a seperate file.
It’s like if you drag a picture in a word document. Then you have a picture inside a text file. It works about the same way. But depending on what kind of document you have you might prefer other ways to get your pictures in. For now, just now that it is possible, but you can’t drag the picture into your binder as a seperate document.
Also, another thing about the binder.
If you import text files from outside of Scrivener, whether by dragging them into the draft folder in the binder directly, or via the import function, these text files will be converted into RTF files internally.
You don’t need to know the details about how this information is stored exactly inside Scrivener and how the RTF format works, but you should know that when you drag, let’s say, a Word document in, it is converted internally into another format, and when you export it again, it will look a little different because it’s not a word format anymore.
You can export Word format from Scrivener, but still, once the file has been imported and processed internally, and then exported again, it won’t be the exact same file.
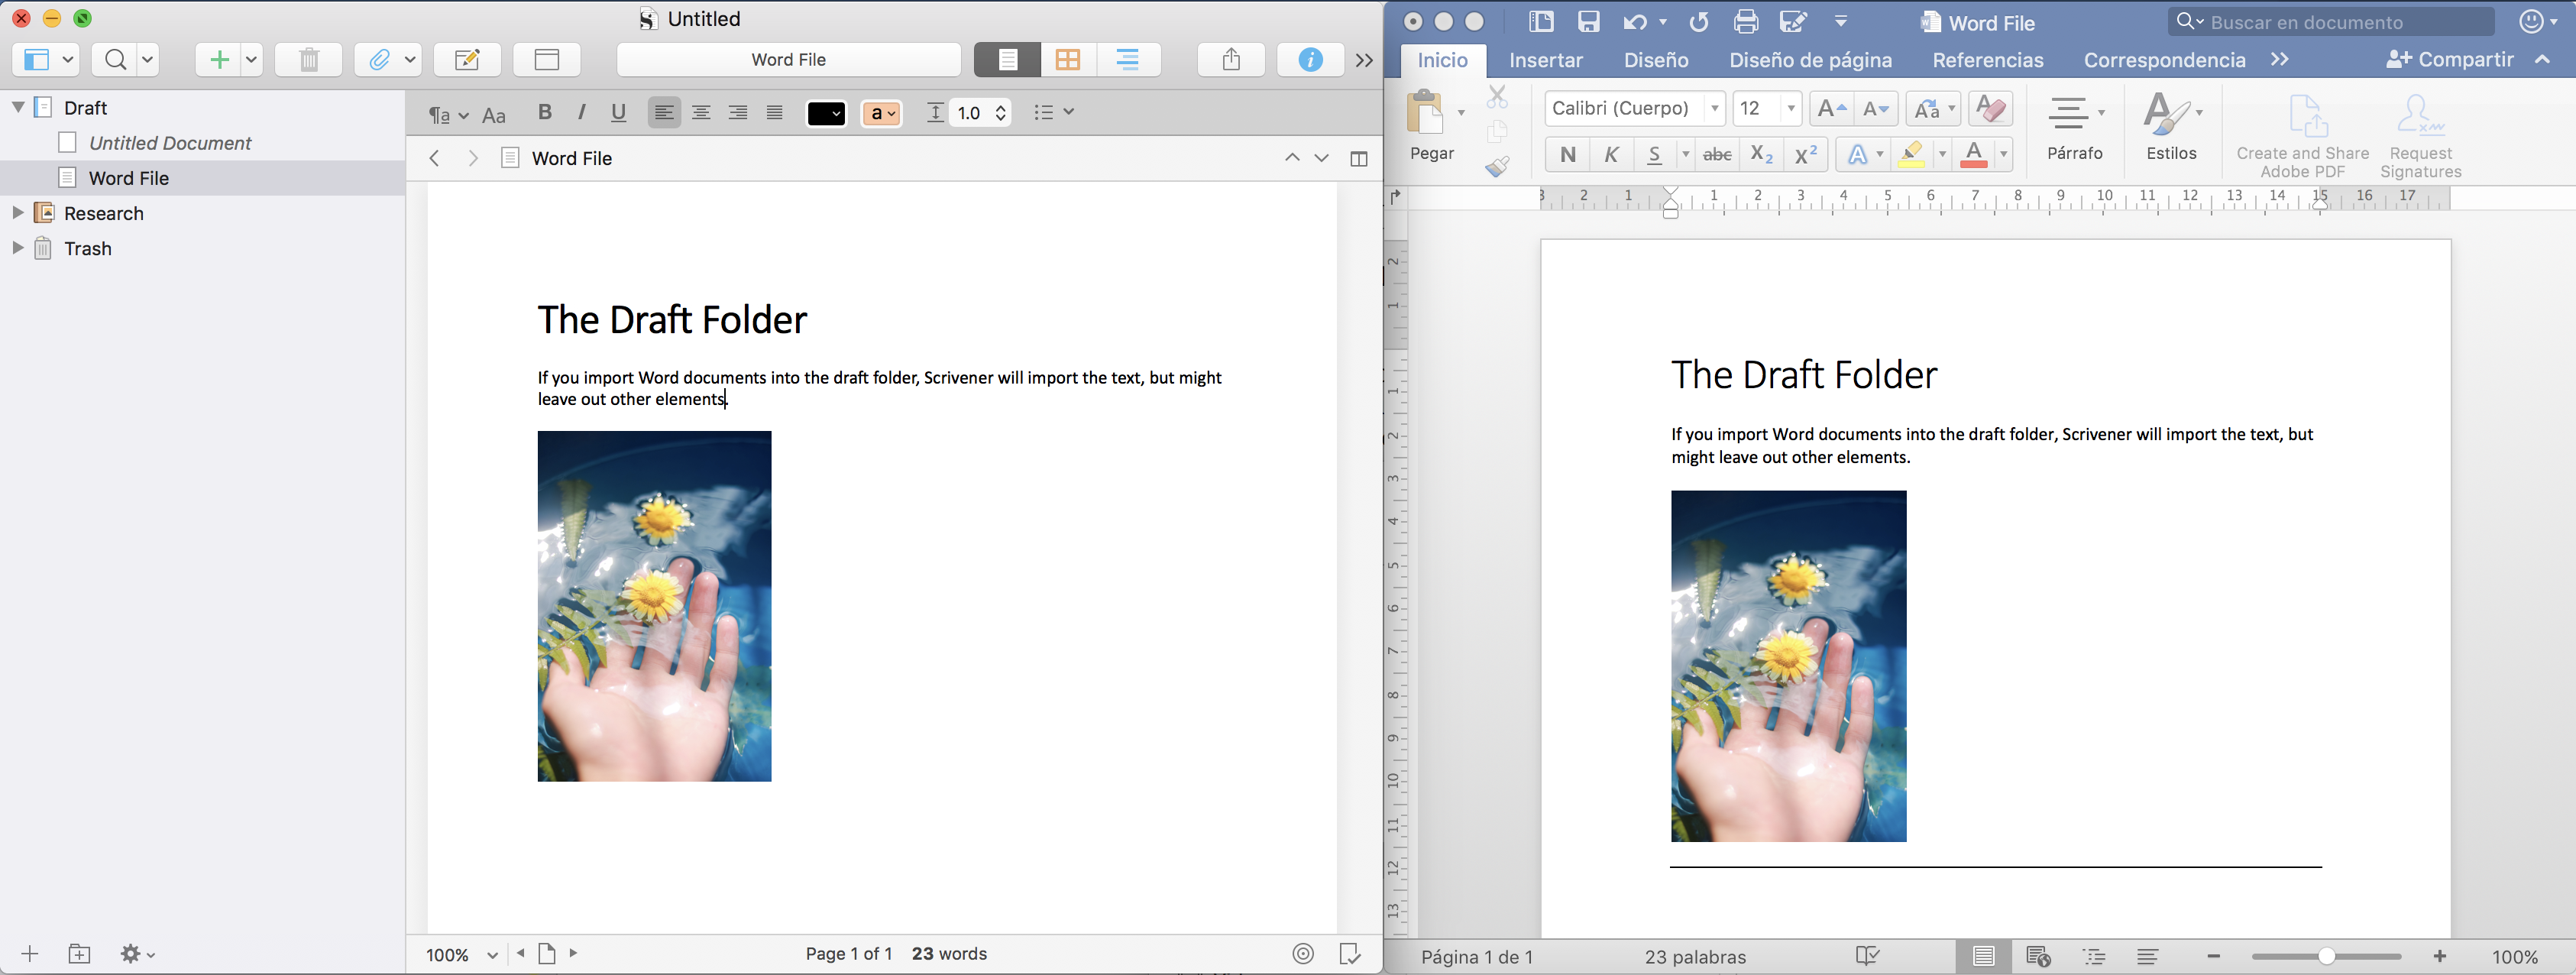 If you want to keep your Word file 100% intact the way it is, it’s best to keep a backup version of it apart from the version you have in Scrivener.
Because the Word format can store a whole bunch of information apart from the text in the document, and when you import it into Scrivener, the text will be imported, but other information might be left out. Because Scrivener uses it’s internal text engine so to speak to keep working with the text content within this project.
And also, the last thing about the draft folder.
You can make as many sub documents and sub folders as you want, but the rules of the draft folder still apply. So, you can’t, for example, have a sub folder in the binder that holds image files. That doesn’t work. If you want to store image files or other media files in your Scrivener project, you need to do that outside of the draft folder.