How To Use View Modes In Scrivener
View Modes In Scrivener
In Scrivener you have several possibilities to look at your documents, depending on what kind of information you want to look at and how you want your documents to displayed.
These are called „view modes”.
View modes come into play as soon as you select more than one document in your binder.
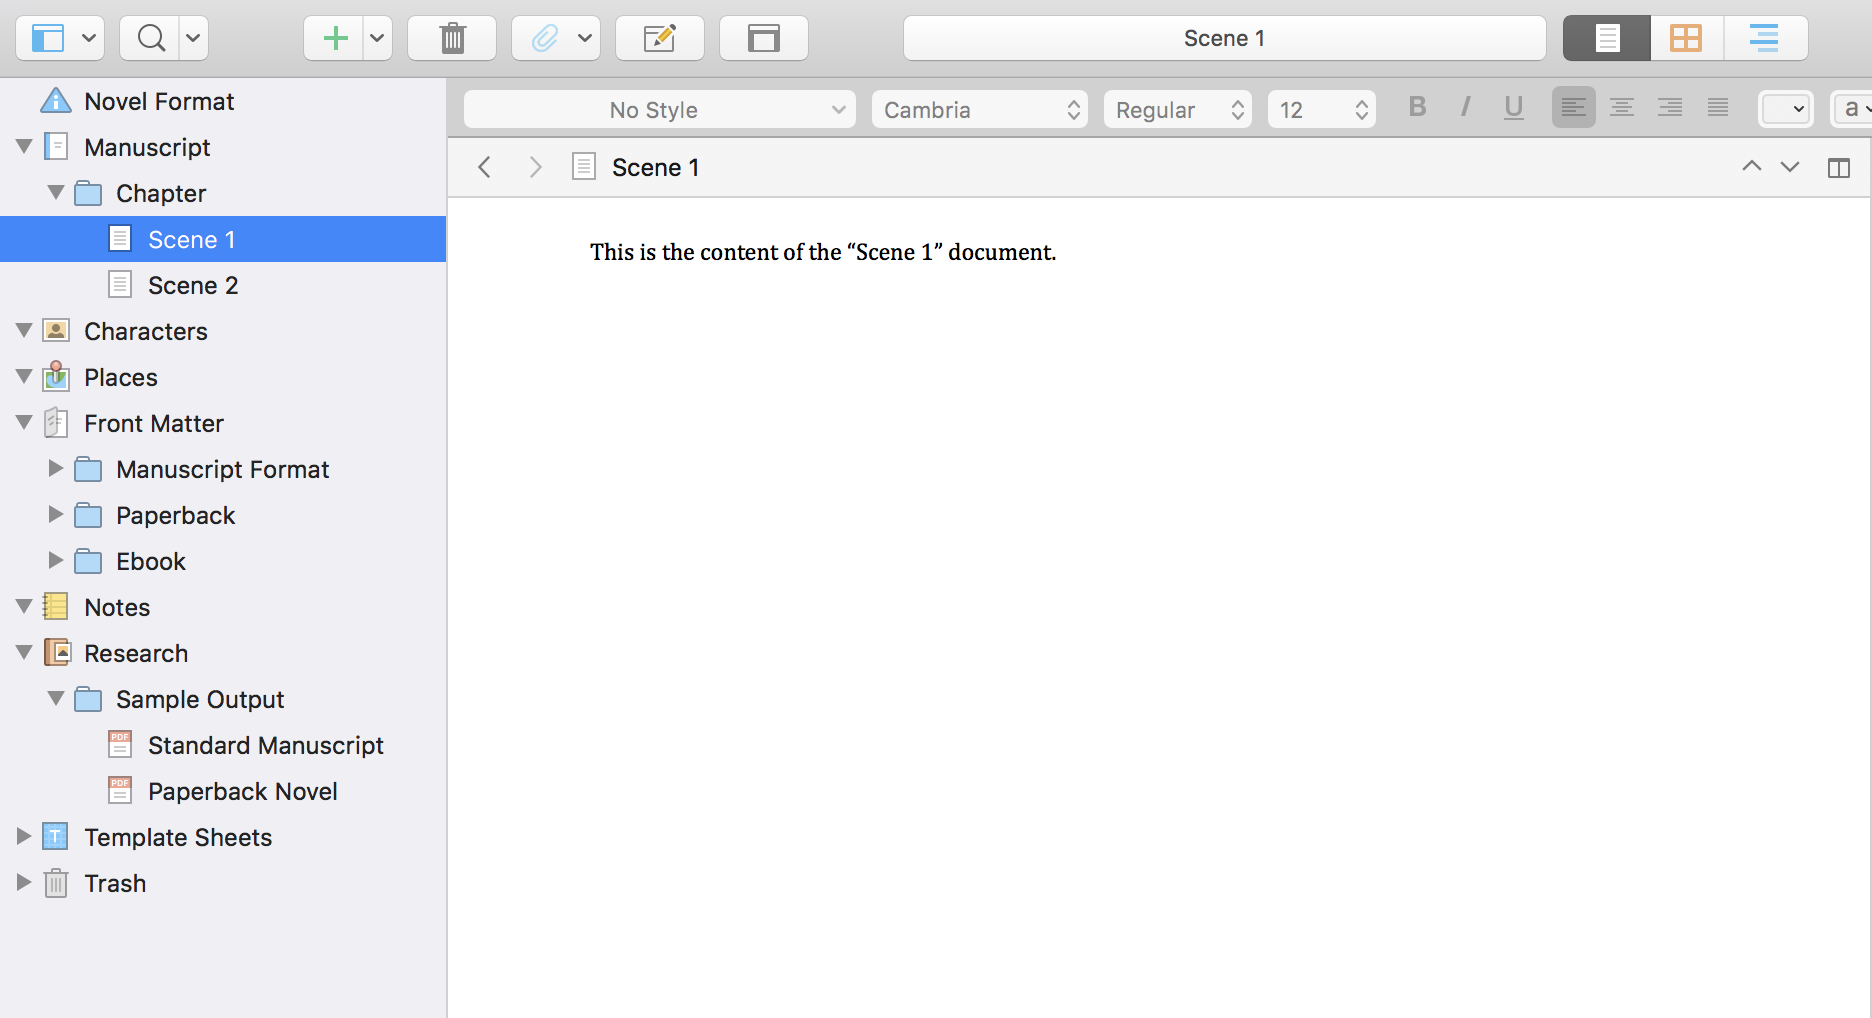
If you select one document here in the binder you see its contents in the editor.
 But as soon as you select two or more documents, Scrivener switches to one of these view modes
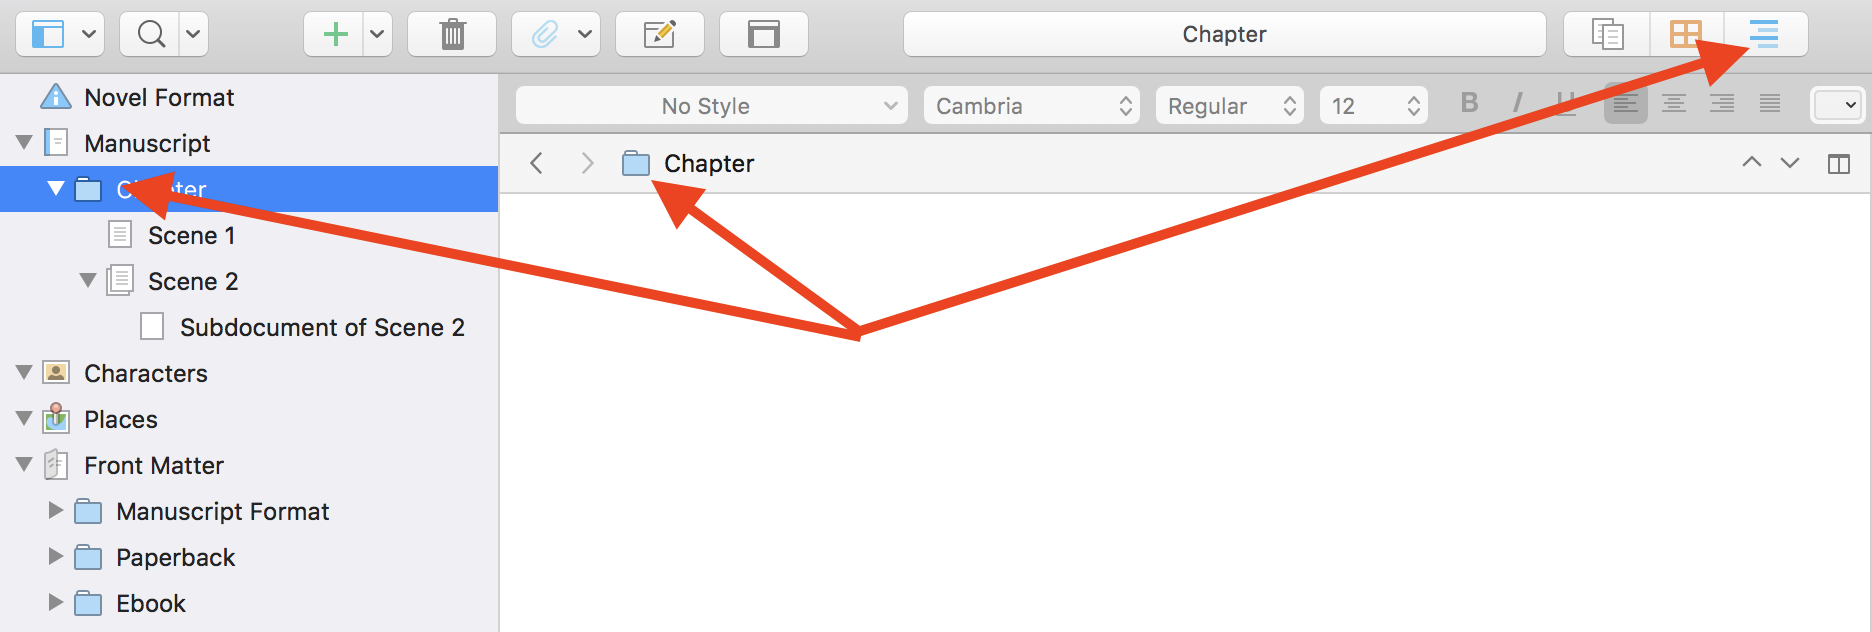
 You can see them above in the toolbar. They are:
- Document mode
- Corkboard mode
- And outline mode
Document Mode / Scrivenings Mode
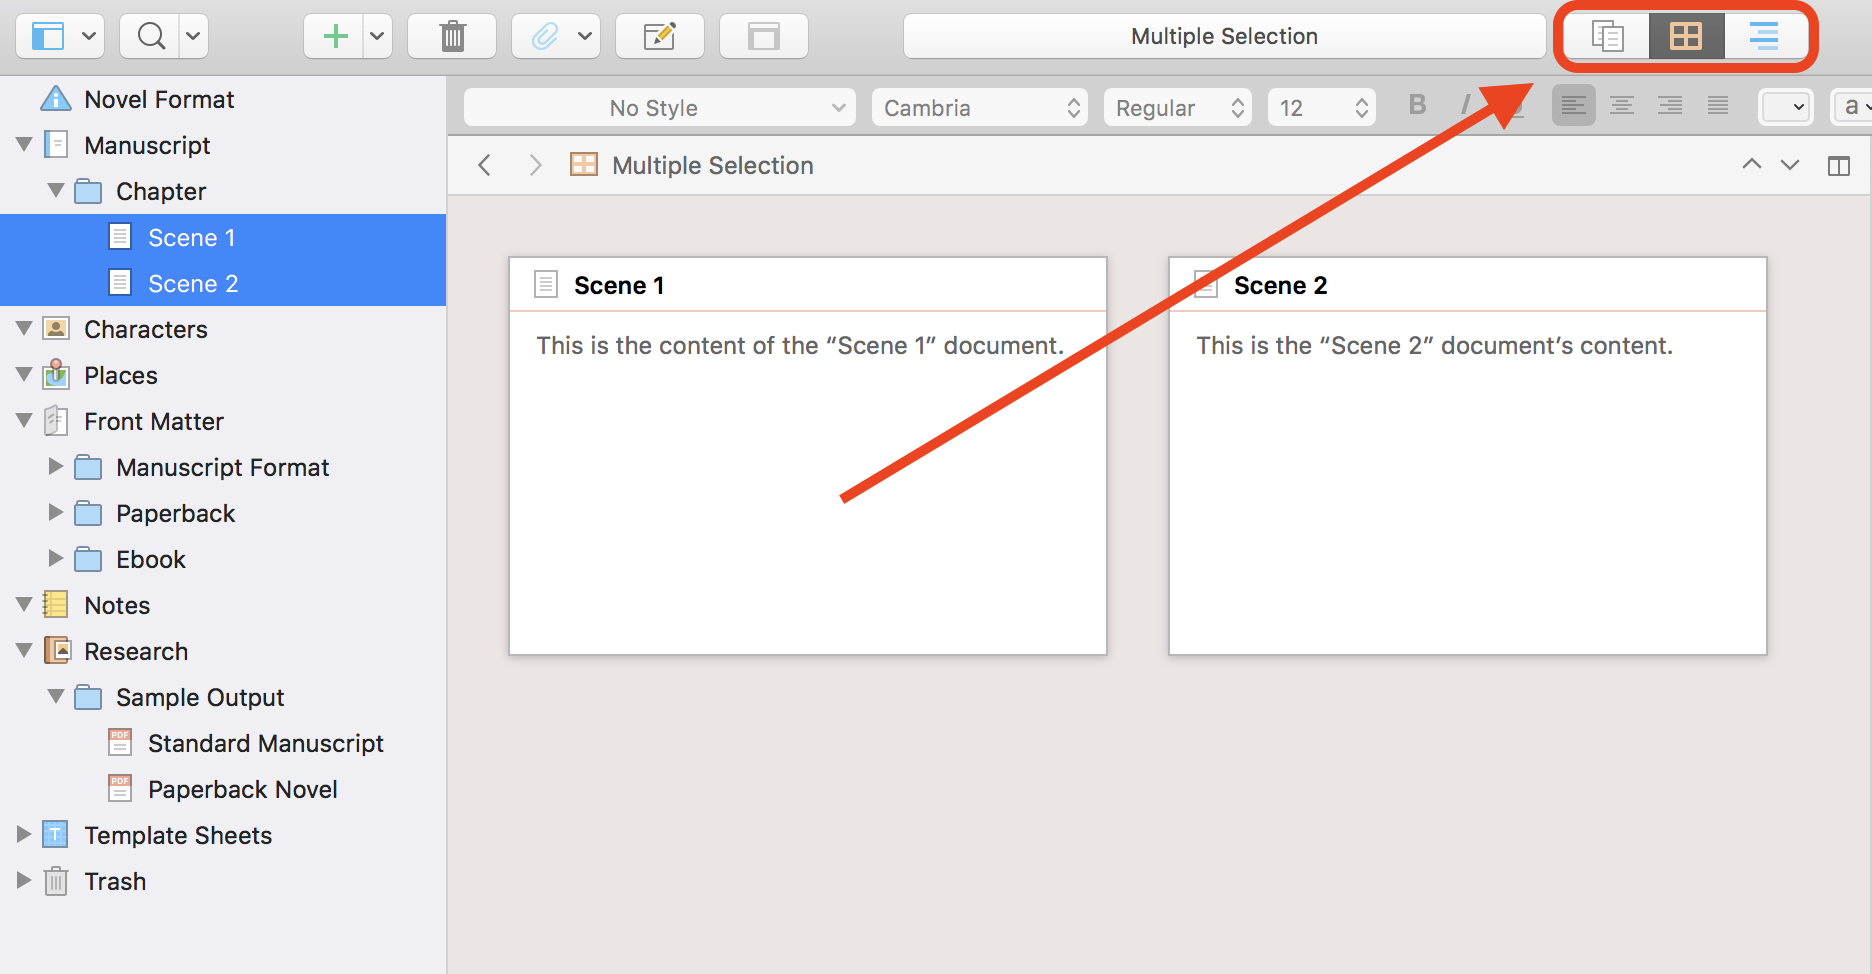
The document mode shows you all your selected documents in one piece, as if it were one SINGLE document.
You see these lines in the editor, this is where one document ends and the next one begins.
Also, if you take a look at the top of the editor where it displays the title of your document, now it says, „Multiple Selection:” and then it gives you the title of the document where your cursor is currently in.
In document mode you see the document’s content in the editor and the title up top. If you want to access other information like notes and synopsis, you need to go to the inspector to do that.
Corkboard Mode
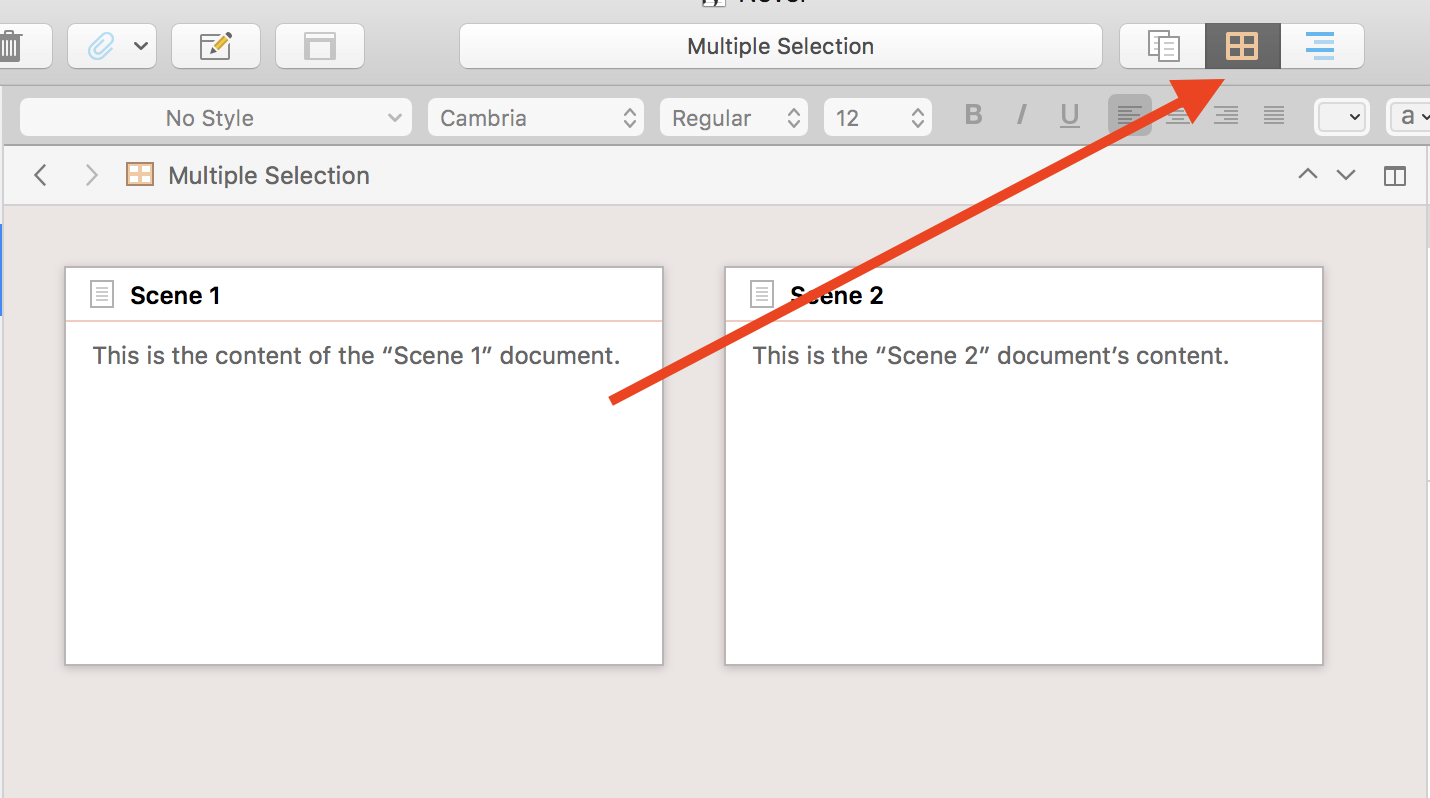 The corkboard mode basically does what it says, it’s a corkboard representation of the documents in your binder.
You can view and edit your document title and synopsis here and switch documents around if you like.
If you change the order of documents here, those changes will be reflected in the binder.
The corkboard view shows you the synopsis of each document on an index card with the title at the top of the card.
Outline Mode
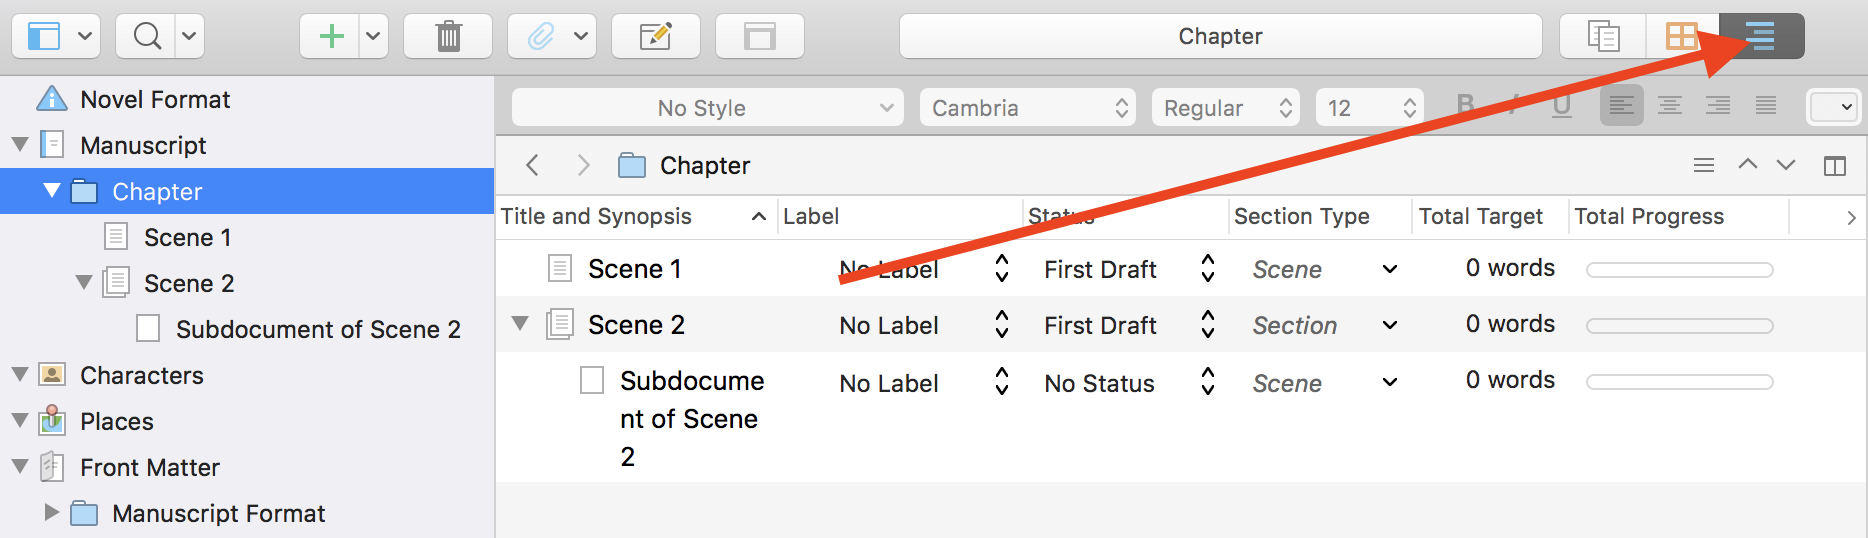 In the outline mode you can also view and edit title and synopsis, but you can also do a lot more.
You see the whole binder hierarchy of all the subdocuments of the document that you selected, as well as selected metadata like label and status, and depending on how you set it up, also the synopsis.
You can also choose to display different information like keywords, compile settings and the like.
You can also change the order of your documents here if you like, and those changes will also be reflected in the binder.
Now, which view mode does Scrivener choose if you select multiple documents?
It usually takes the one you used last. And on a new project it’s usually the corkboard.
Deactivating View Modes
One last thing.
If you select a document with children, Scrivener might automatically switch to a view mode. If you’d like to see the contents of the parent document instead, click on the activated view mode button in the toolbar, and the editor will show you the content of this one document only.
 We will have a look at each one of the view modes in other videos, for now, just know, just know where you can change the view mode and what kind of information it displays.