
Easy Compiling With Scrivener’s Default Compile Formats
Scrivener Default Compile Formats
Let’s look at how you can use default templates in Scrivener to get a nicely formatted output – or export if you will – of your work.
As you might already know if you’ve been working a little bit with Scrivener, the compiler is what transforms the documents you want to get out of your Scrivener project into the final document they will become.
The compiler defines for exmaple, which parts of a documents will be used in the output. These “parts” could be only the body text of the document, but also the synopsis, the title, the notes, and other metadata.
It also defines how what content will look, in terms of what title settings it will have, what font, what formatting, what kind of spacing between the different documents you have in your project, etc.
So, the compiler is a very powerful tool and if you know your way around it a little bit you can really use the strength of Scrivener’s versatility to create completely different output documents from the information you have in your project.
You could, for example, have a compiler setting for compiling only the body text, and then have another setting that compiles only the synopses of the same documents and gives them a incrementing number before the title.
That is useful for example when you want to create a numbered outline of your story.
So, in order to create these two different documents, you would not need to create different versions of your document, you only need different compile settings that will handle the information that you have already stored in your documents, differently.
But in this article we’re not looking at all the different compile settings, but rather we’ll have a look at the ready-made settings that are already in there, so you don’t have to deep-dive into the compiler to create nicely-looking documents.
Default Compile Presets
To open the compiler, go to “File – Compile”.

 At the left side of the compile window you have a “Formats” section.
In this section you’ll see all the compile setting presets that you have. They are called “Formats” here.
In this “Formats” section, there is a sub section that is called “Scrivener Formats”. These are the compile formats that come ready-made with Scrivener.
So, in order to use these, you don’t have to worry about Scrivener’s compile settings, you can just use these.
The only thing that you need to be aware of, is, when we leave the compile window for a second and go back to our project, you see that I have an explanation page here in my template that explains how this project will be compiled.
You should have one of these in every template that you use. In this case I’m using the “Novel” template, but this is just an example.
On this information page of the template, check, which information from which part of the project hierarchy is used for what in the compiler.
With that I mean, in the novel template here for example, you see that we have a pre-built structure with a folder that is called “Chapter” and a document in that folder that is called “Scene”.
And on that information page it tells me, “create a new folder for each chapter and title each folder with the name of the chapter”.
That’s because the compiler is set up to use this information to create your novel manuscript. If you put the information elsewhere, the compiler won’t have the right information.
So, that’s important. Before you use the templates, give this info document a read in order to know how to use the template correctly. Otherwise you might end up having to re-structure the whole thing when you try to compile it and the output is not what you expected.
Alright, back to the compiler window now.
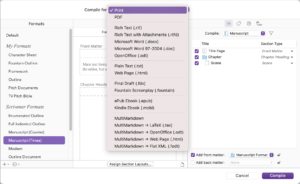
Output File Format
At the top of the compiler window you can choose the file format for you compile output. Just pick the format you want and that’s it.
 Section Layouts
In the middle section of the compile window you can assign section layouts to the different elements that you compile.
But they are set up by default also, and for the sake of simplicity in this article, I’ll leave those out for now.
We will take a look at how to use them in another article later on. So, just don’t worry about those for now.
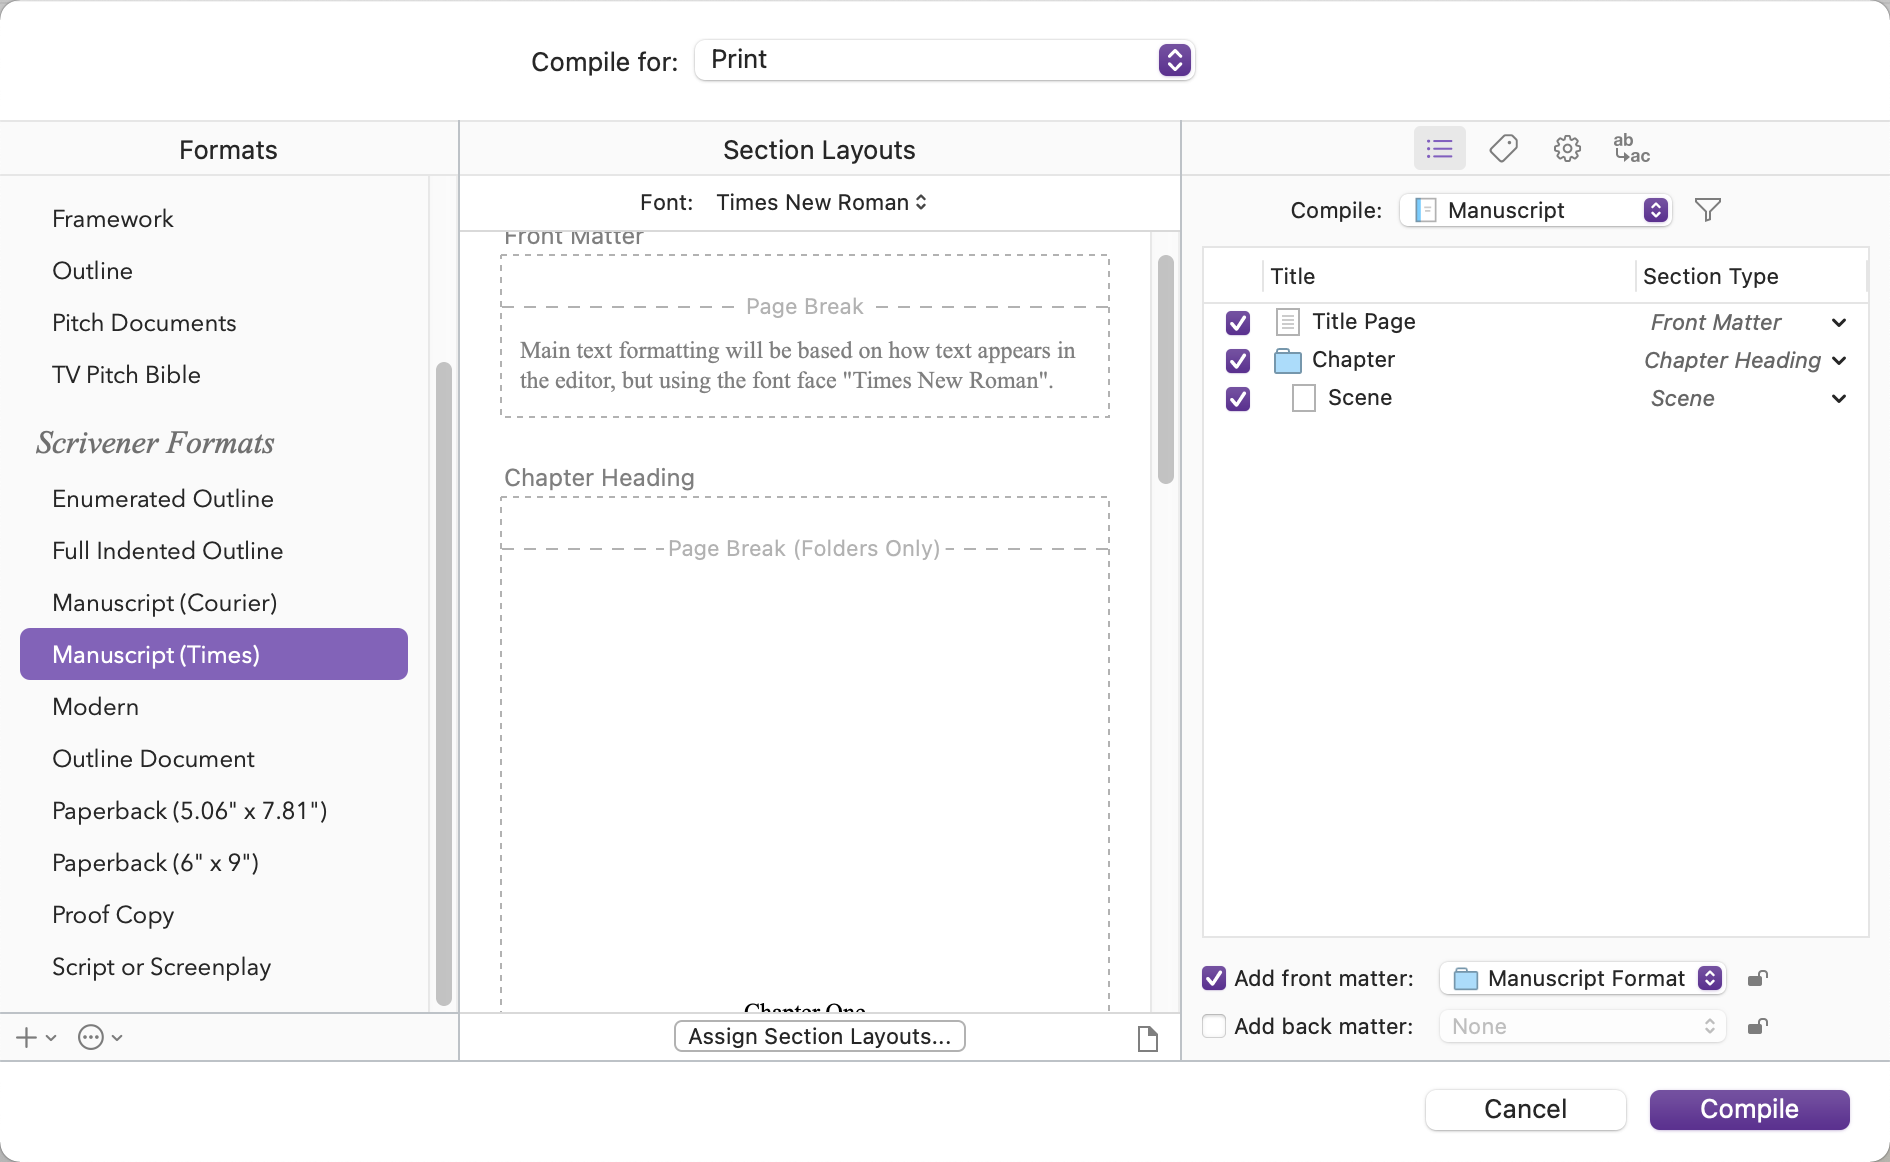
Compile Documents
On the right side of the compile window you have more tabbed windows with compile settings.
In the first one you can choose which documents you would like to include in the compile. You just include or exclude them by checking or unchecking the boxes at the left side with your mouse.
If you don’t want to compile your complete manuscript, but rather another folder, or the documents you have currently selected in the binder, you can choose that from the dropdown menu where it says “Compile”.
You also get a couple of filter options that we will look into with more detail in another article.
At the bottom you see that you can activate front matter and back matter. That means that, if you check one of these, whatever folder or document you choose from the menu there, that’s what will be added before or after your manuscript.
That’s very useful for introductions, acknowledgements, title pages, appendices, and so on.
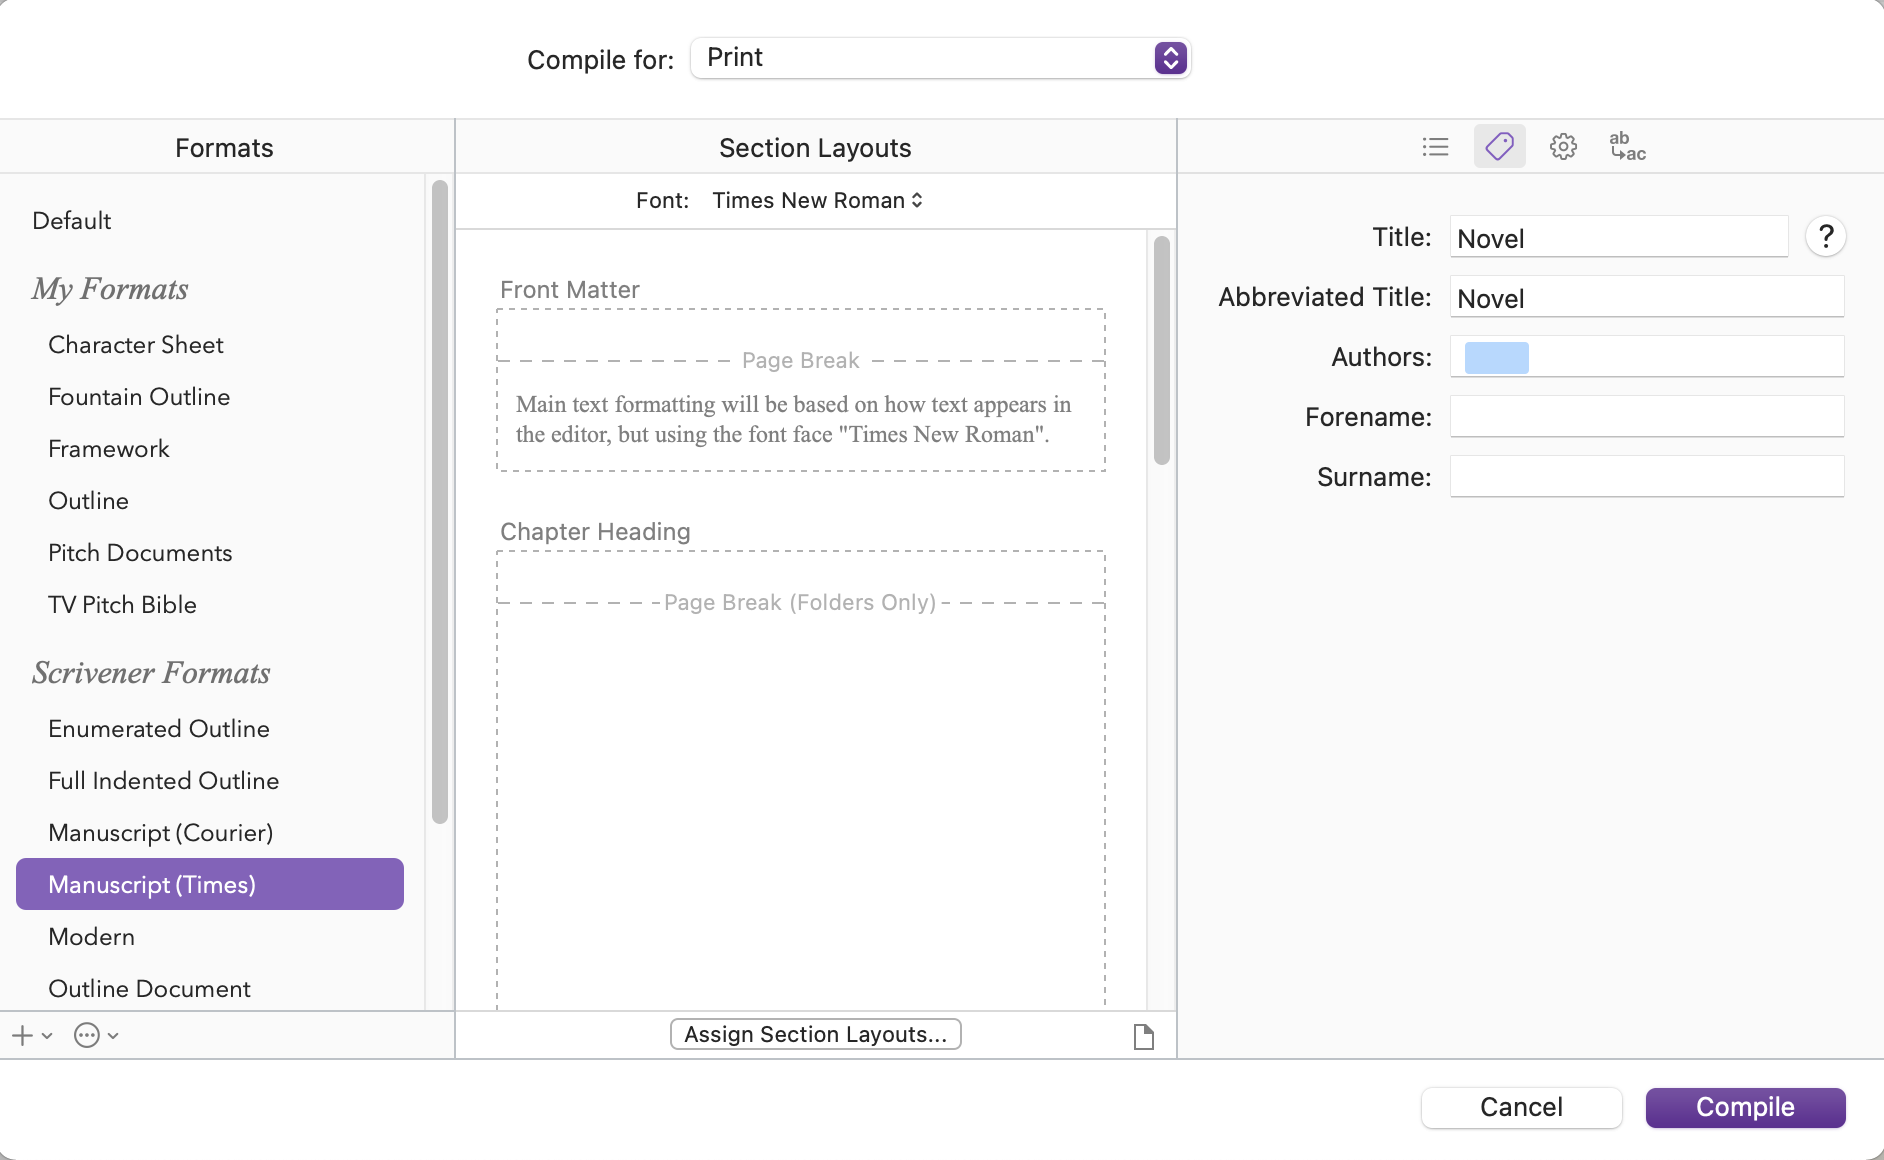
Author Information Meta Data
Then, if you go to the second tab here on the right side of the compile window, the one with the tag icon, you can enter your author and document information. This is also going to be used in some of the default compile formats.
I won’t go into the third and fourth tab right now, the third tab has a bunch of additional settings, a lot of them will be pretty self-explanatory, and you can play around with them if you like, and in the fourth tab you can define replacements, for example if you want to replace a character name in the compile, but leave it the same name in your document.
But I just want to give you an overview here how to use the default compile formats wo we won’t use these right now.
Compiling the Document
Alright, so once you’ve set it all up, you just click “compile” and that should be it.
Try out the different default compile formats and just see which of them are to your taste and you’ll see that using the compiler with these ready-made settings is in fact pretty easy.