How To Assign Compile Section Layouts To Your Documents In Scrivener
Scrivener: Assign Section Layouts
In this article we will look at how you can assign the different section layouts that you have created in the compile format designer to the sections in your project.
I’m assuming that you have already gone through the steps of setting up the sections for your different files and folders in your document, as well as defining the different section layouts in the compile format designer.
If not, you might want to go to those articles and have a look at how you can adjust them so they compile exactly what you want.
Assigning the section layouts now to the sections is pretty easy. You just have to connect the section layouts to the sections, or section types as they are also called, and that’s all.
To do that, open the compile window by going to “File – Compile” and then, in the middle of the compile window you see this “Section Layout” area.
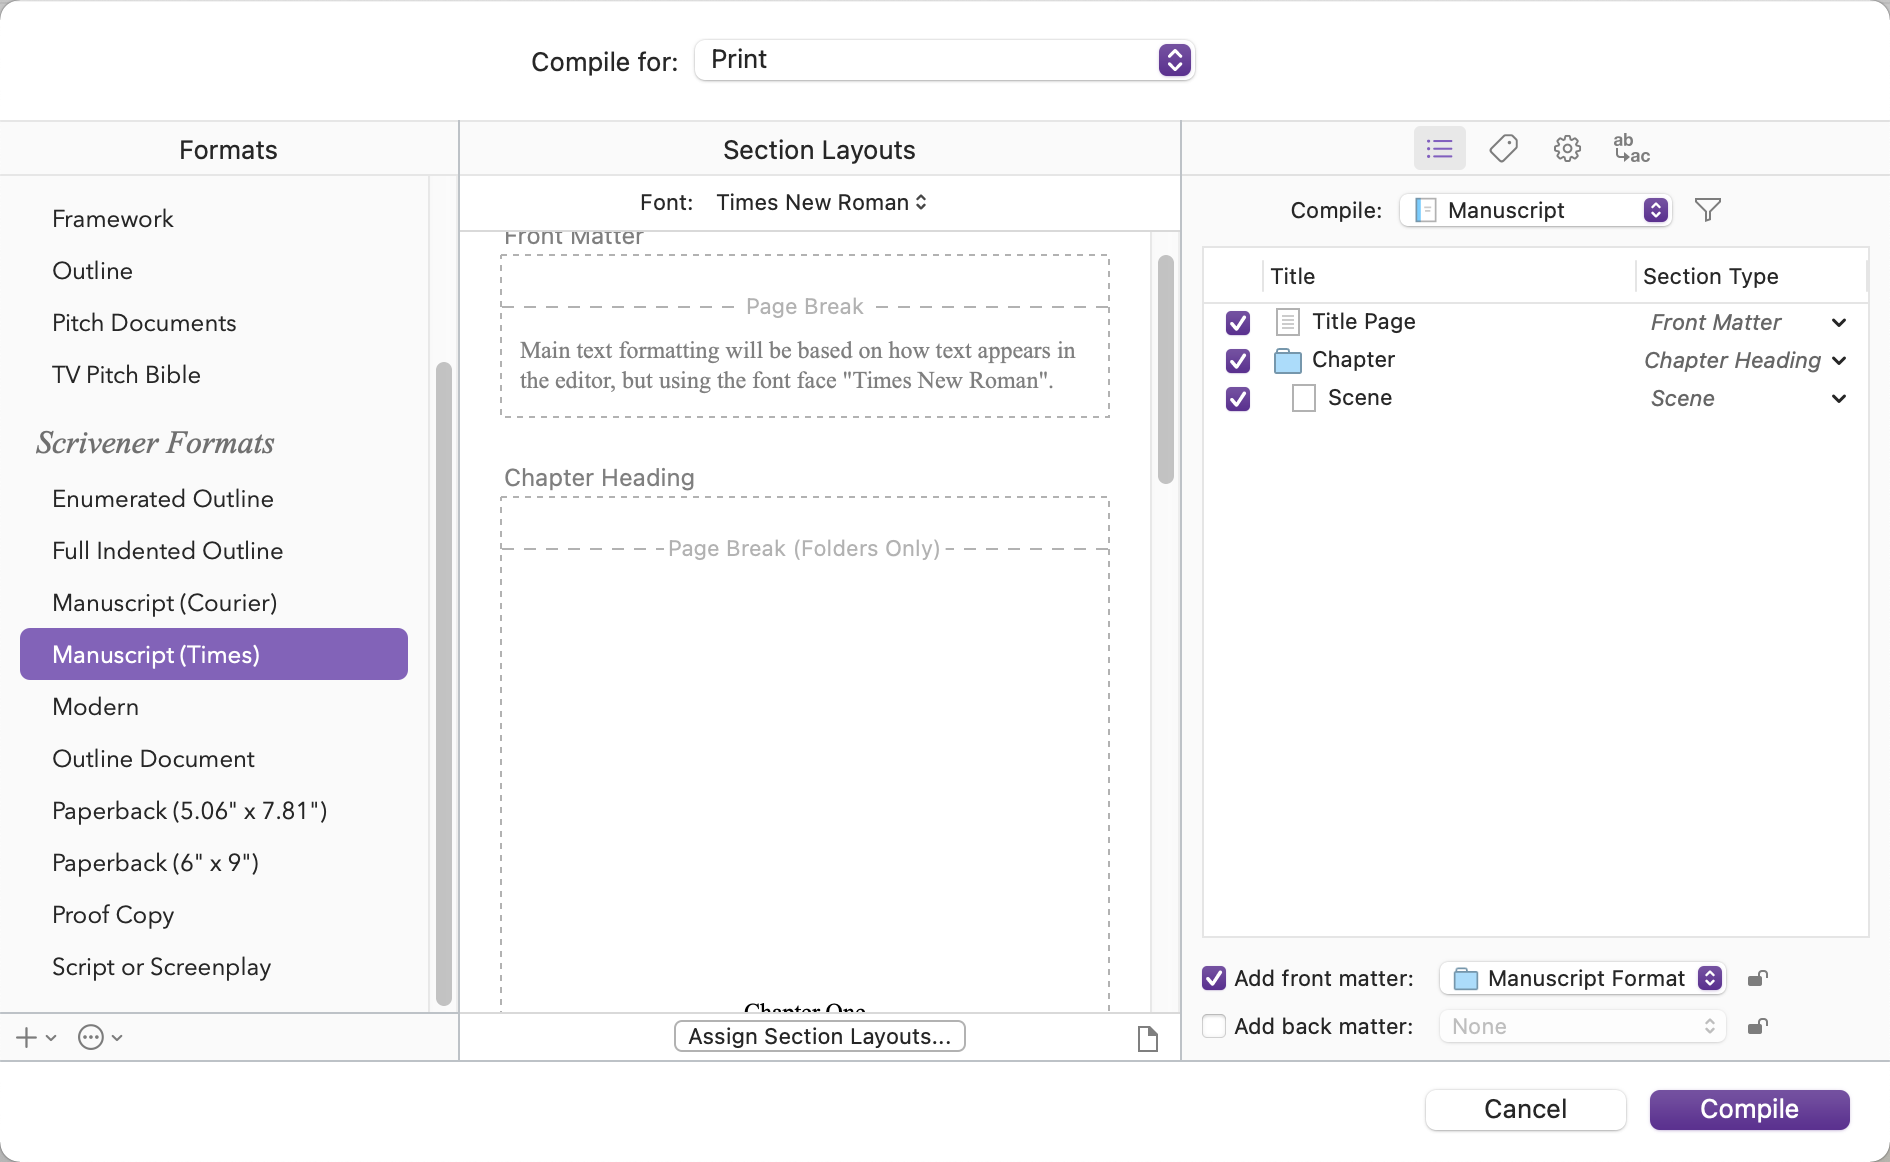 Here you have a preview of the different sections that you have in the current compile format, and what section layout they have assigned right now.
If you click through them, you see, that the preview of how the sections are formatted changes in the section layout area.
So, a short recap what that means exactly.
If we go to the compile format designer real quick by double clicking on the compile format preset on the left of the compile window, we see under “Section Layouts” all the different section layouts that we have in the project.
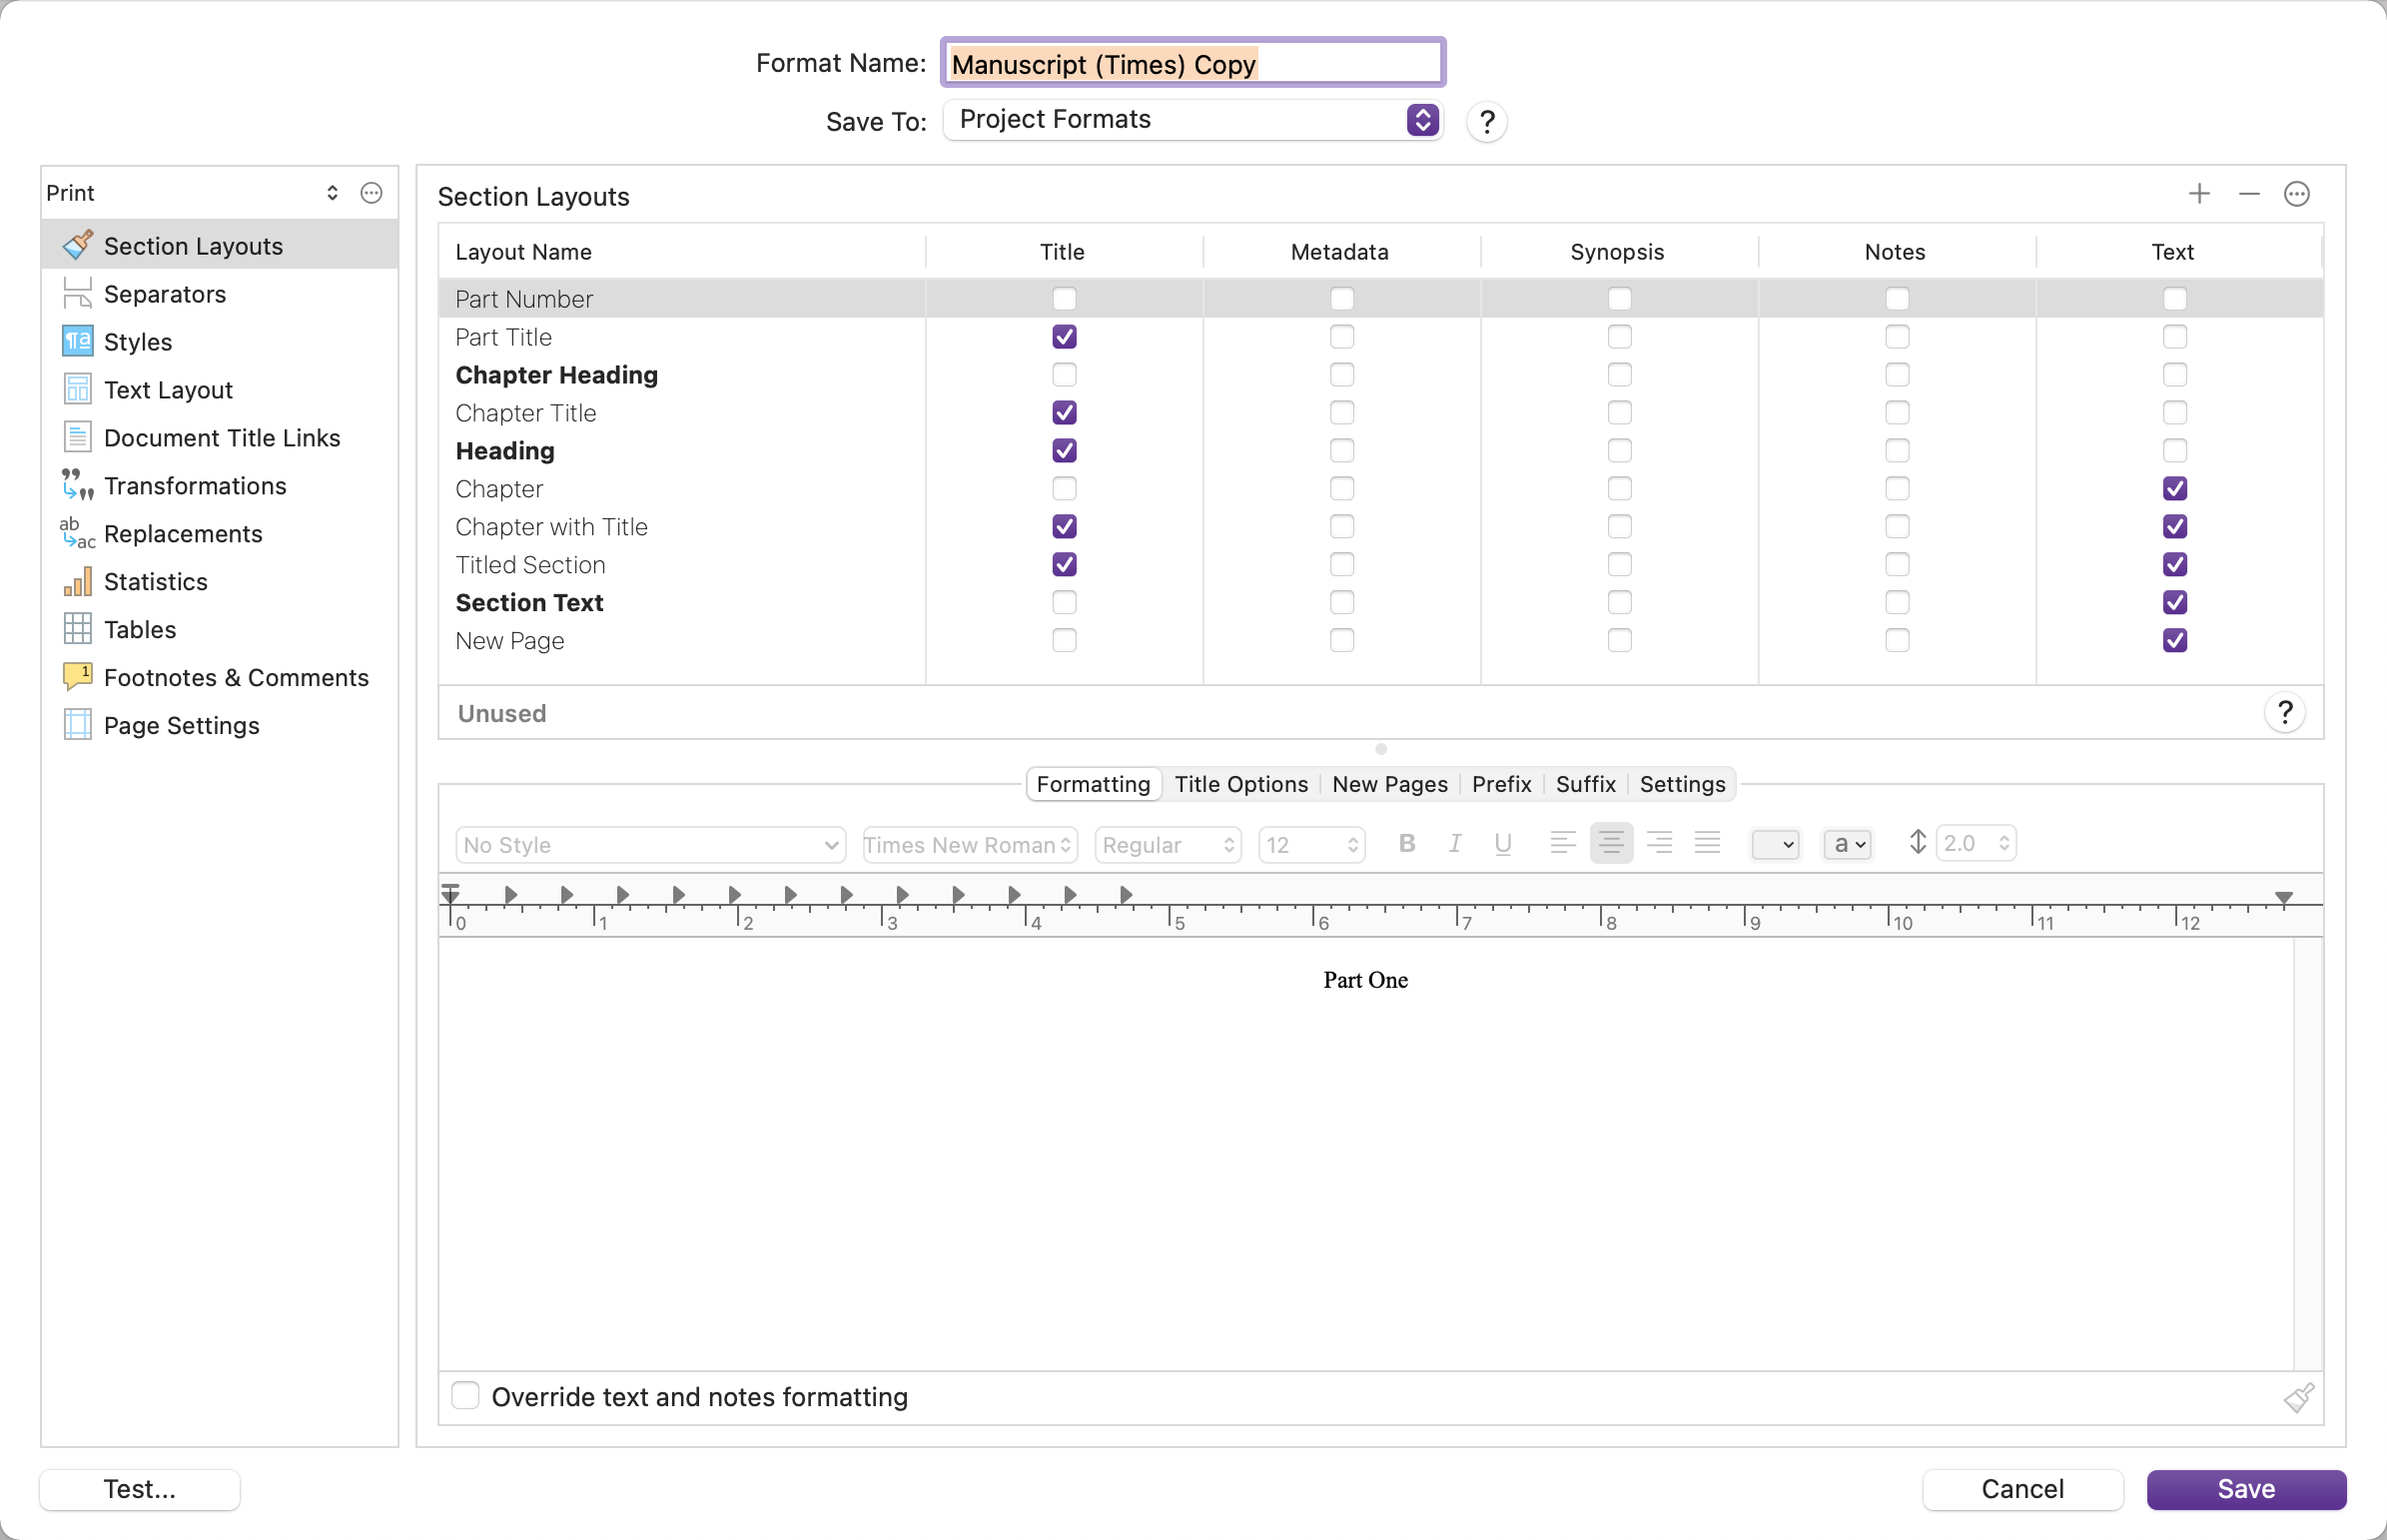 The bold ones are the ones that are in use in the compile format right now.
Then, when we leave the compile format designer and take a look at the right of the compile window where we see the documents that will be included in the current compile, we see which of those document is defined as which section.
In my example here, we have “Front Matter”, “Chapter Heading”, and “Scene”.
So, if we take a look at the Section Layouts in the middle of the compile window now, we see these sections, “Front Matter”, “Chapter Heading”, and “Scene”, with their respective preview how they will be compiled.
That means, these sections already have certain section layouts assigned. That is because I’m using a duplicated built-in compile format that comes with Scrivener.
If we didn’t have any section layouts applied, it would say that there are no section layouts assigned and it would give you a list of the available ones.
Let’s look at what that would look like real quick, let’s create a new format without any settings applied, and you see that there are a lot of default section layouts that come with a new compile format, but they don’t have any section applied.
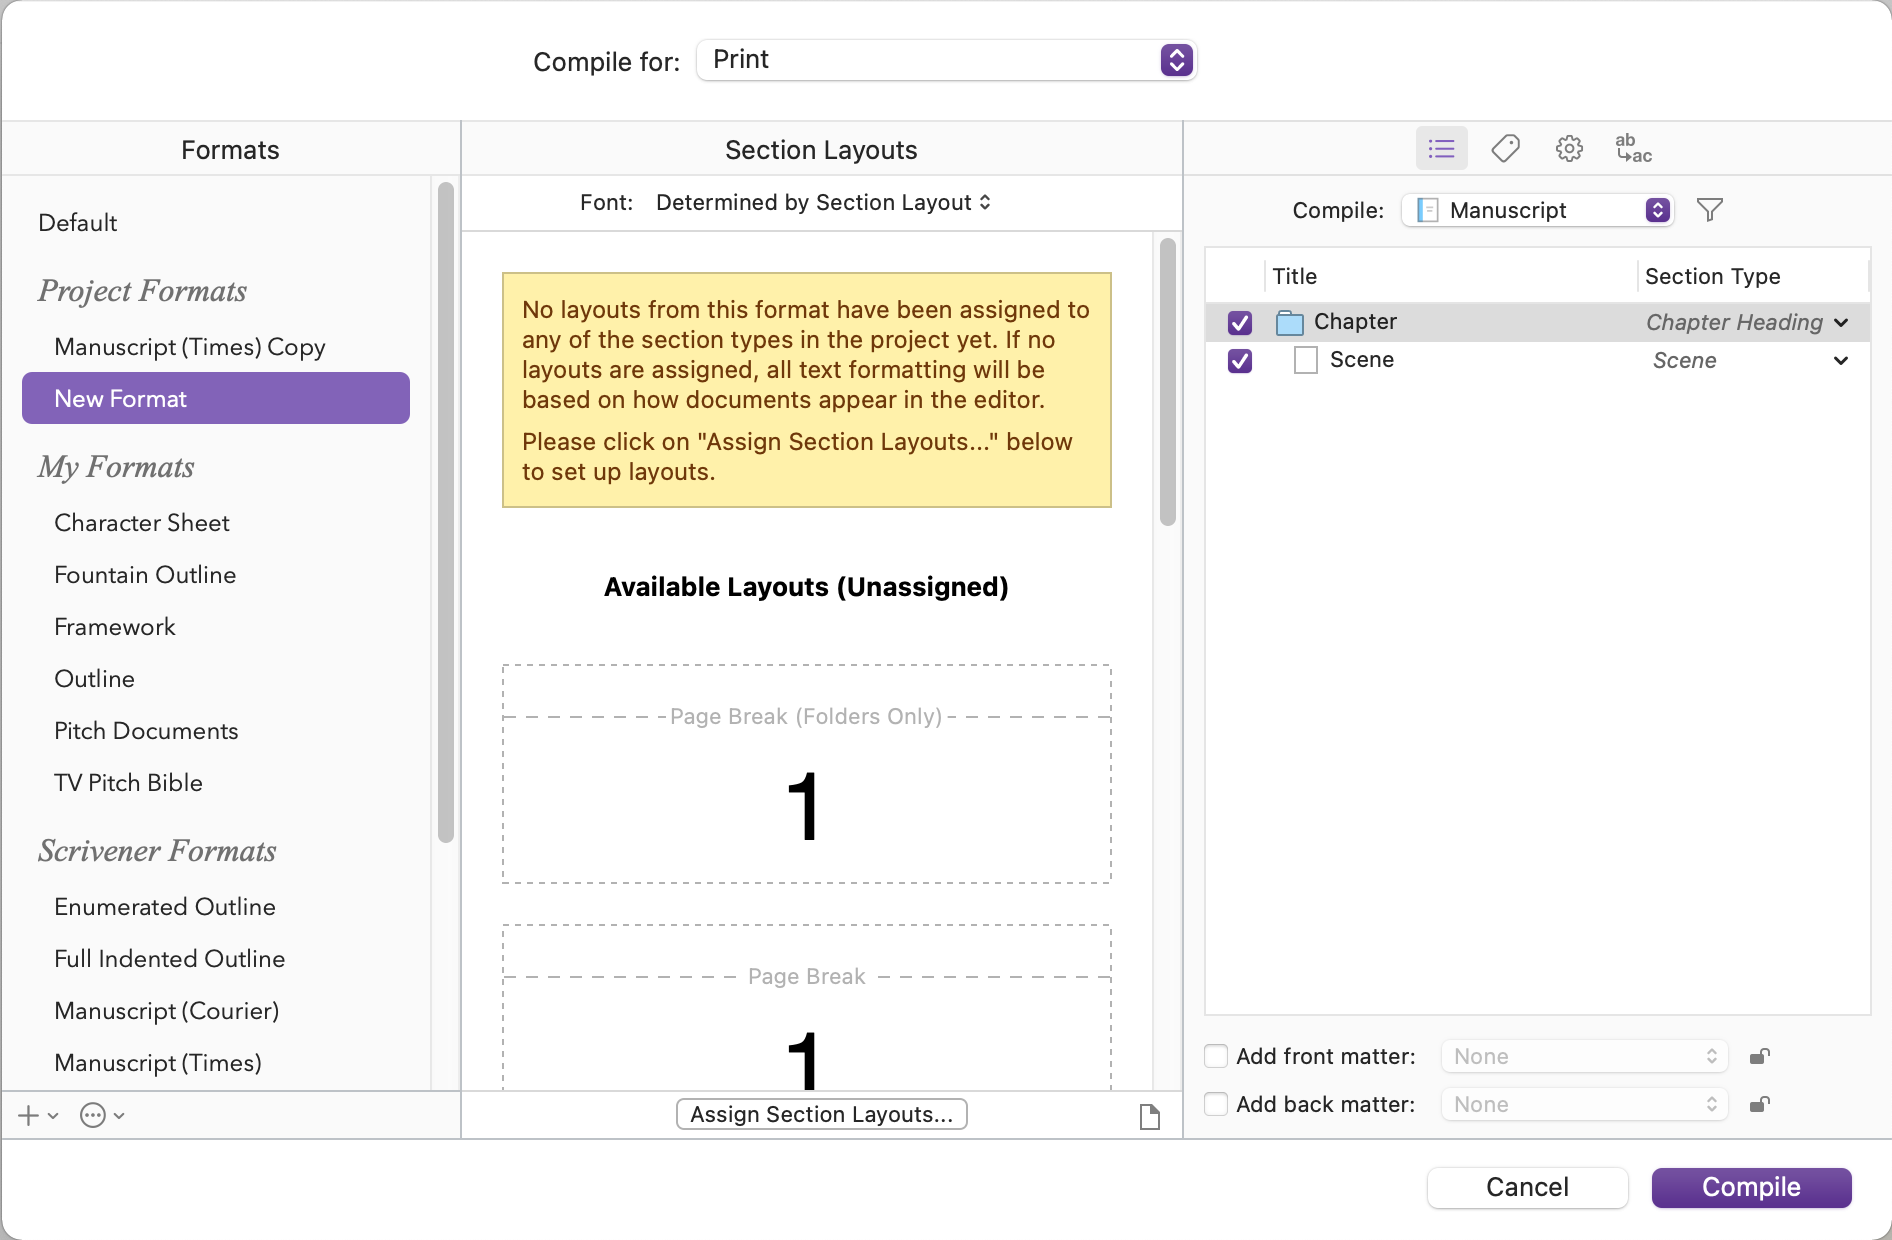 Which means, these section layouts in the compile format are not yet linked to the sections, or in other words to our real documents in the project.
So, in order to do that, click on the “Assign Section Layouts” button at the bottom of the compile window.
 Here you see the different sections, or section types for that matter, that we set up in the project settings on the left side, and with the button at the bottom you can hide or unhide the unused ones.
And on the right side you see all the different section layouts that we defined in the compile format designer.
So, what you do is you simply select a section type on the left side, and choose, which of the section layouts you want to apply to that section on the right.
For example, if I want that for my scenes, only the body text is compiled and nothing else, then I would choose the “Section Text” section layout for my scenes. Because I set this section text layout up in the compile format designer so that it only compiles the text and nothing else.
Also, for my chapter headings section type, I might also choose the “Chapter Heading” section layout, because this is set up to only compile the word “Chapter” with an incrementing number.
If you’re not sure how your section layouts are setup because this preview does not show you everything, or, you want to change something, you can click on the pen symbol in the upper right corner of the section layout preview and that will bring you directly to this section layout in the compile format designer.
Alright, so that’s basically it. You just pick and choose, which section type, or which type of document in your project for that matter, gets which layout assigned, and than you hit okay, and you can compile your project with these settings.