How To Include Picture And Text Assets In Highland Files
Highland Assets
Let’s look at importing and using so-called assets in Highland 2.
Assets are nothing more than external files that you want to include in your project and/or script.
And by “and/or” I mean, you can import assets into your Highland project, but they don’t necessarily have to appear in the script itself.
So, let’s see what kinds of files you can import and how that works.
First of all, in order to use assets in Highland, you must convert your project to a “.highland” file. The fountain file format per se does not permit storing and using assets the way that Highland does.
To get to the “Assets” sidebar, click on the fourth icon from the left. It is the one that looks like a folder.
If you click it, and the asset sidebar shows up, you will see a message that assets are only available in “.highland” files and you get a button to convert the file to “.highland”, in case your current file is in the fountain format.
Once you have converted your document, or if you chose to work with the “.highland” format from the start, you’re good to go.
To get asset files into your Highland project, just open them in your corresponding finder folder, and drag them into the assets sidebar.
Alternatively you can do it via the menu if you go to “File – Include”.
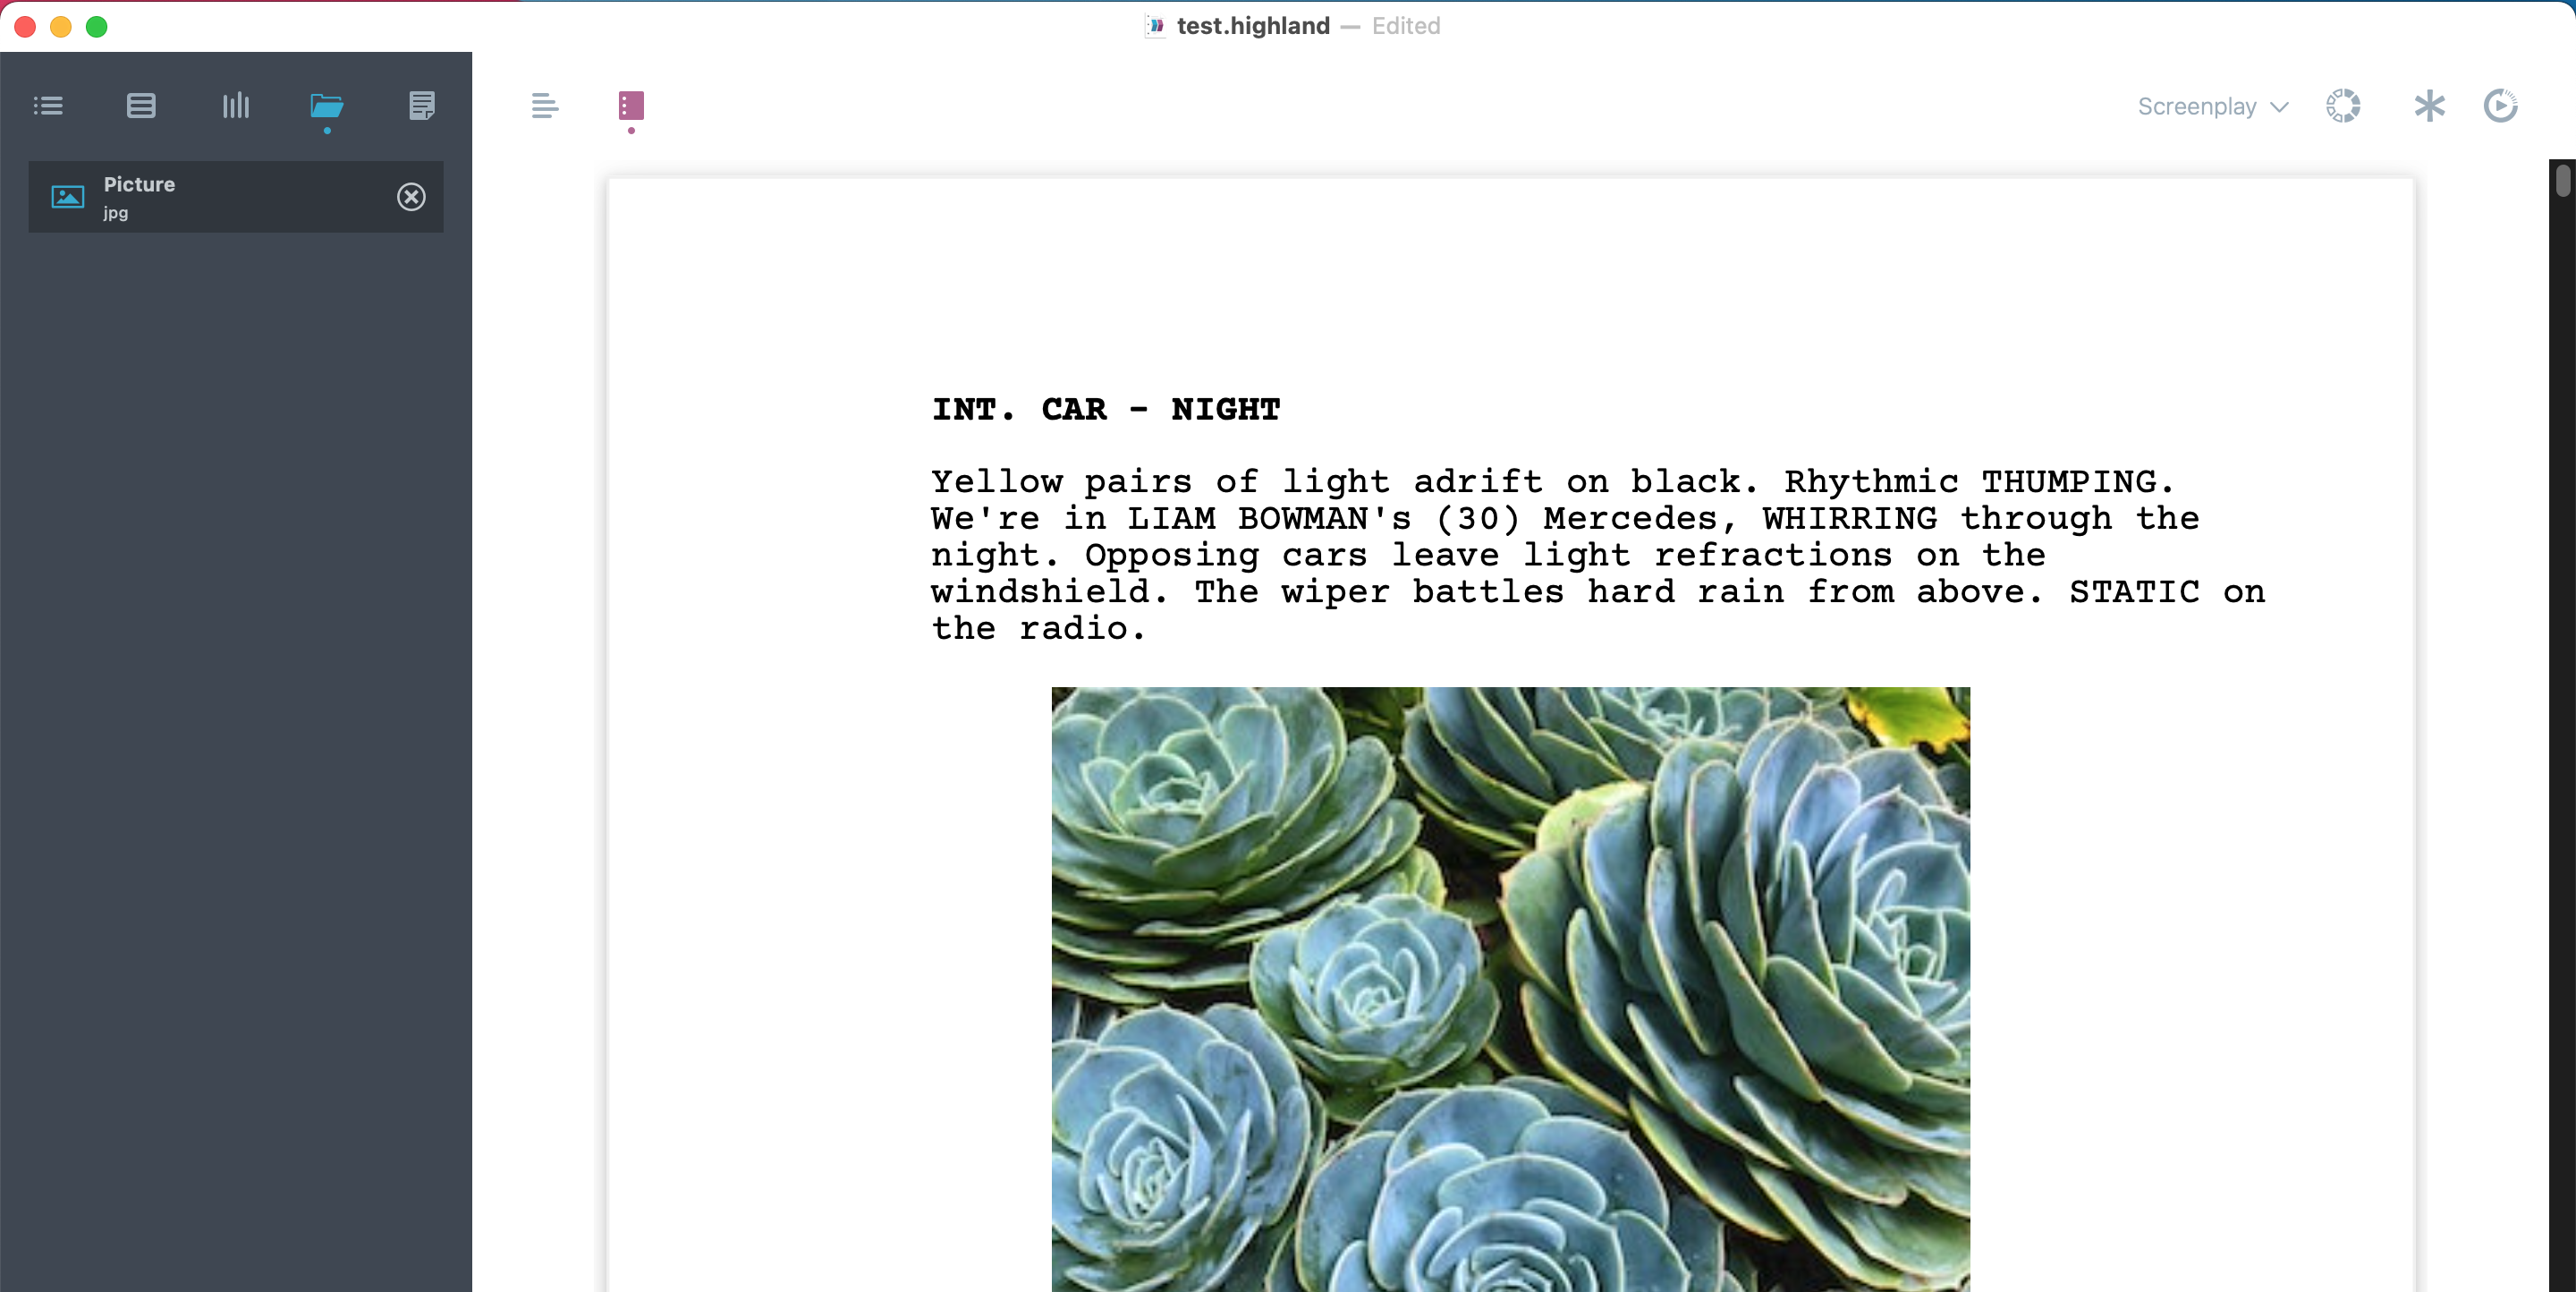
Depending on if you already know if and where you want that asset to appear in the script, you can also drag it directly into the script document.
The moment you let go your mouse, Highland will create the necessary syntax for you to include that asset in the document.
The same happens when you drag in an asset from the sidebar.
What the sidebar also does is, it shows you which of the assets that you have here appear in the script.
If the asset shows up in blue, it is included in the document. If you see it in grey, it is just stored in the sidebar, but it’s not in the document itself.
Also, you can rename assets in the sidebar. Just click on the name, and enter whatever name it is that you prefer.
To delete an asset, you simply click the “X” on the right side, and the asset is gone from the sidebar and also from the document in case it had been included.
Asset File Formats
One word about file formats. The official Highland online help does not explicitly state which formats are supported.
What the asset function is meant for, is, to include picture and text files into your document.
The file formats that I have tested and that have worked, are:
- Simple Text (.txt)
- Jpg picture files
- Png picture files
Formats that did not work are for example:
- Final Draft fdx files
- Other proprietary screenwring files
So, in case you would like to include those, you would have to convert them into a pdf or simple text format first.
Basically, you can just try what file formats Highland accepts. Drag them into the sidebar and see if they stick.
Using Asset for Writing Workflows
So, what can you do with these assets? What is this useful for?
Well, in terms of screenwriting, you probably won’t include a lot of pictures in your screenplay, since this would go against the 1-page-per-minute rule.
However, you might want to put one on the title page, so it could be useful for that.
Other than that, what you could also do is, you could use this function to compile a collection of other documents.
For example, let’s say you have several text documents that have different kinds of information but belong to the same project. This could be a character description that you have in a seperate project, but that you want to include in a TV pitch bible or a book proposal, for example.
You could have several documents for the different elements that you need for your pitch bible or proposal, like the character descriptions, and others, and then, to compile the whole proposal, you make a new Highland document where you just drag all these documents into the asset sidebar, and from there, in the correct order, into the document itself.
Then, you just export this “collection document” if that’s how you want to call it, and you still have all of the source documens that you used for this compile untouched.
Changing Source Files
One more thing that is important regarding assets in Highland is that you should be aware that whatever you drag into a Highland project will be saved inside the project as a copy.
So, in case you want to use a Highland project to collect several other text documents, when you change somethign in a document outside of the collection document, you need to re-import that into your assets and replace it with the old one.
Also, keep in mind that, in case you’re using a lot of images, the file size will increase quite a bit because all the images will be stored in this Highland file now also.
Asset File Syntax
As for the syntax that you see in the document when you drag in assets:
Highland creates this automatically for you, you don’t need to worry about that. But just so you know, you could also just write the syntax directly into your document if you wanted to.
It’s just that dragging the file in is a lot easier.
But in case you want to change the order of the documents that you include in your project, the syntax you see there is nothing but plain text.
If you want the included document to appear in another place, you just select the syntax that belongs to the document you want to move, cut the text and paste it to wherever you want to move it.